Sometimes you might want to convert a colour image to B&W. You have used the usual techniques like contrast and brightness curves and maybe even the channel mixer, you have dodged and burned but it still seems to have lost some of the details of the original colour image. Thats pretty normal because some of the details in the original are because of changes in colour not changes in intensity.
Consider a portrait where a person has no fashion sense or maybe Scottish and is wearing a red and blue plaid shirt. If the blue is near the same intensity as the red the checker pattern will blend in when you convert to B&W. Well the quick answer is to use either the channel mixer or a selected colour filter when you do the conversion this would either selectivity darken the red or the blue. But wait although the plaid shirt looks OK the skin starts to look blotchy, not very flattering for a portrait..
The answer is rather simple you selectively blend 2 B&W versions of the image together. One version optimizes the plaid while the other optimizes the skin. If needed you could add more versions to optimism additional parts of the image.
 |
| Original Colour Image |
I am going to try to illustrate using a bad example, bad because the colour version from the MF film shot looks far better then the B&W. Note the bright red berries back-lite translucent in parts and the bright green yellow pallet of the background.
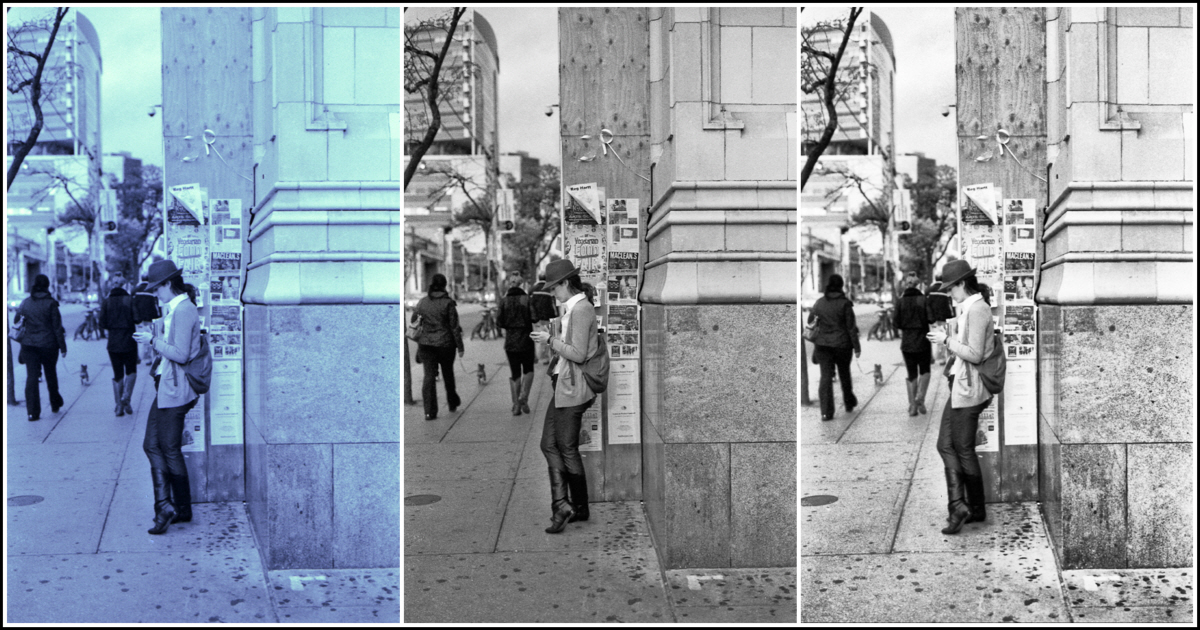
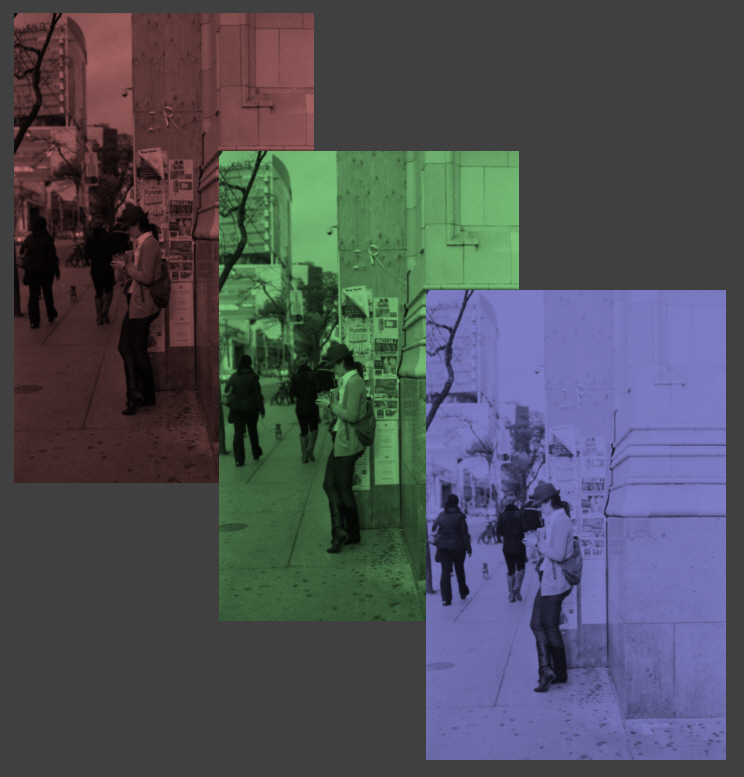
In this example I used the channel mixer to create 2 images plus a 3rd which is the
luminance channel from the original colour image.
 |
| Left: Red Berries Centre: Green Background Right: luminance channel |
The best (at least for this example) of all 3 images were combined together to give the final image. The berries in the left image was selectively combined with the centre image and finally the low contrast upper right corner was taken from the luminance channel.
 |
| Final B&W with selective contrast filtering |
 Image via Wikipedia