Monthly Archives: June 2010
Making a Pinhole lens for a Canon DSLR
Originally From My website July 2005
Specifications:
Depth of Field – Infinite
Equivalent focal length – 50mm
Resolution – very poor!
Speed – slower then you can imagine.
Cost – cheapest Canon lens (the main component is a Canon part)
Making the Pinhole Lens
Parts:
1. Canon camera body cap. Canon caps because they have a thread are claimed to be light tight. I brought an used cap, so technically this is a used Canon lens. Test out the light tightness of the cap by placing it on the camera body and exposing a shot directly into the sun for 5 seconds or so. The exposure should be completely dark. This test is good for other models and makes of cameras.
2. Quality aluminum foil
3. Plastic film with self adhesive backing. I used the clear 3m film that they apply to the front of automobiles to prevent rocks from chipping the paint.
4. Hollow tip 32 gage needle. I used a new insulin pen needle.
5. Sharp craft knife or razor blade
6. Cutting board as a work surface
7. Small piece of dense stiff foam such as styrofoam
8. Cork
9. 3/16″ drill
Construction:
1. Drill a 3/16″ hole in the inside center of the cap. Use a piece of wood as a backing so that the hole will be fairly round. Use the knife to clean and deburr the edge of the hole.
2. Cut a donut shaped piece of plastic film 3/4″ OD. – 3/16″ ID.
3. Cut a 1/2″ disc out of the aluminum foil.
4. Flatten the foil by placing on a hard flat surface and rubbing the foil with a piece of cork (drink the wine first). Be careful not to damage the foil.
5. Place the 1/2″ foil disc on the backside of the cap, centered over the 3/16″ hole.
6. Remove the backing to expose the adhesive on the plastic film donut.
7. Place the film donut sticky-side down centered over the foil, use your fingers or the knife edge to seal the foil between the film and the cap. Make sure the foil is flat and sealed around the complete circumference. Note there should be only foil covering the center of the cap.
8. Place a the cap face up with the bottom of the cap and the foil supported by a small piece of dense stiff foam.
9. Very carefully puncture the center of the foil with the 32 gage needle. The motion of the needle should be straight up and down., any sideways motion or too deep of a penetration will distort the pinhole.
10. Have fun!
Alternative Way to Make the Pinhole
Before the foil is installed in the cap just after step 4:
- Once again the foil must be supported by some dense stiff foam such as Styrofoa
- Make the pinhole as in step 9
- Repeat step 4 the foil flattening step
- Inspect the hole to make sure the edges have not been pushed back into hole by the flattening of the foil
- Install the foil as before
Using this method allows you to practice making pinholes and also allows you to inspect the hole before installation. Note that the needle can only be used a few times before it will get dull and has to be replaced.
Each different pinhole will have its own unique qualities, ideally the pinhole should be perfectly round, perfectly flat and as thin as possible. This is impossible without buying a manufactured hole (yes you can buy a hole) . Unfortunately my microscope is on loan so I can not actually inspect the pinhole except by holding it up to a light bulb. Hopefully I will update the page with actual hole details when I get the microscope back. Alternatively a flatbed film scanner could be used to scan the hole.
Notes:
- I originally used plastic tape instead of the film. But it took a couple of trys to get a good (nearly centred) pinhole, I found it was very difficult to remove the gummy residue from the tape backing, I tried soap and water but that did not work. I tried a cleaning fluid but as you can see in the pictures it attacked the plastic cap and messed up the finish. The plastic film has an adhesive that stays with the film even after you remove the film from the cap, this makes replacing the pinhole an easy job.
- Dimensions except for the pinhole are approximate.
- Many of the pictures have some contrast lose, some even have a rainbow effect. This could be caused by light leakage, a ragged irregular pinhole edge or most likely from the large amount of light that comes through pinhole outside the FOV (field of view) of camera sensor. This light is reflected and diffused onto the sensor. If I shield the lens from off angle light the effect goes away see below for a partial solution..
- The low resolution of the lens is mostly related to physics. The pinhole is around 0.3 – 0.4mm diameter and a pixel on the camera sensor is many times smaller. The only way to get higher resolution would be to have the camera sensor area much larger, lets say as large as a large format camera. No way on a proconsumer camera! There is also both a diffraction limit and equivalent For a lens hood I brought an inexpensive rubber hood and glued it on with Gloop. The hood allows about a 90° field of view which is still too wide for the pinhole lens.F stop light limitation on the minimum pinhole size.
Some References:
This Page On My Original Website – contains some more details and pinhole image processing tips
My Blog posting homemade 8×10″ large format pinhole cameraThe Pinhole Gallery – A Gallery of Contemporary Pinhole Photography
The Pinhole Camera – Imaging without Lenses or Mirrors By Matt Young (Some of the physics and history of the pinhole camera)
Luminous Landscape – Pinhole Camera Tutorial This page has some good photos and suggestions for making large format film cameras
Isabelle Lousberg If her work doesn’t inspire you why bother!
F295.org – Exploring 21st Century Photography
youdesignit.com – pinhole-photography
Online Schools: Guide to Pinhole Photography
PINHOLE PHOTOGRAPHY AND CAMERA DESIGN CALCULATORS
August 21 2005 Pinhole Pictures with Lens Hood
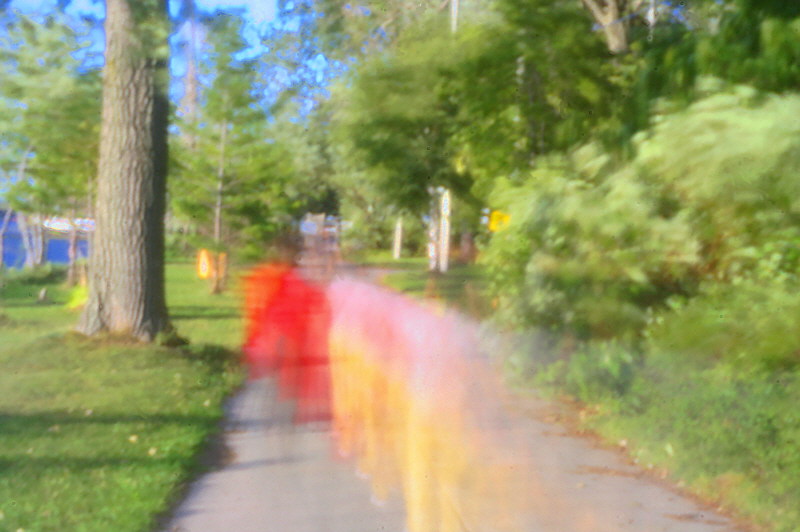
Two Bicyclists
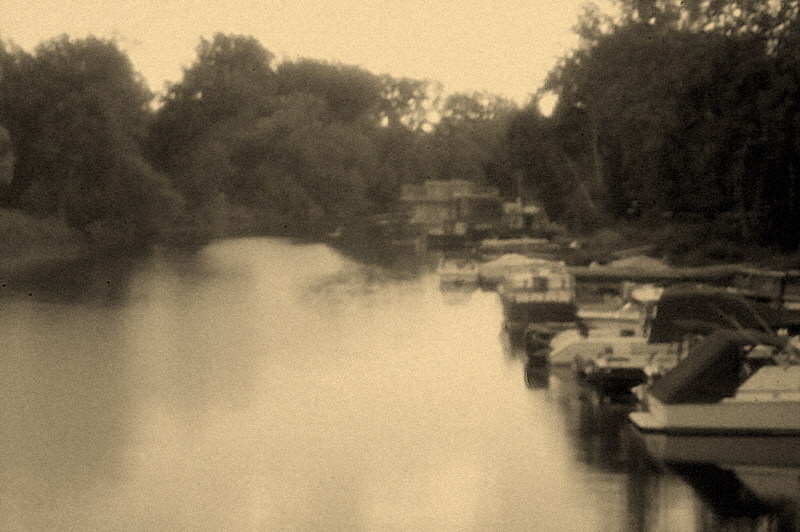
Wards Island Gap
Please contact me for permission to use or reproduce any part of this page photos@rraz.ca
Ryan
Really Bad Video Productions

RBVP is my tongue in cheek name for my low tech attempt to fool around with moving pictures. As long as I don’t take myself too serious the making of small video clips has helped me widen my horizons.
The following Youtube video I made with about 100 shots out of my DSLR. The idea is to make a sculpture out of real life.
My first attempt at this type of stop motion was done a coupe of weeks ago using much fewer photos from my P&S:
My P&S actually has real video, too bad the compression algorithm is so lossy or else I think it might actually be a good video camera. But it is still good enough to record RBVP documentaries or music video style videos.
I doubt it but if you would like to see more but RBVP on YouTube or on Flickr