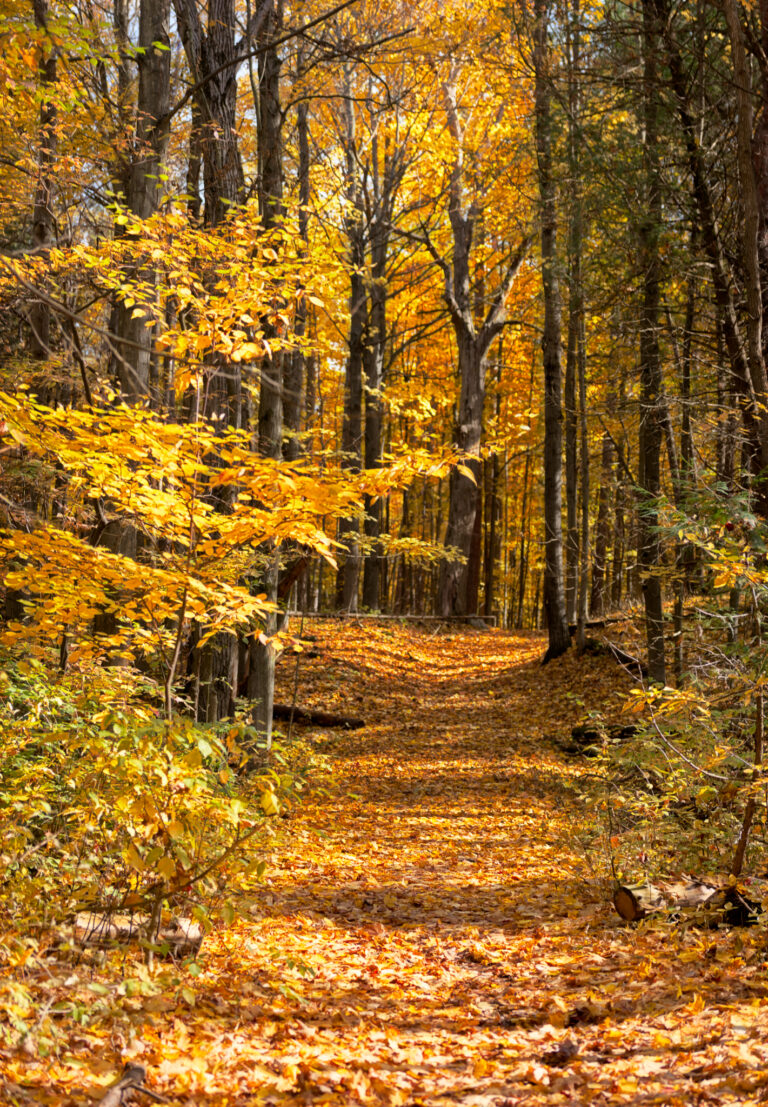
Harnessing Depth Maps: Preserving Space and Point of View
Introduction: Editing in the Third Dimension
A photograph is a projection of a 3D world onto a 2D plane. When we edit, we often focus on color and luminance, neglecting the image’s inherent depth. This doesn’t just remove spatial cues—it can fundamentally ruin the camera’s original point of view and the feeling of space.
The goal of using a depth map is not just to create 3D-looking effects, but to respect and enhance the spatial relationships that make a photograph feel immersive. It’s about the feeling of light entering a space, of atmosphere receding into the distance, and of the viewer understanding their position relative to the scene.
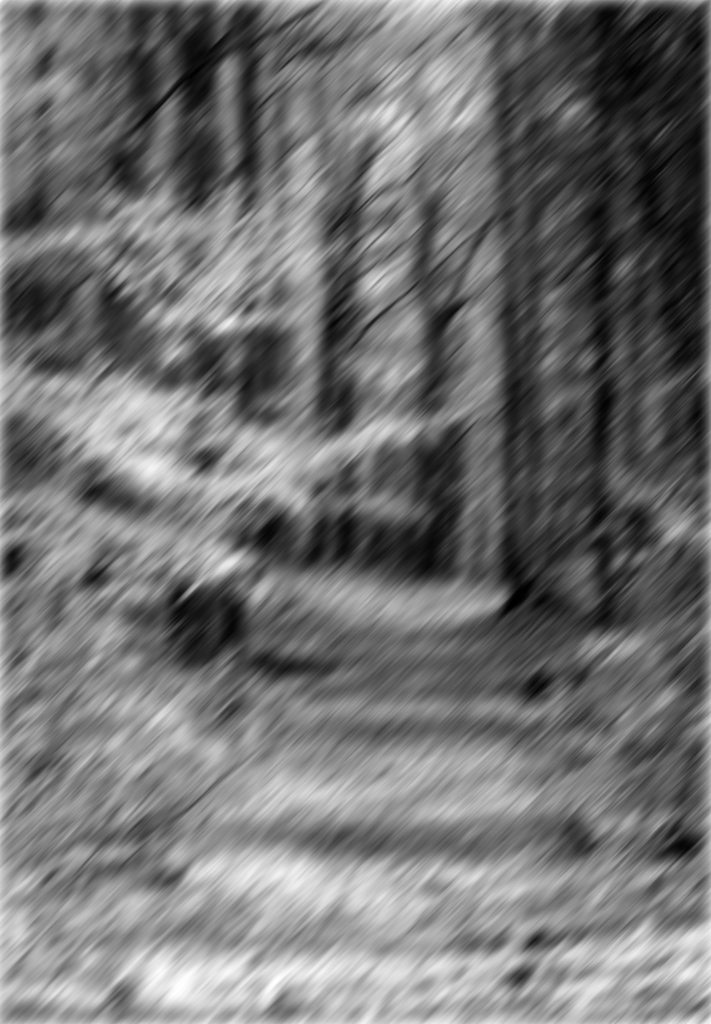
A depth map is a grayscale image that estimates the relative distance of every pixel from the camera. This “luminosity map of distance” becomes a powerful tool for applying edits that reinforce, rather than flatten, the scene’s three-dimensionality.
The Artistic Application – It’s About Feeling
The technical steps serve an artistic goal: preserving and enhancing the photograph’s spatial integrity.
- Atmospheric Perspective: use to add a soft, blue-white haze to distant areas. This mimics how light scatters through the atmosphere, making the scene feel deep and vast.
- Foreground Relighting: Use to punch a beam of light through a forest canopy. The depth map ensures the light correctly falls on the path behind the trees, not on the trees themselves, creating that magical “light entering a space” effect.
- Point of View Protection: When dodging and burning, using a depth-aware mask prevents you from accidentally brightening a distant mountain as if it were a foreground rock, which would confuse the scene’s perspective.
- Quick masking: Many times the subject is separated from the surrounding by depth allowing a detailed mask of the subject to be made from the depth map.
Combined they can establish the overall depth of the scene, then add a dramatic spotlight to create a focal point that guides the viewer through the space you’ve defined.
Conclusion
Using depth maps is not about gimmicky 3D effects. It is the key to responsible editing that honors the original scene’s spatial relationships. By using these methods—the dynamic control group for broad adjustments and the depth-masked spotlight for precise lighting—you move beyond correcting a flat image to actively sculpting the light and atmosphere within a three-dimensional space, preserving and enhancing the very feeling that made you press the shutter.
Note: the examples below are fairly simple only illustrating a small number of possible uses.
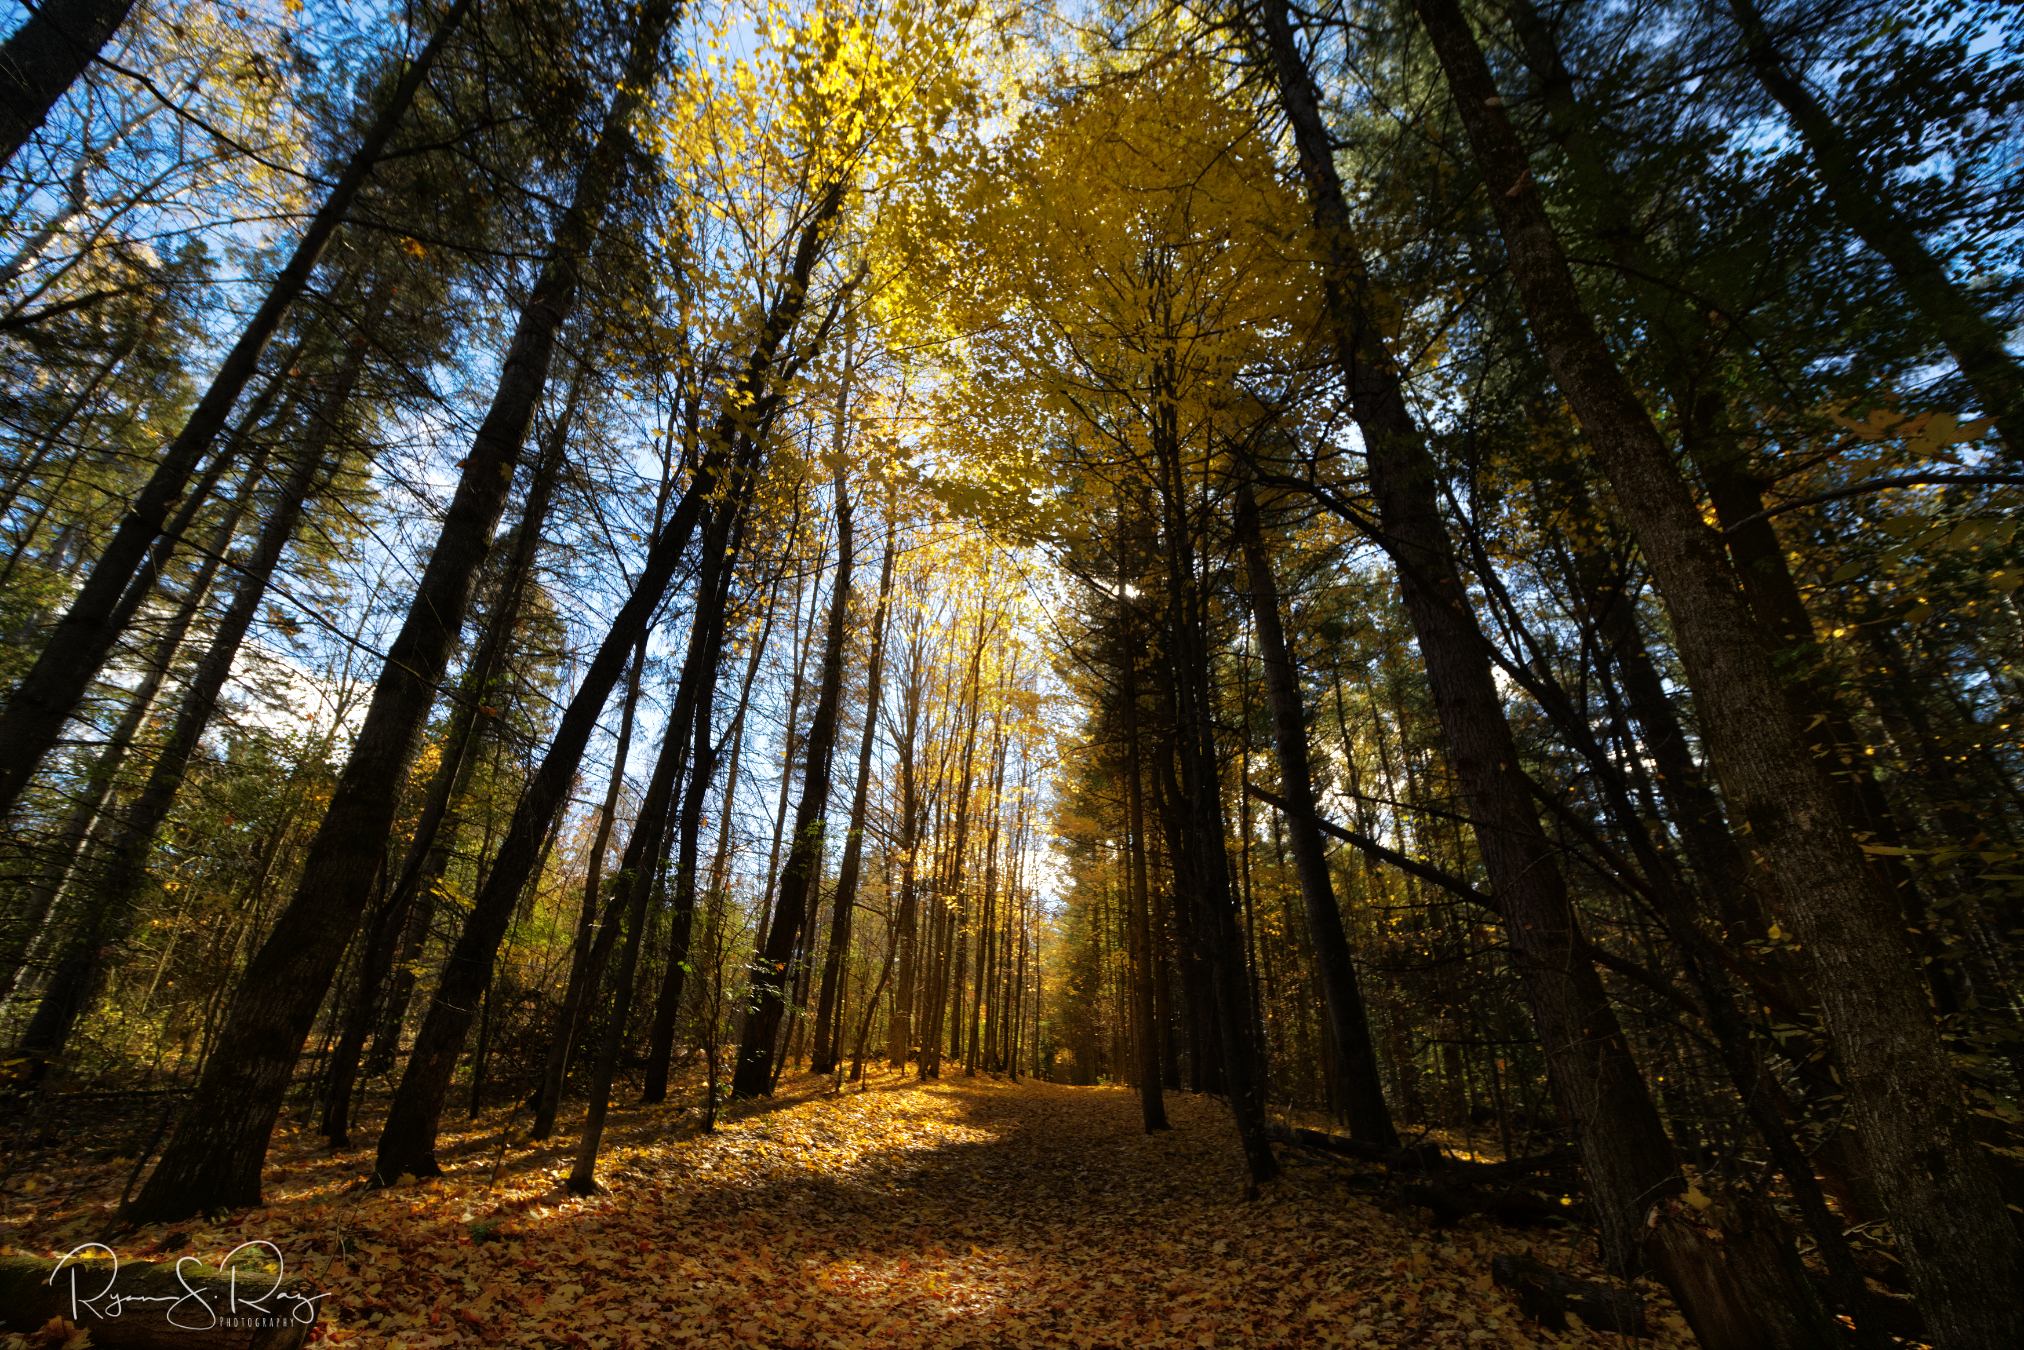
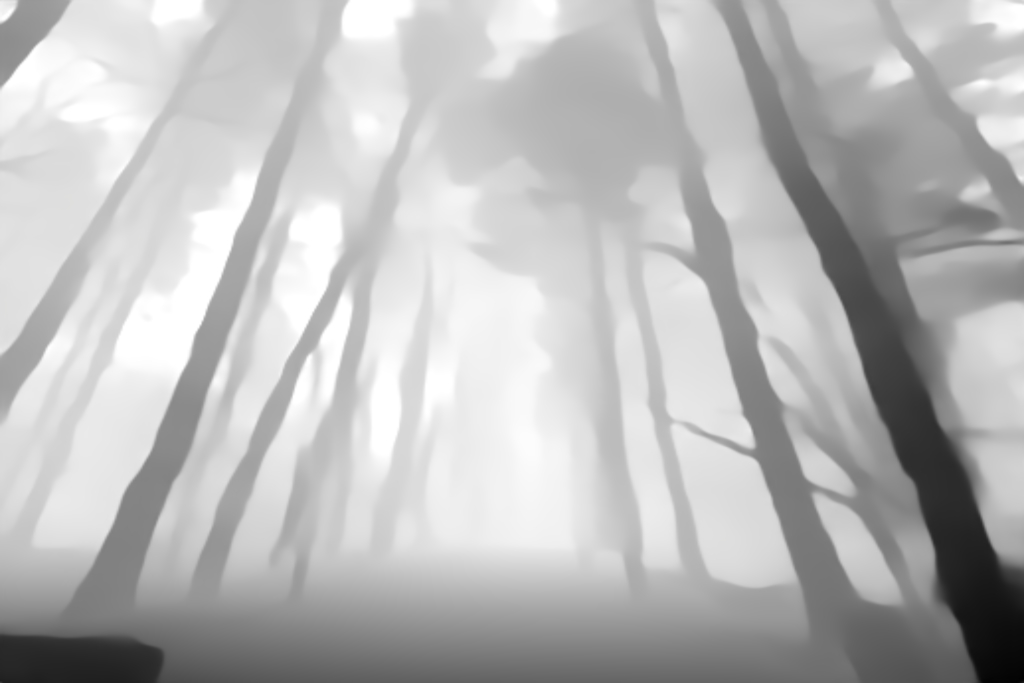
This first example is a straight forward relight, selecting depth by using a luminosity mask on the depthmap. In this case the mainlight is behind the trees. A depth map makes short work of masking the areas into 3 areas: In front of the trees, behind the trees, and the far end of the path
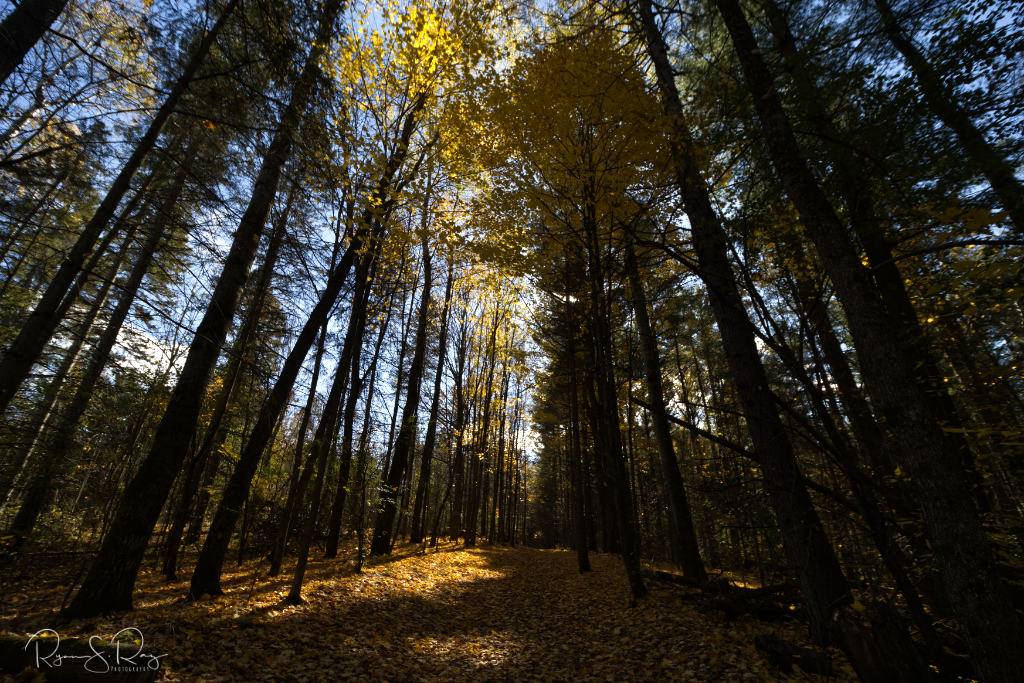
I am using a 16bit depth map instead of the common 8 bit as this allow a finer adjustment, especial in the far distance like the sky and the far end of the path. An 8bit map has poor granularity. To run the program and output the 16bit depthmaps on my windows desktop I modified DepthAnythingAC on github.
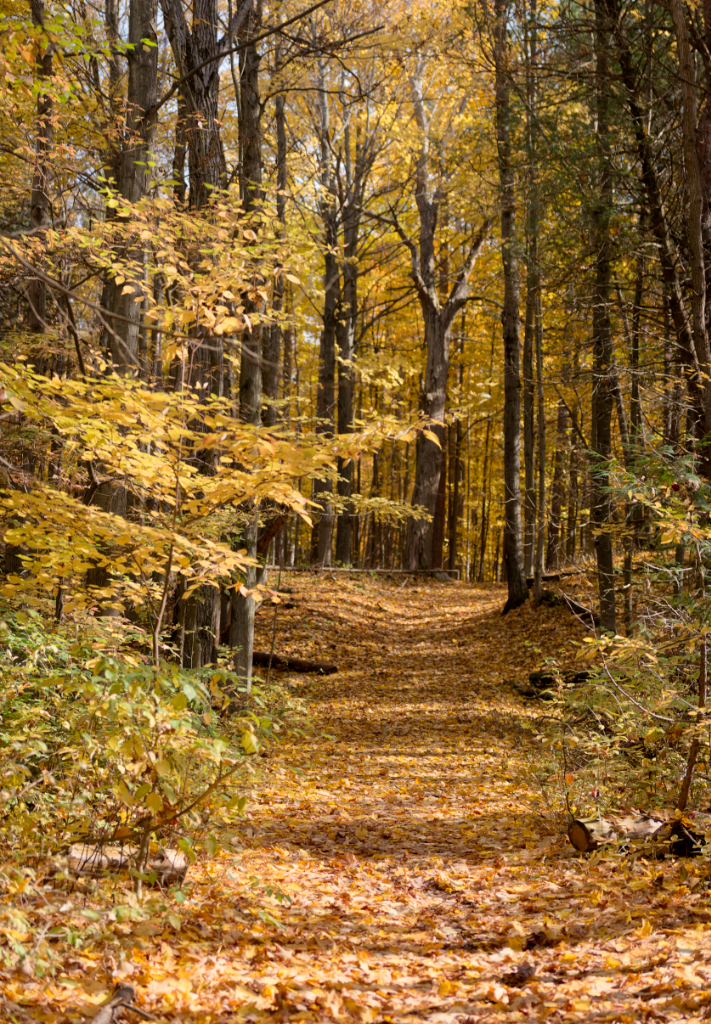
This next example adds motion blur to the depthmap allowing it to closely simulate sunlight illumination streaming through the tree branches from the right hand side.