Harnessing Depth Maps: Preserving Space and Point of View
Introduction: Editing in the Third Dimension
A photograph is a projection of a 3D world onto a 2D plane. When we edit, we often focus on color and luminance, neglecting the image’s inherent depth. This doesn’t just remove spatial cues—it can fundamentally ruin the camera’s original point of view and the feeling of space.
The goal of using a depth map is not just to create 3D-looking effects, but to respect and enhance the spatial relationships that make a photograph feel immersive. It’s about the feeling of light entering a space, of atmosphere receding into the distance, and of the viewer understanding their position relative to the scene.
A depth map is a grayscale image that estimates the relative distance of every pixel from the camera. This “luminosity map of distance” becomes a powerful tool for applying edits that reinforce, rather than flatten, the scene’s three-dimensionality.
The Artistic Application – It’s About Feeling
The technical steps serve an artistic goal: preserving and enhancing the photograph’s spatial integrity.
- Atmospheric Perspective: use to add a soft, blue-white haze to distant areas. This mimics how light scatters through the atmosphere, making the scene feel deep and vast.
- Foreground Relighting: Use to punch a beam of light through a forest canopy. The depth map ensures the light correctly falls on the path behind the trees, not on the trees themselves, creating that magical “light entering a space” effect.
- Point of View Protection: When dodging and burning, using a depth-aware mask prevents you from accidentally brightening a distant mountain as if it were a foreground rock, which would confuse the scene’s perspective.
- Quick masking: Many times the subject is separated from the surrounding by depth allowing a detailed mask of the subject to be made from the depth map.
Combined they can establish the overall depth of the scene, then add a dramatic spotlight to create a focal point that guides the viewer through the space you’ve defined.
Conclusion
Using depth maps is not about gimmicky 3D effects. It is the key to responsible editing that honors the original scene’s spatial relationships. By using these methods—the dynamic control group for broad adjustments and the depth-masked spotlight for precise lighting—you move beyond correcting a flat image to actively sculpting the light and atmosphere within a three-dimensional space, preserving and enhancing the very feeling that made you press the shutter.
Note: the examples below are fairly simple only illustrating a small number of possible uses.
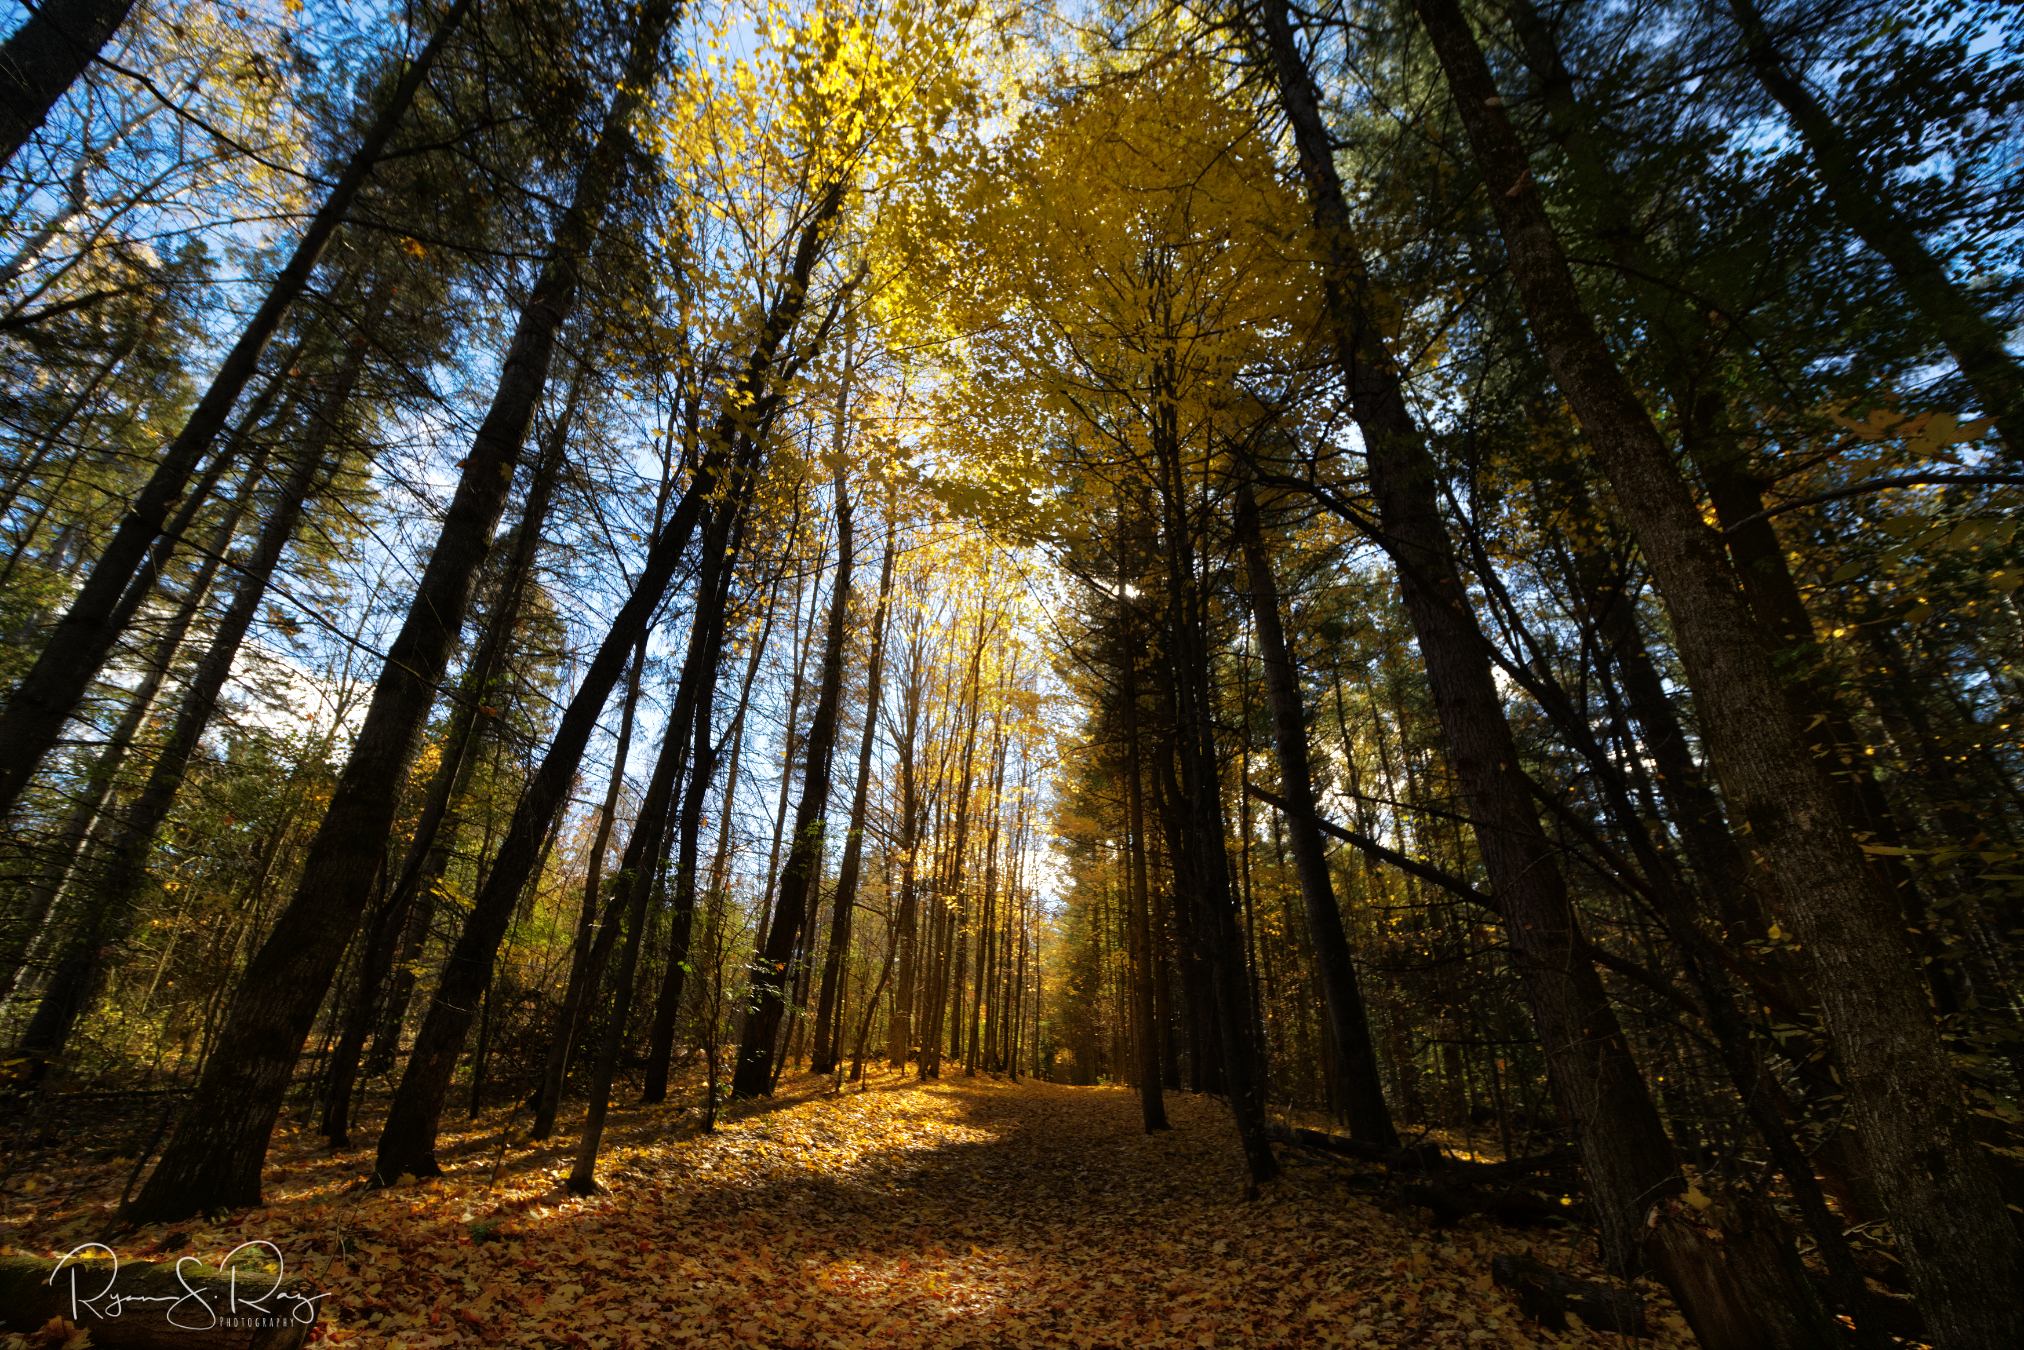
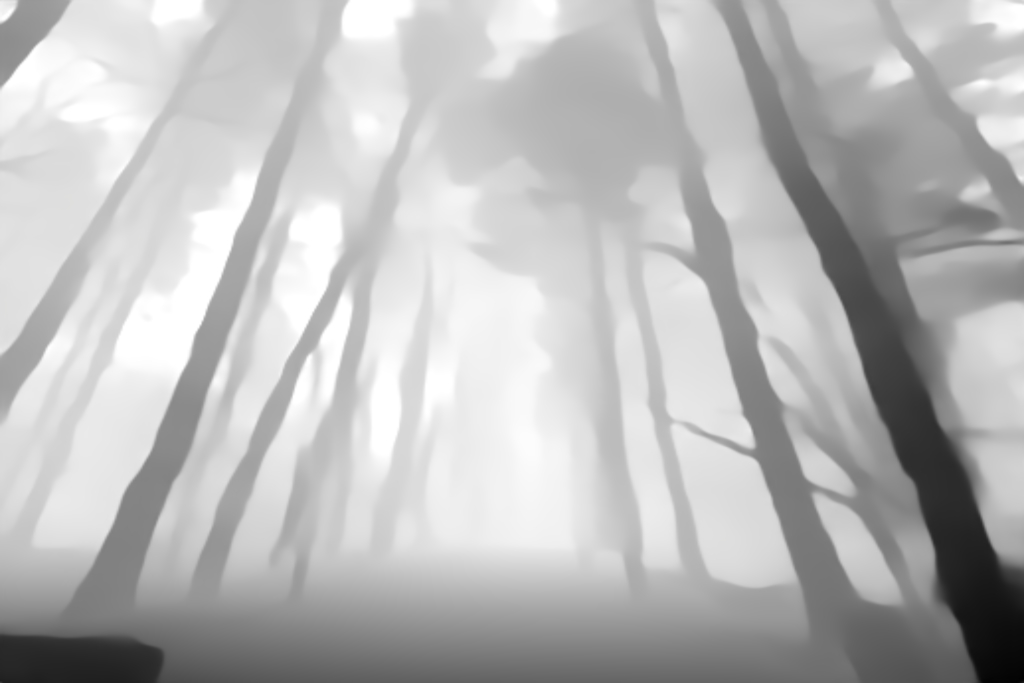
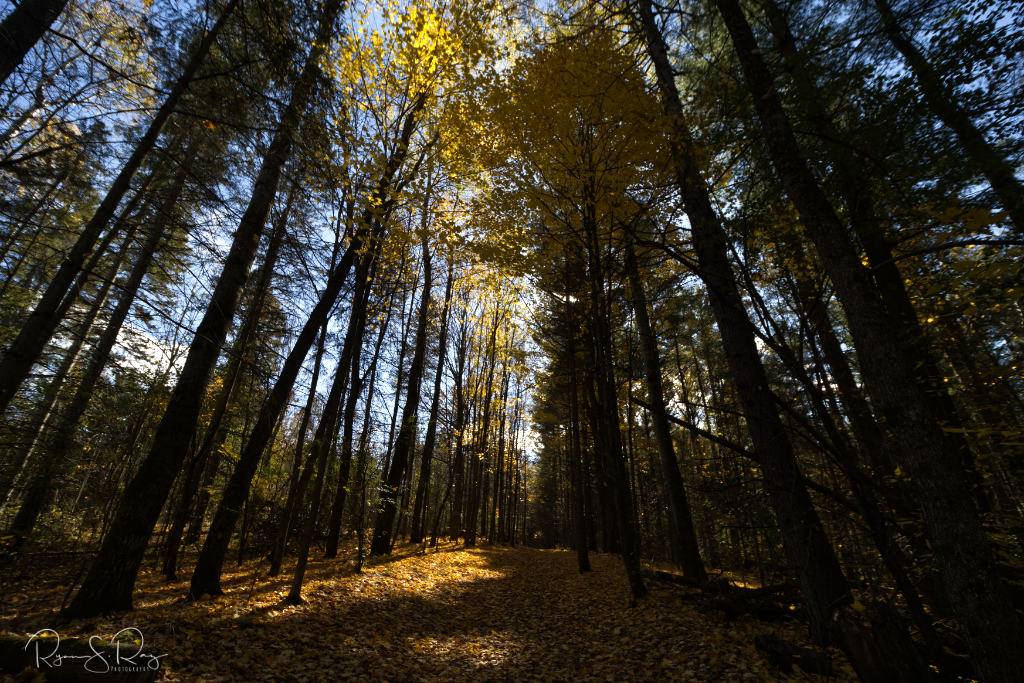
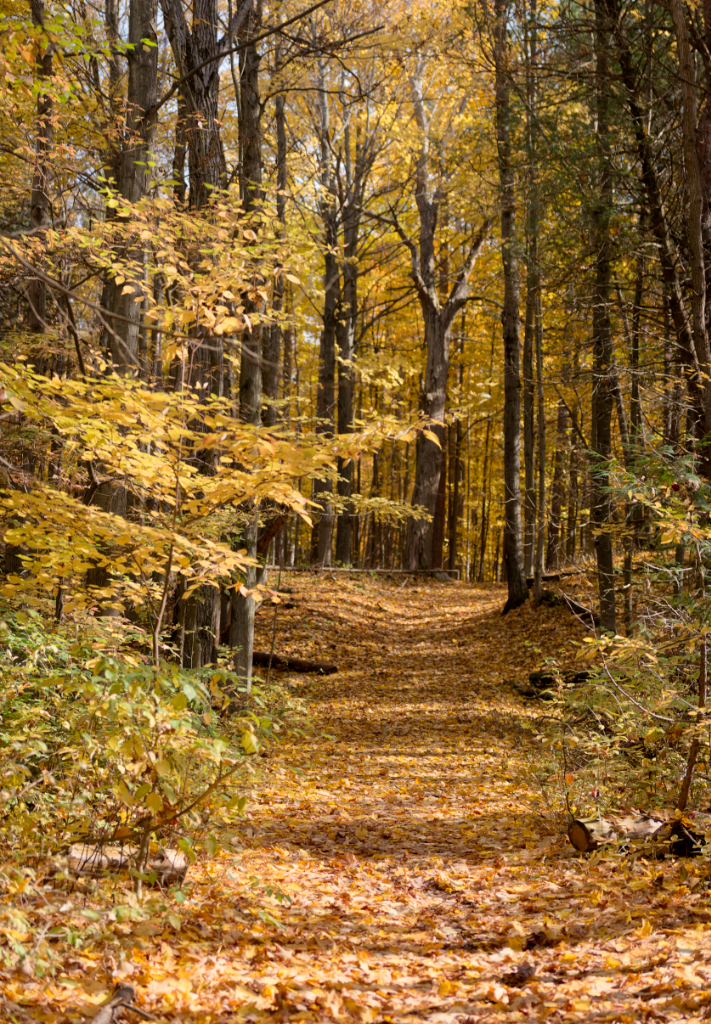
This first example is a straight forward relight, selecting depth by using a luminosity mask on the depthmap. In this case the mainlight is behind the trees. A depth map makes short work of masking the areas into 3 areas: In front of the trees, behind the trees, and the far end of the path
I am using a 16bit depth map instead of the common 8 bit as this allow a finer adjustment, especial in the far distance like the sky and the far end of the path. An 8bit map has poor granularity. To run the program and output the 16bit depthmaps on my windows desktop I modified DepthAnythingAC on github.
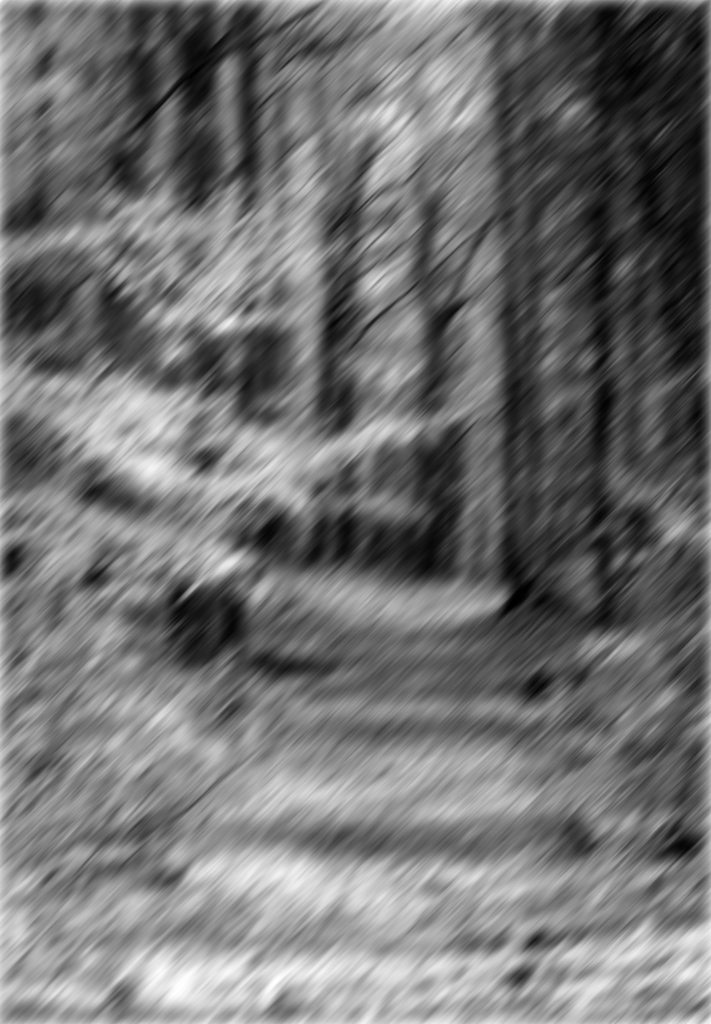
This next example adds motion blur to the depthmap allowing it to closely simulate sunlight illumination streaming through the tree branches from the right hand side.
Deblur
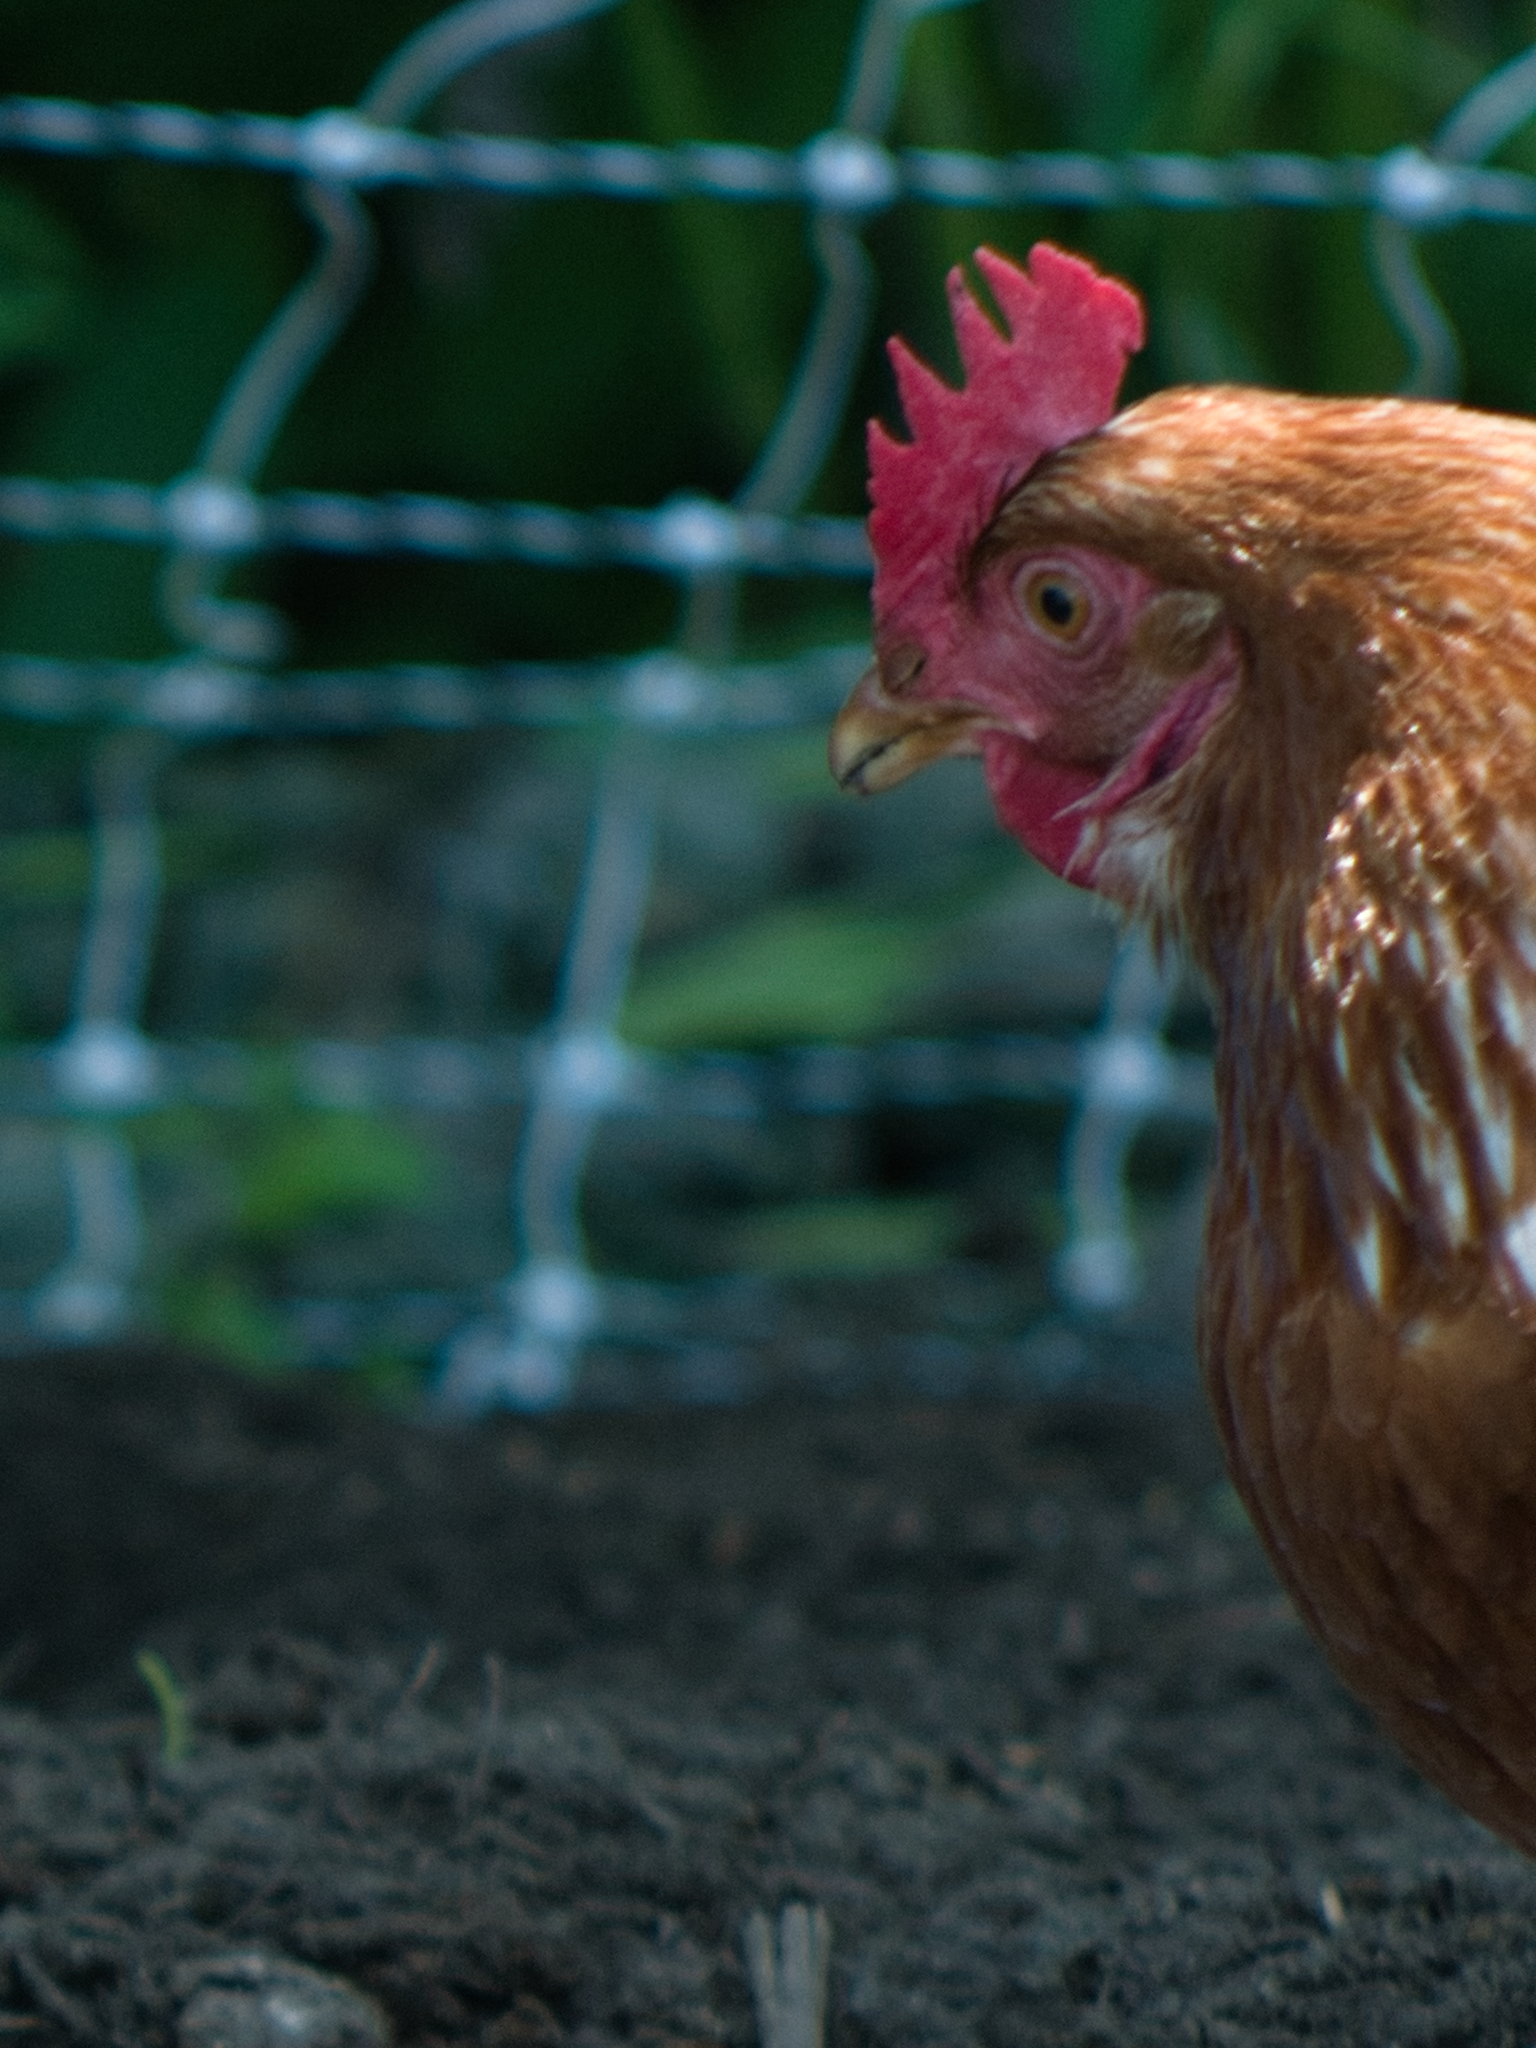
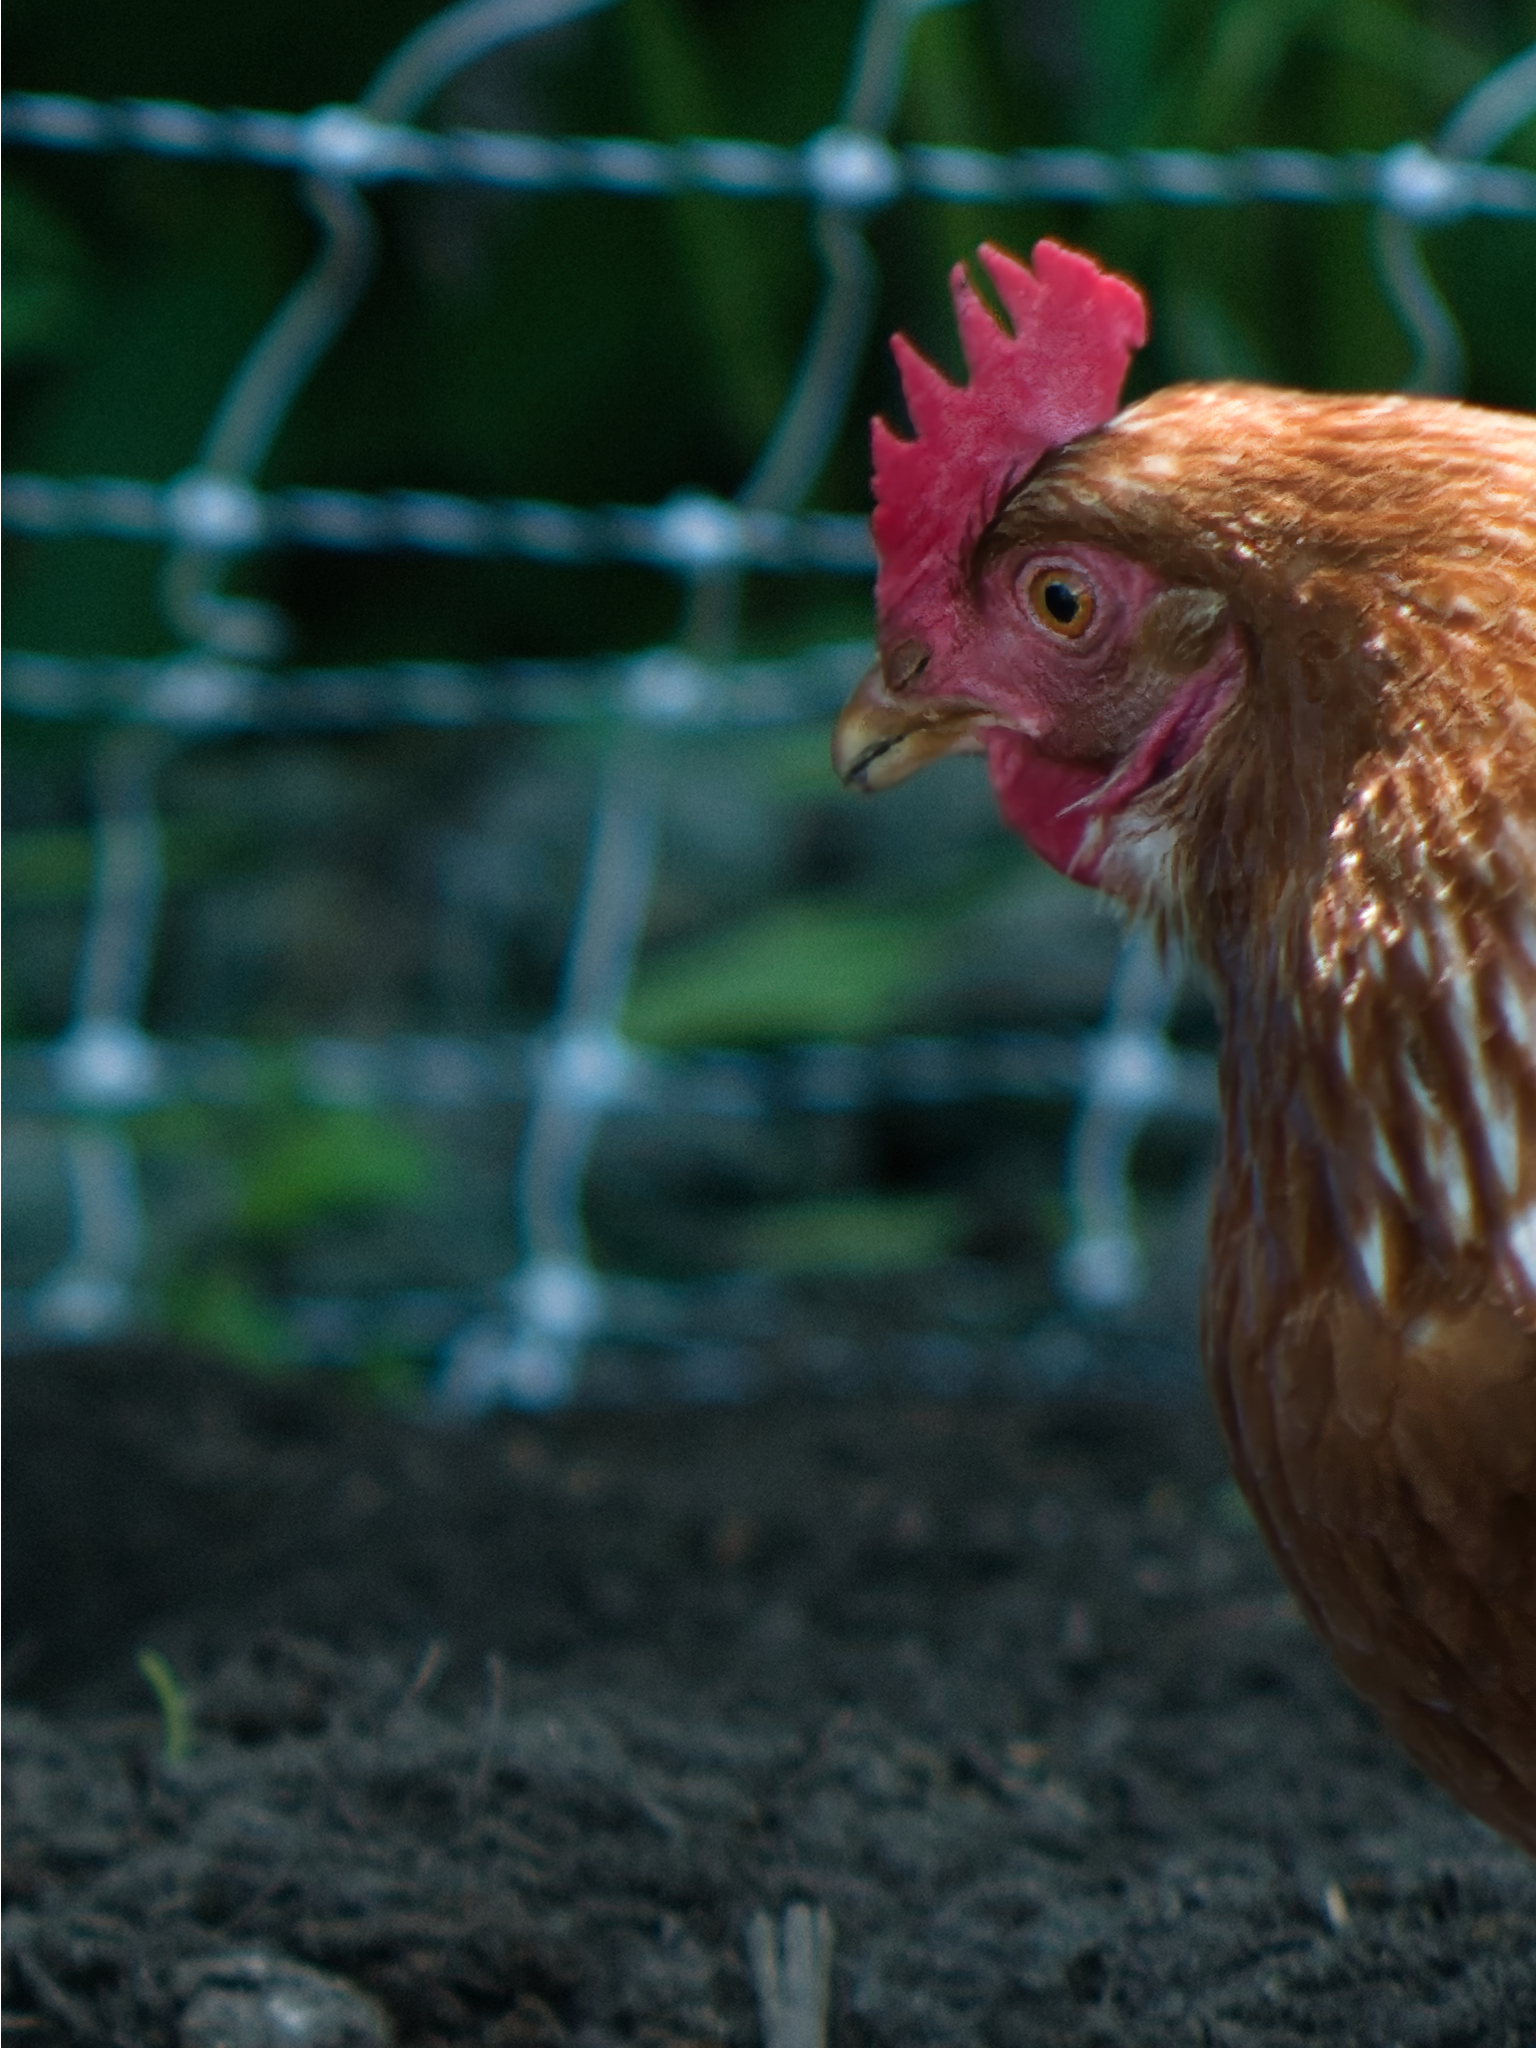
Deblurring should not be confused with sharpening. Main cause of blur is out of focus or motion of the camera or the subject. Other causes could be weather such as rain or mist. A debur algorithm attempts to reverse engineer the blurred image. AI image enhancements can look good but it usually replaces blurred features in an image with made-up information, not a good thing if you are trying to read a license plate from a satellite image. In the case of my favorite chicken above notice the slight blemish at the bottom of the eye and the complicated structure around the base of the beak. Standard AI enhancements tend to smooth out these areas making them almost cartoonish (definitely not real-life). Algorithmic deblur image enhancements also have to make assumptions but the transformation is basically mathematic. Modern methods also use AI methods with the object to get a best fit algorithmically rather than nearest fit to an AI database of birds parts (I know an oversimplification). I used this model and only on the head.
Deblurring vs. Sharpening vs. AI Enhancement
Ultra Long Exposures
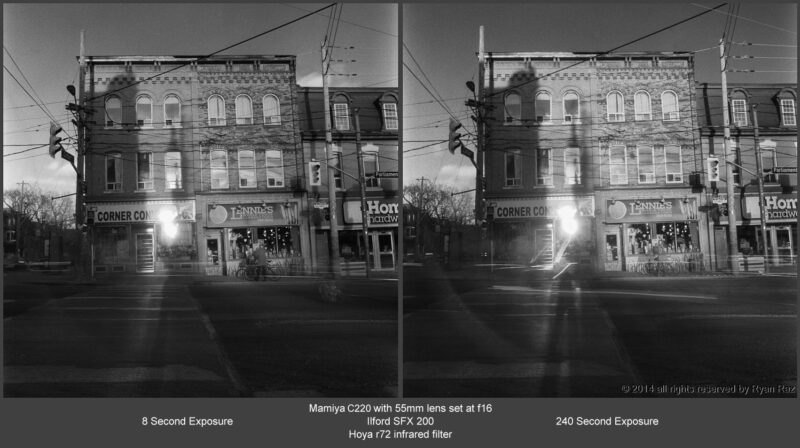
8 Second versus 240 Second Exposures All Other Parameters Being The Same
Experiment as part of a proof of concept to make film exposures that could last for weeks. The long exposure (on the right) had the exact same setup as the shorter exposure (left) including the use of the same filter and fstop. The 8 second exposure was determined by my light-meter as correct for the r72 filter needed to filter out most of the light.
It has very little to do with the film both sides were developed in same batch. More about that later if I decide to build a special camera. Also if I used a low reciprocity film like Neopan 100 I'm sure I could get exposure times of a year.
I'm looking at the ultra long exposure work of Michael Wesely and thinking how I might do it without necessarily duplicating his methods as referenced in this thread
I'm making use of the fact that at really short exposures time very little light actually falls on the film. Plus reciprocity failure happens the same for short exposures as it does for long exposures as film needs more than one photon withing a certain period to expose a grain.
A 2 hour exposure could have been achieved except for the fact of the bitter cold arctic weather made it too difficult to stand around on a street corner. The baby steps were enough to lead me to believe a month would be no problem while a year is possible but will add some more difficulties. It would be interesting to put an auto shutter on my large format pinhole camera.
Note: it was really really cold and I couldn't get my tripod to lock down solid, so there is some tripod caused camera shake.
Moved Uptown without a Downtown
Big to Small
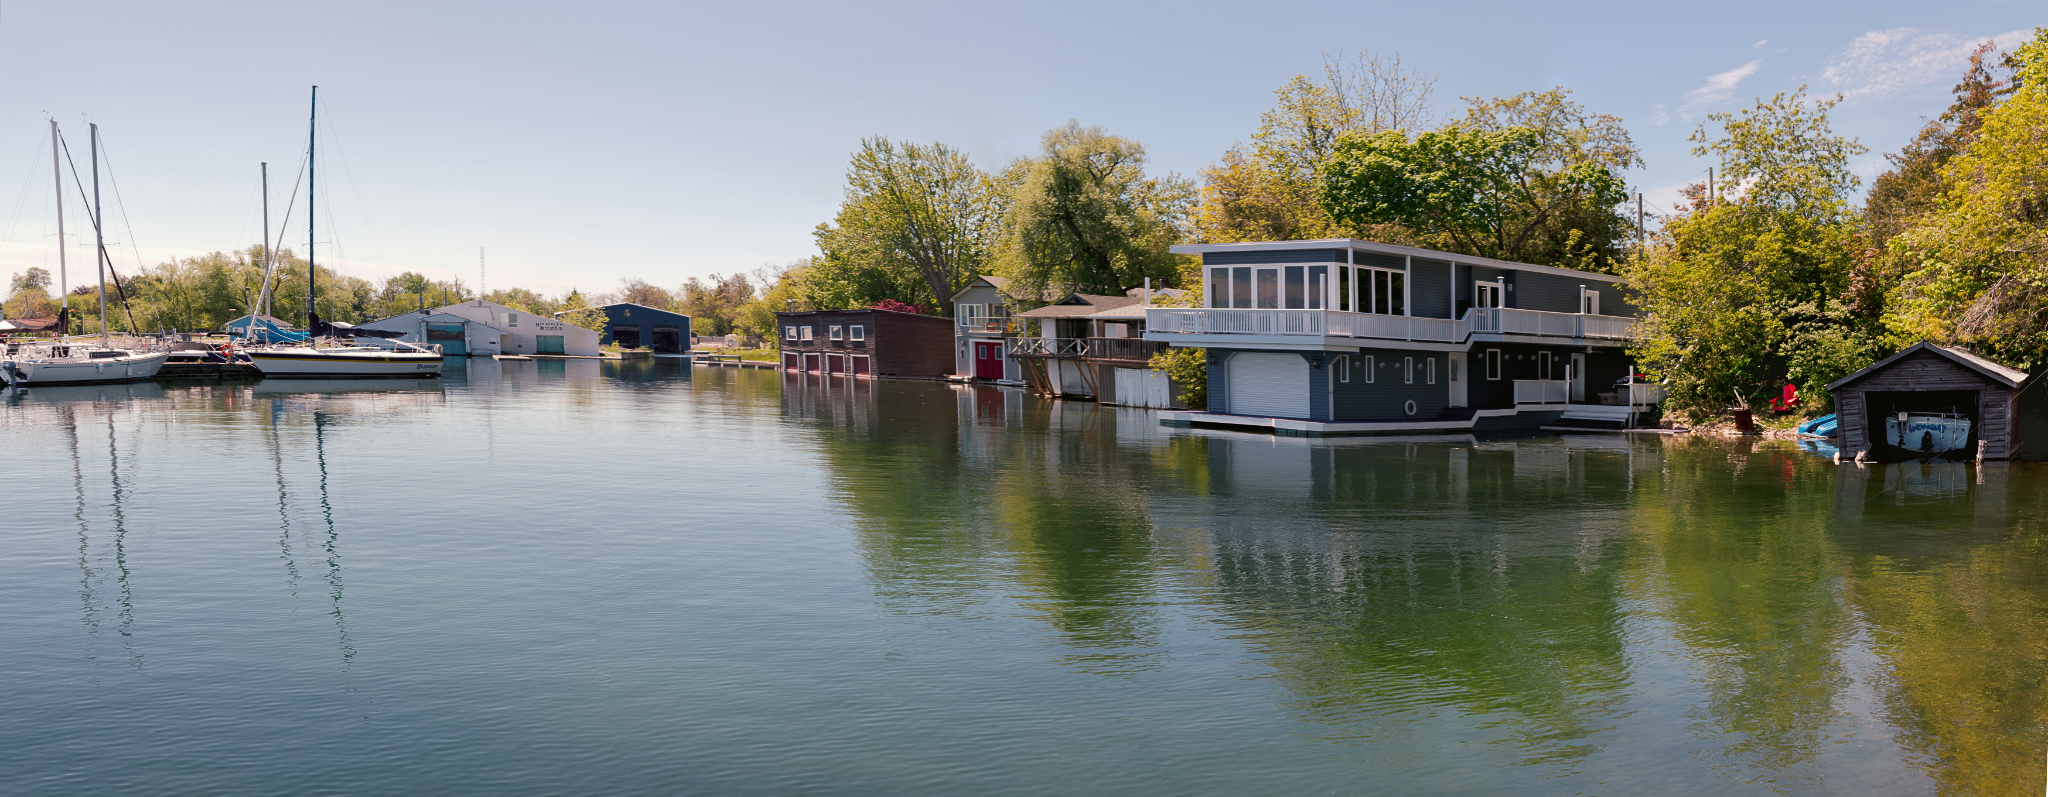
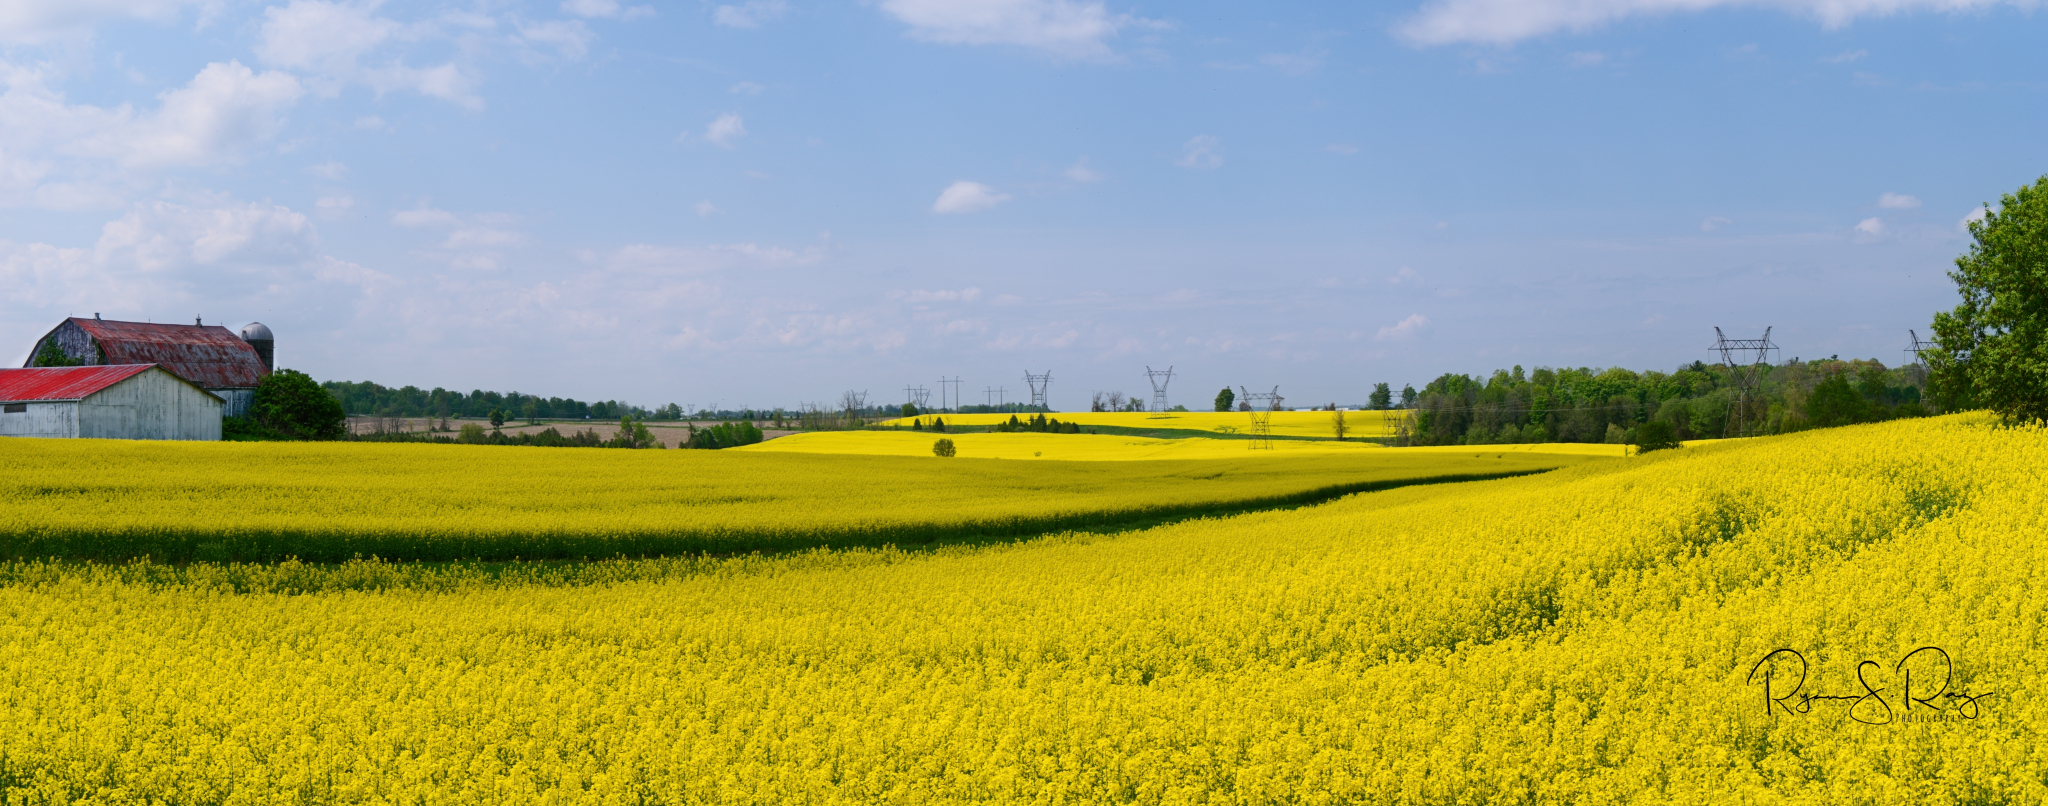
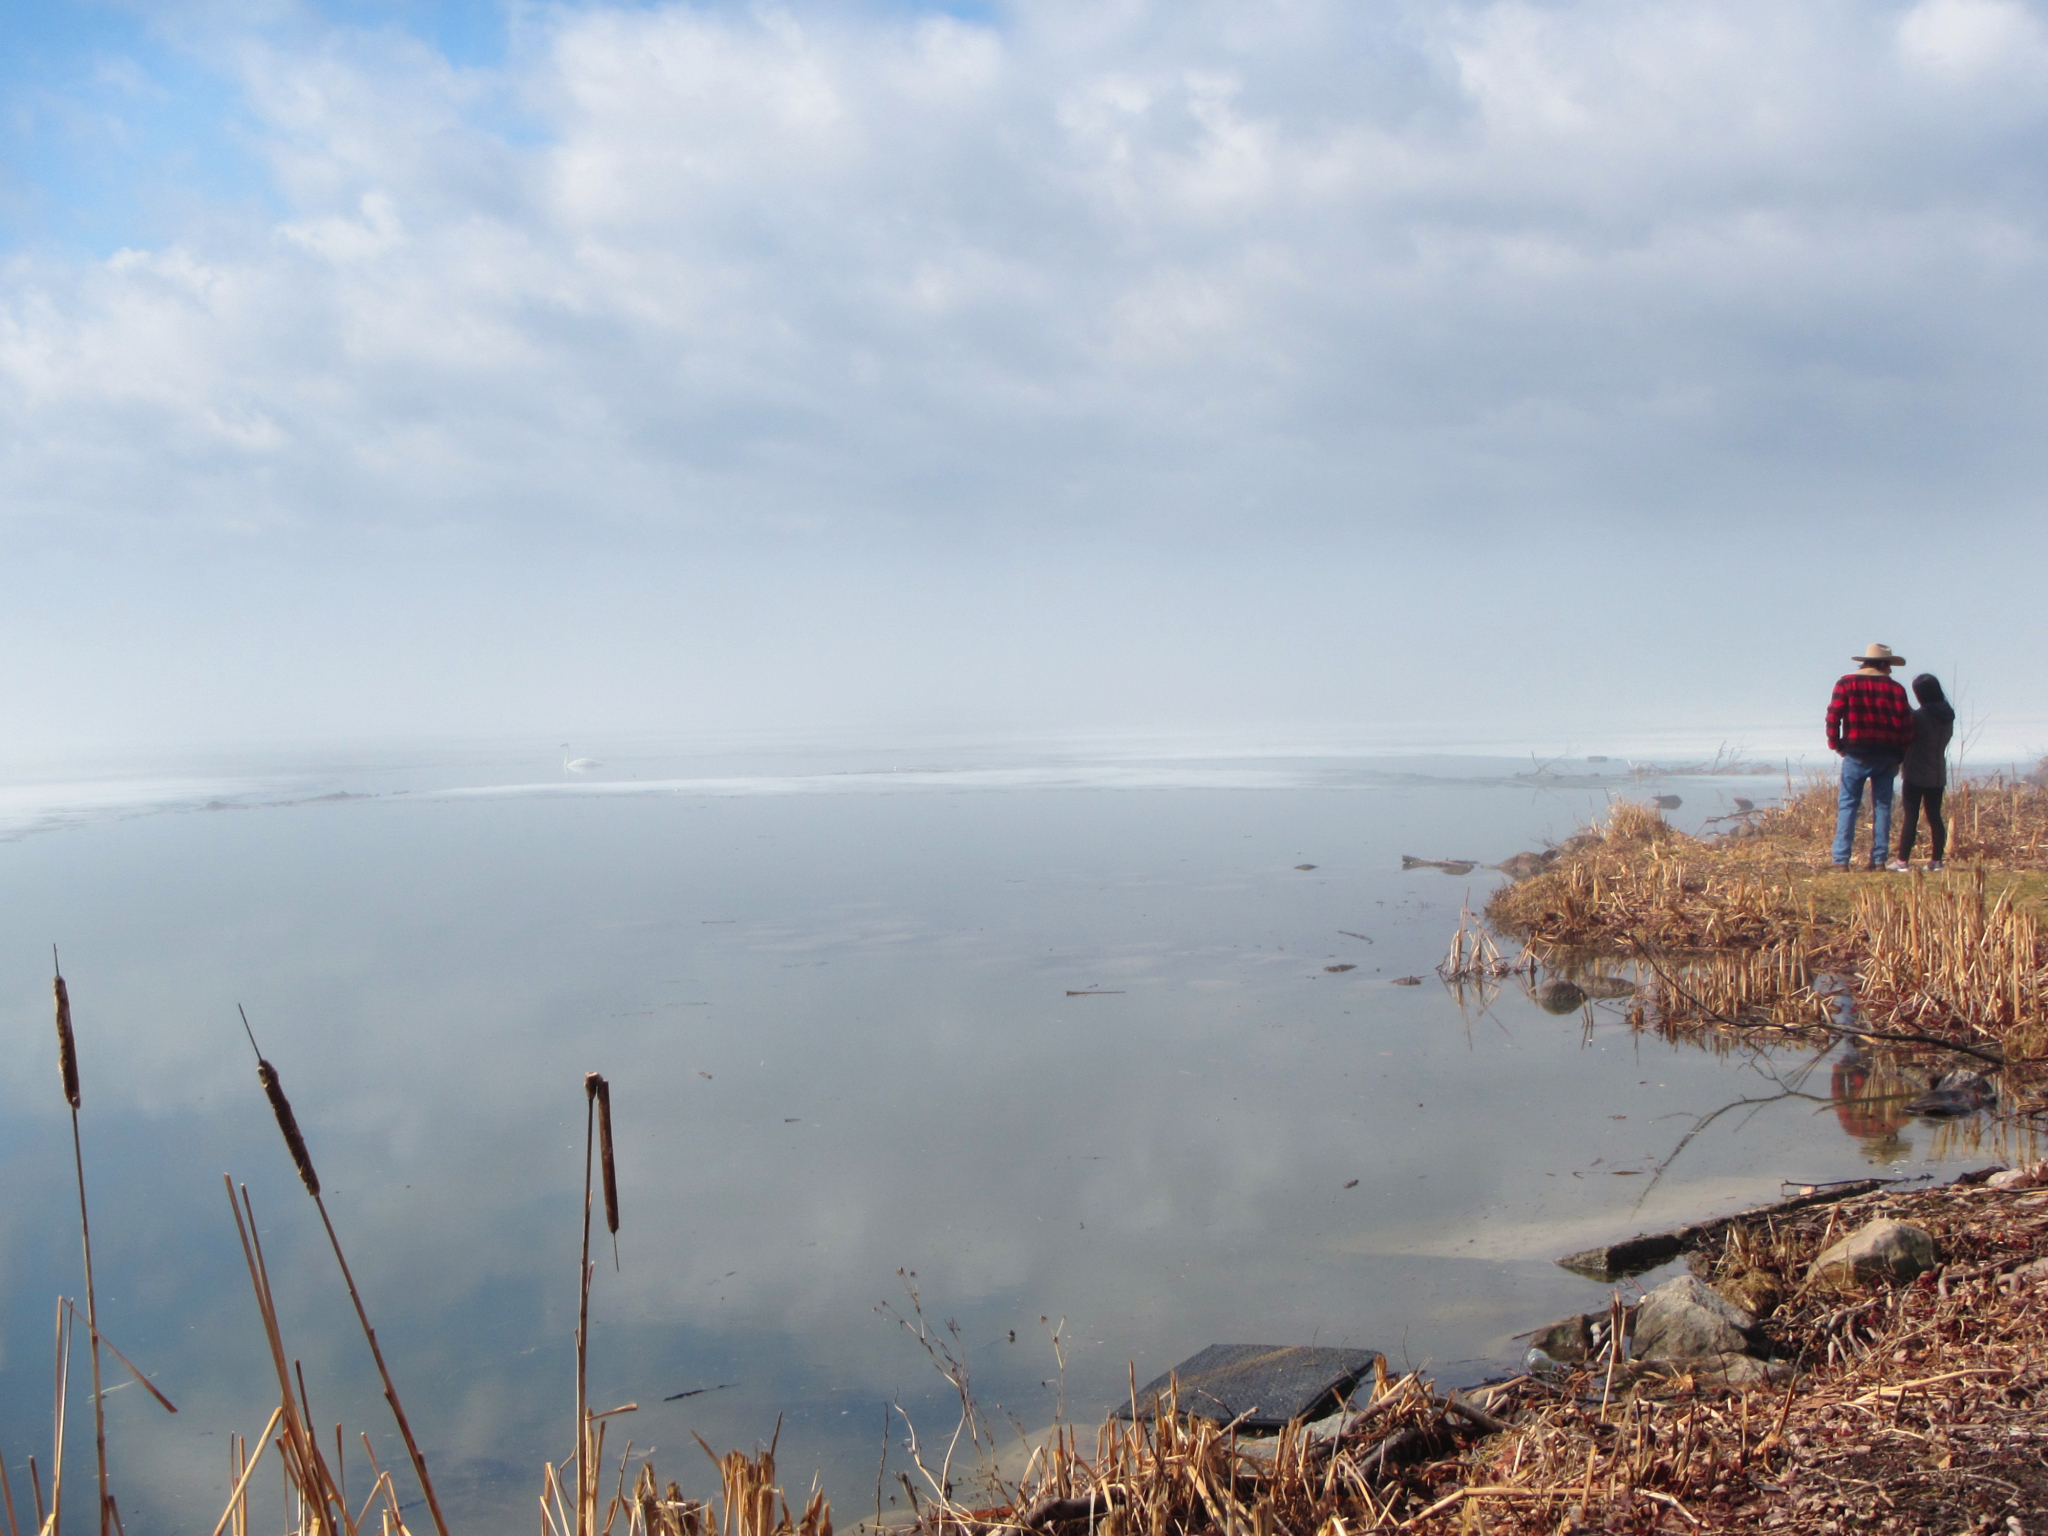
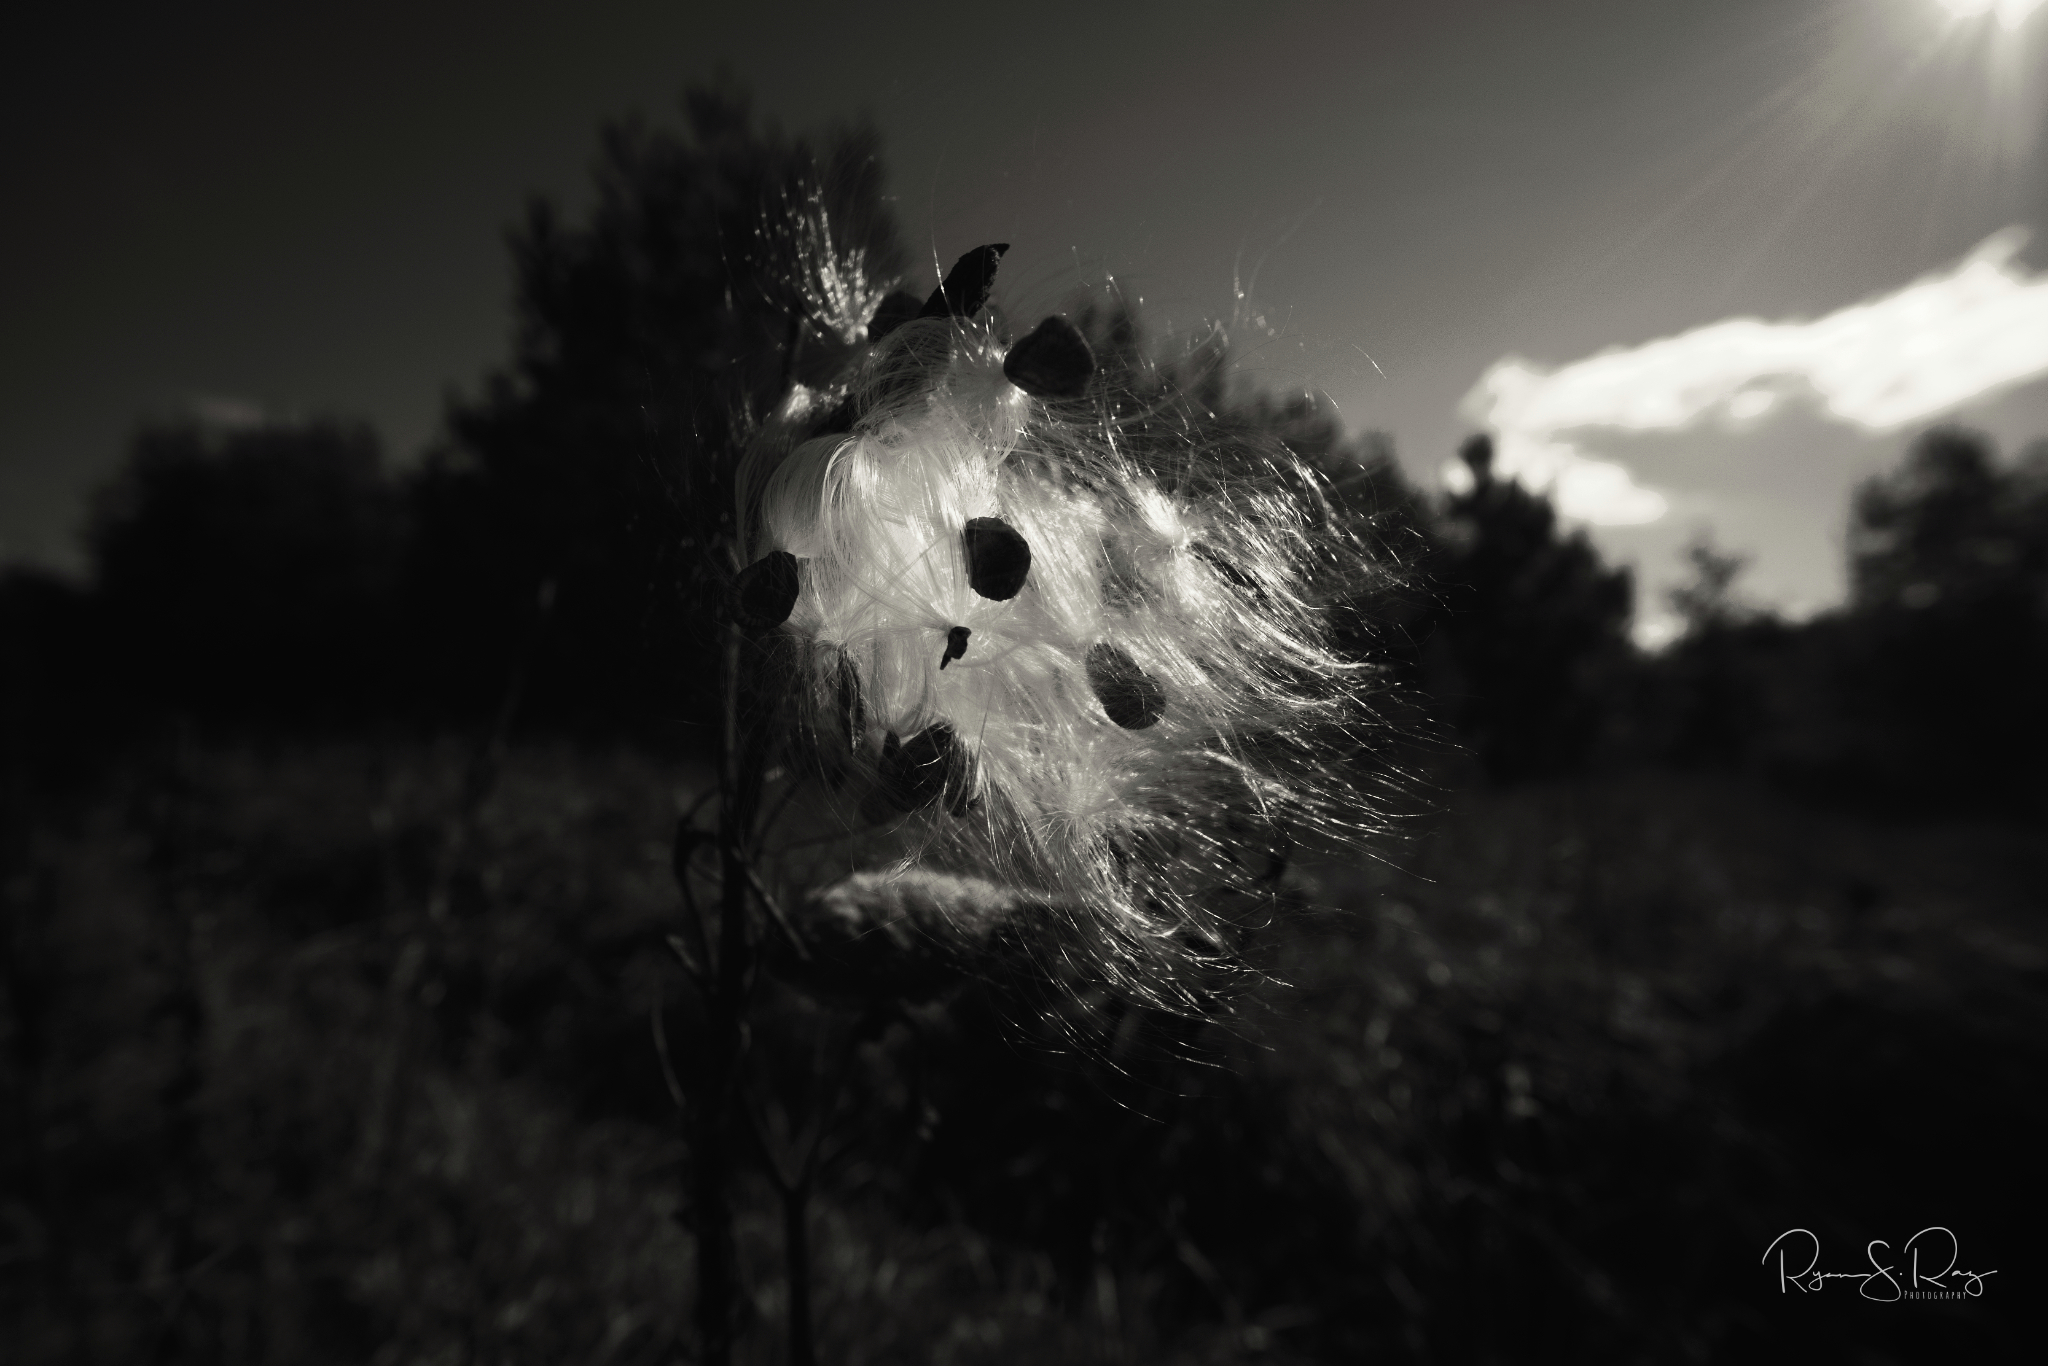
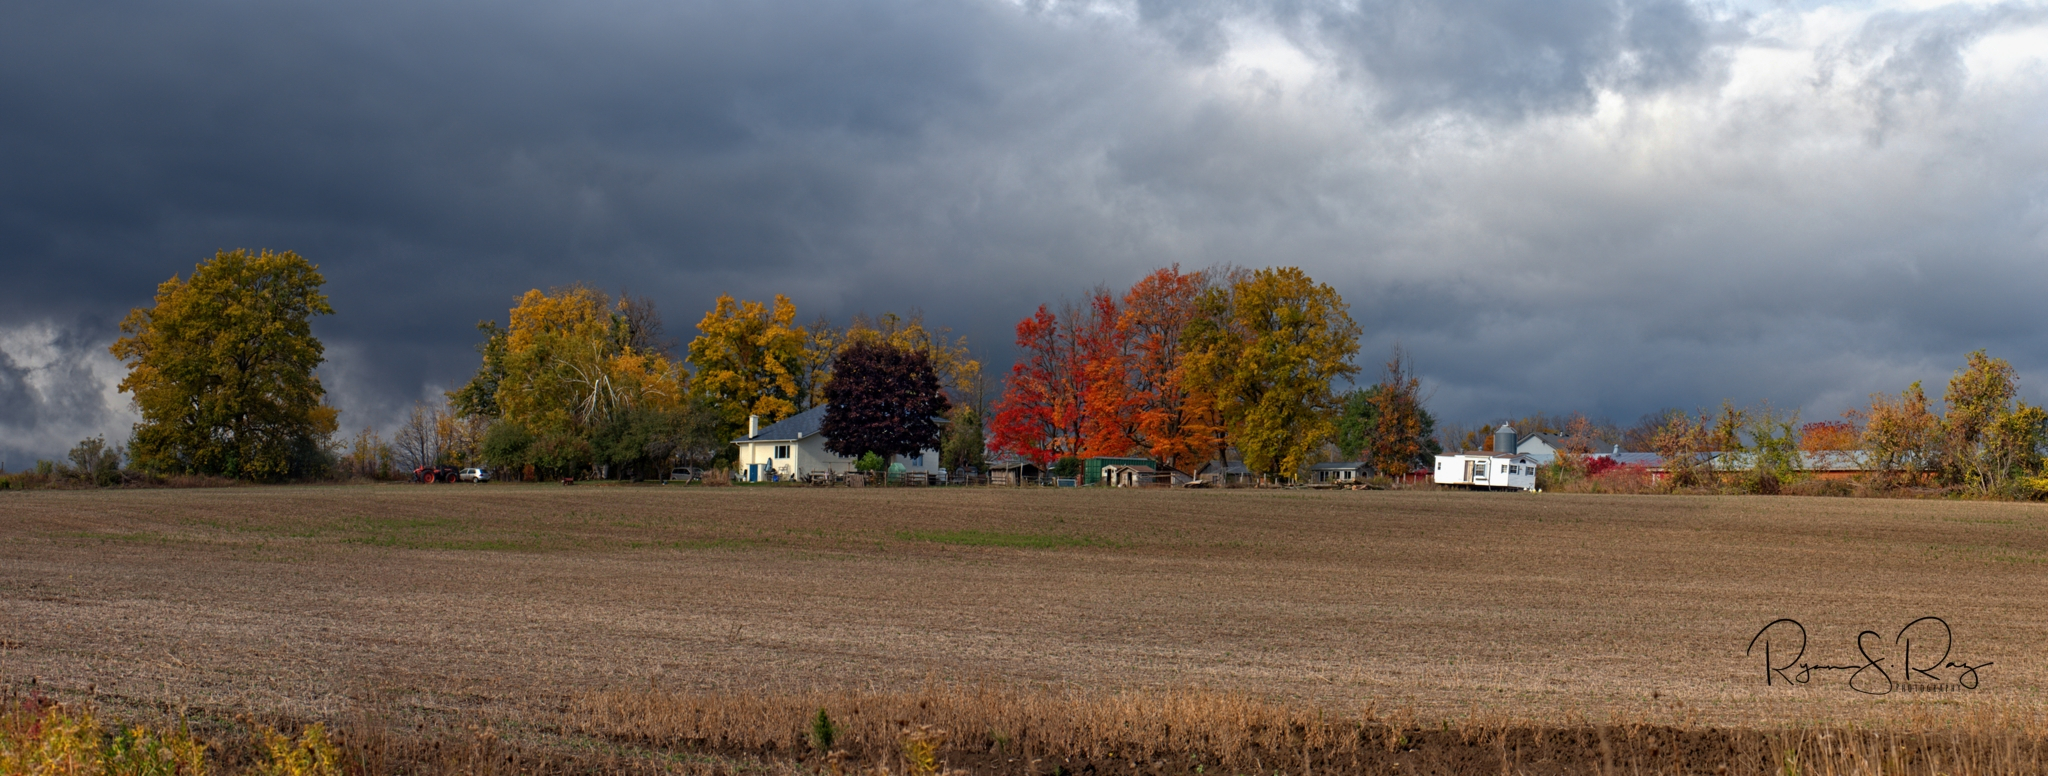
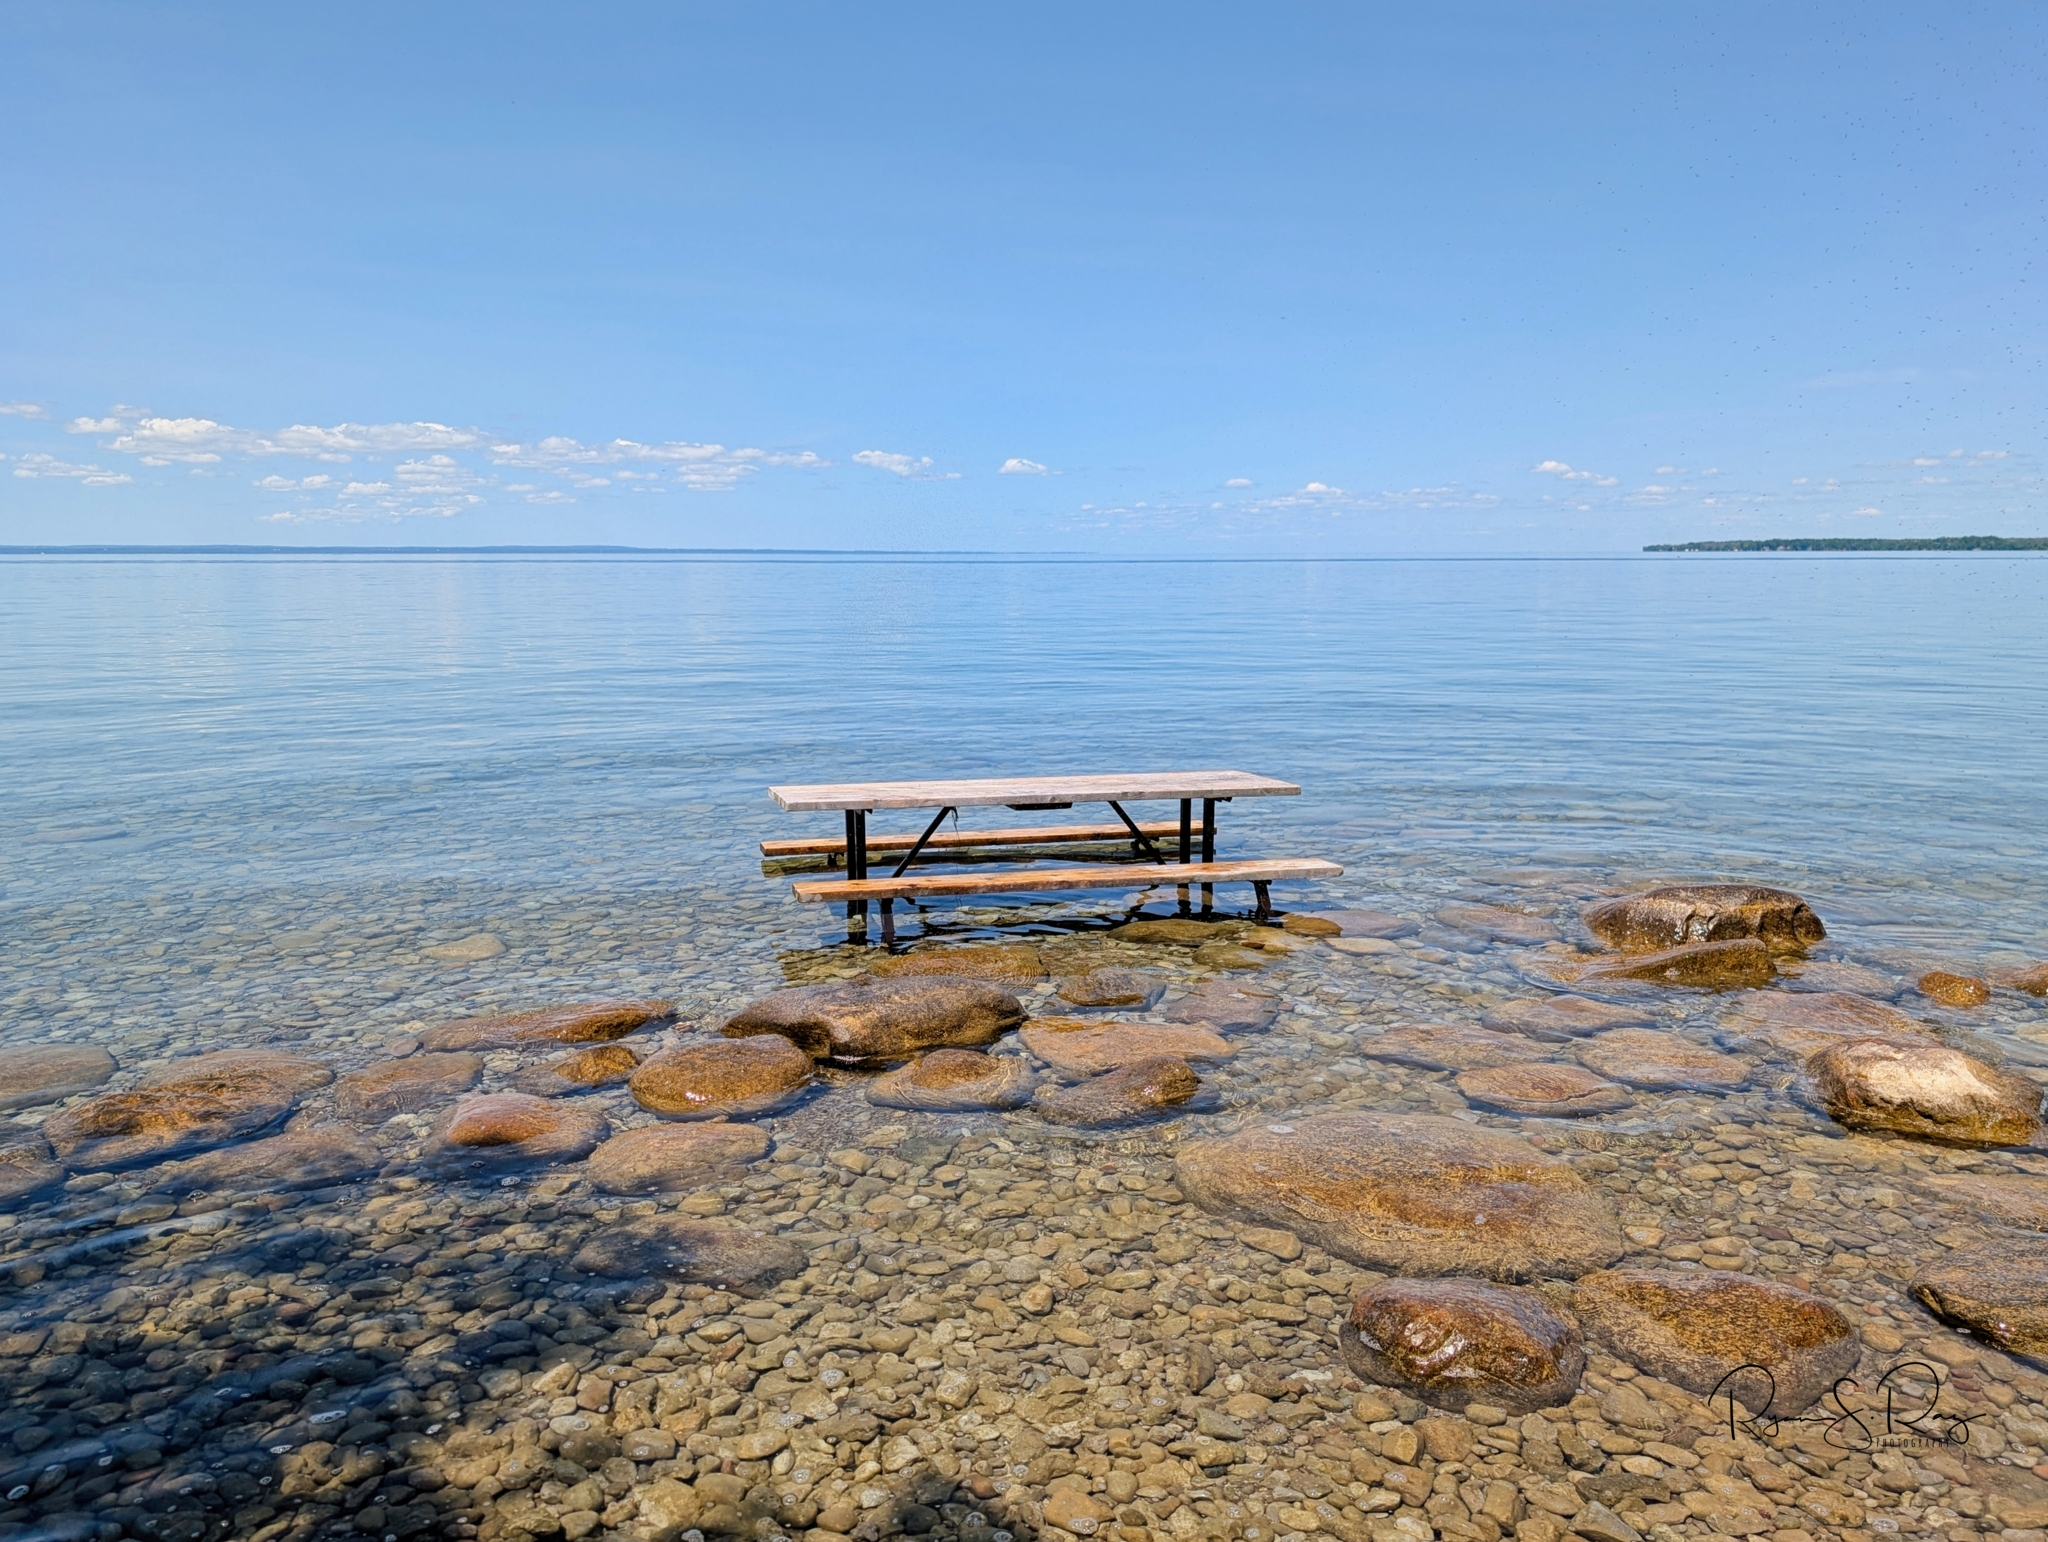
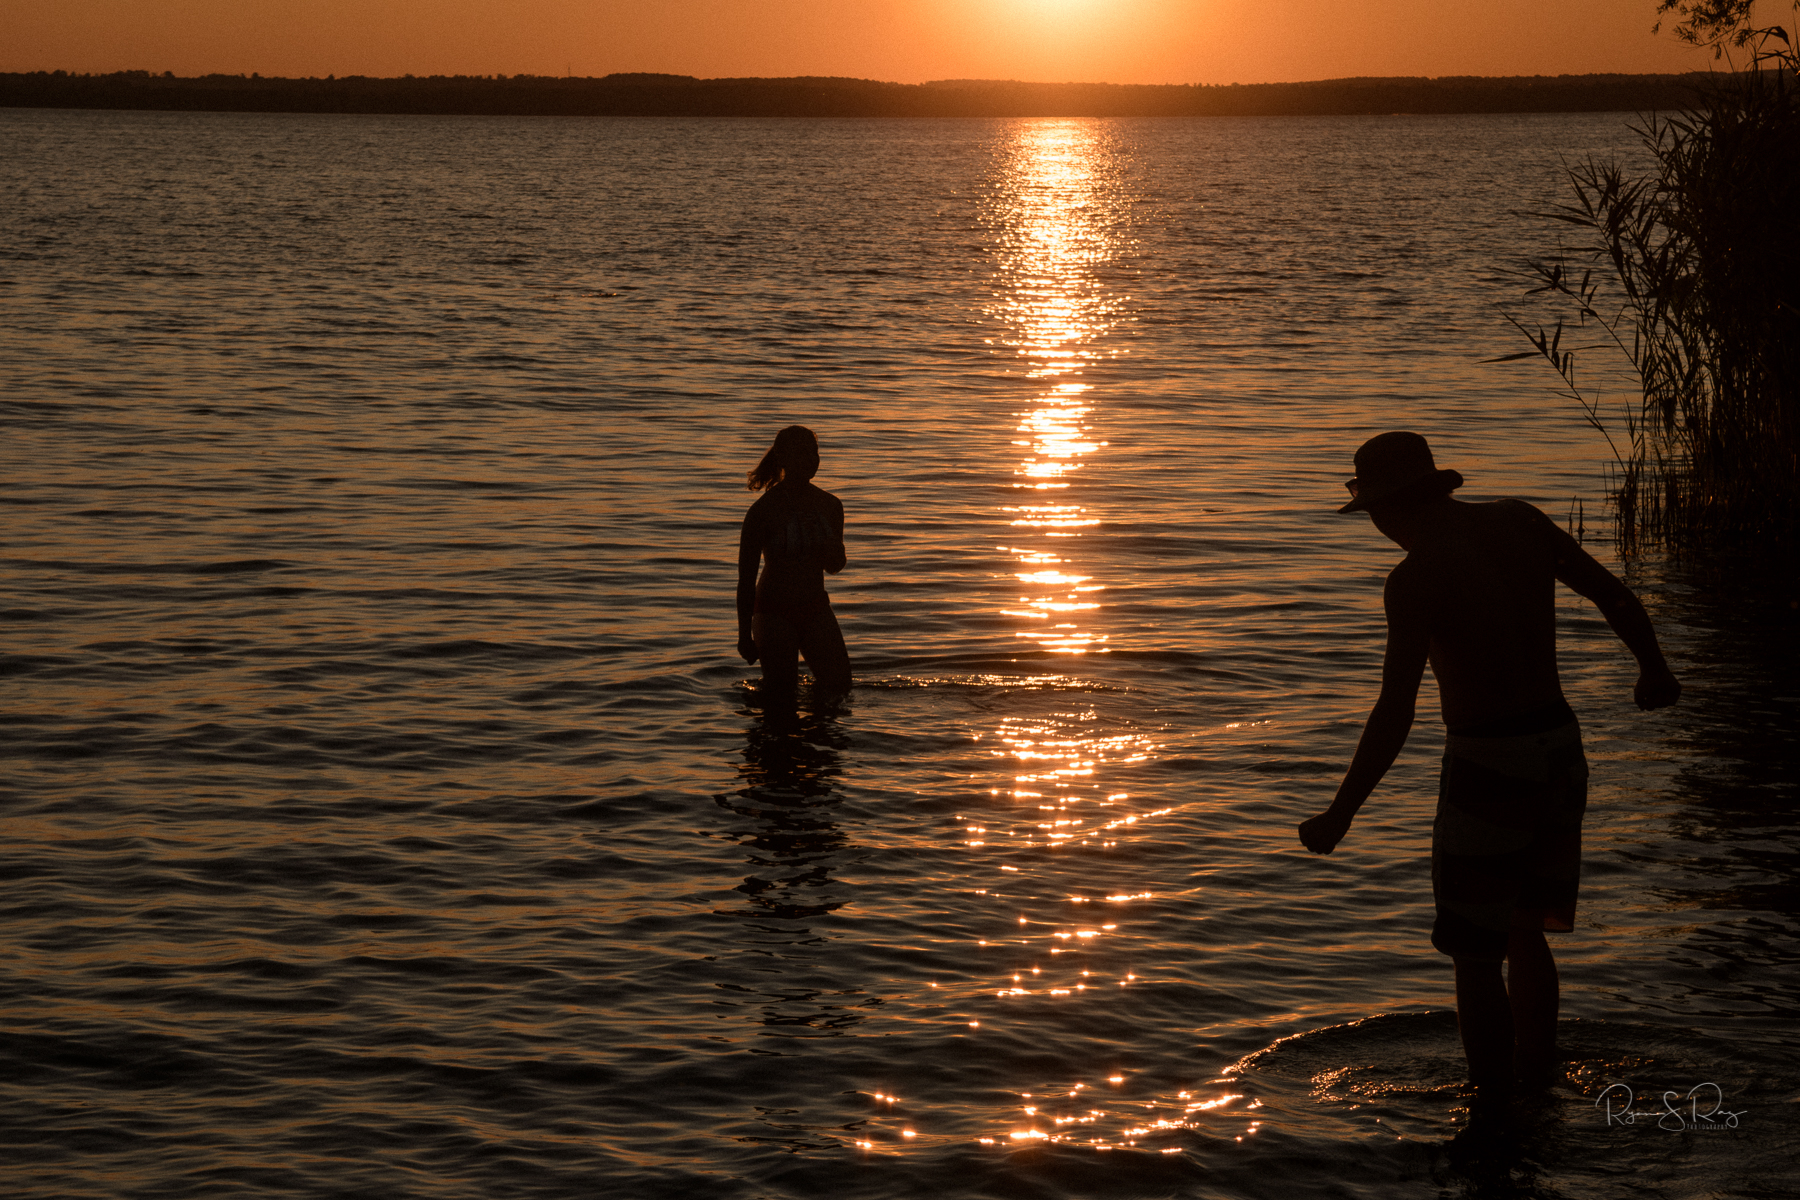
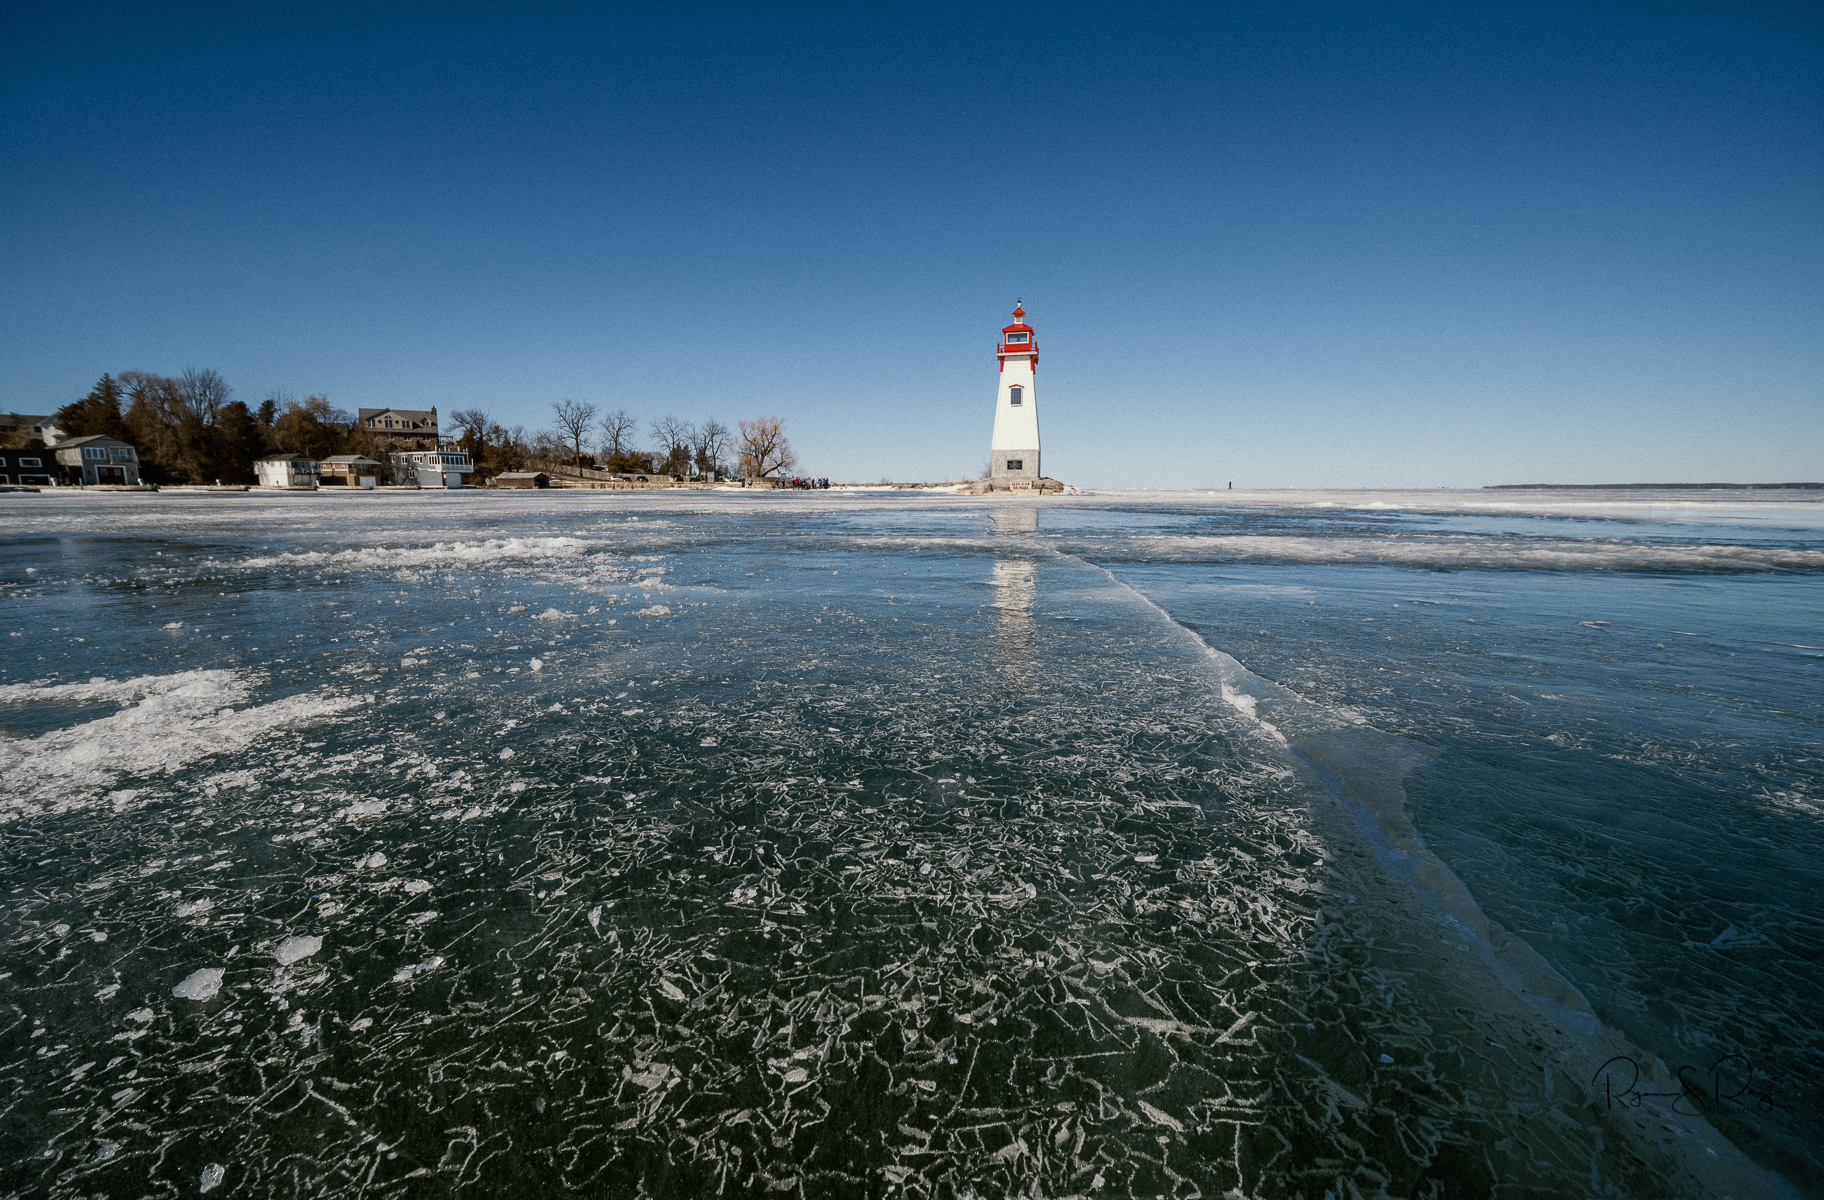
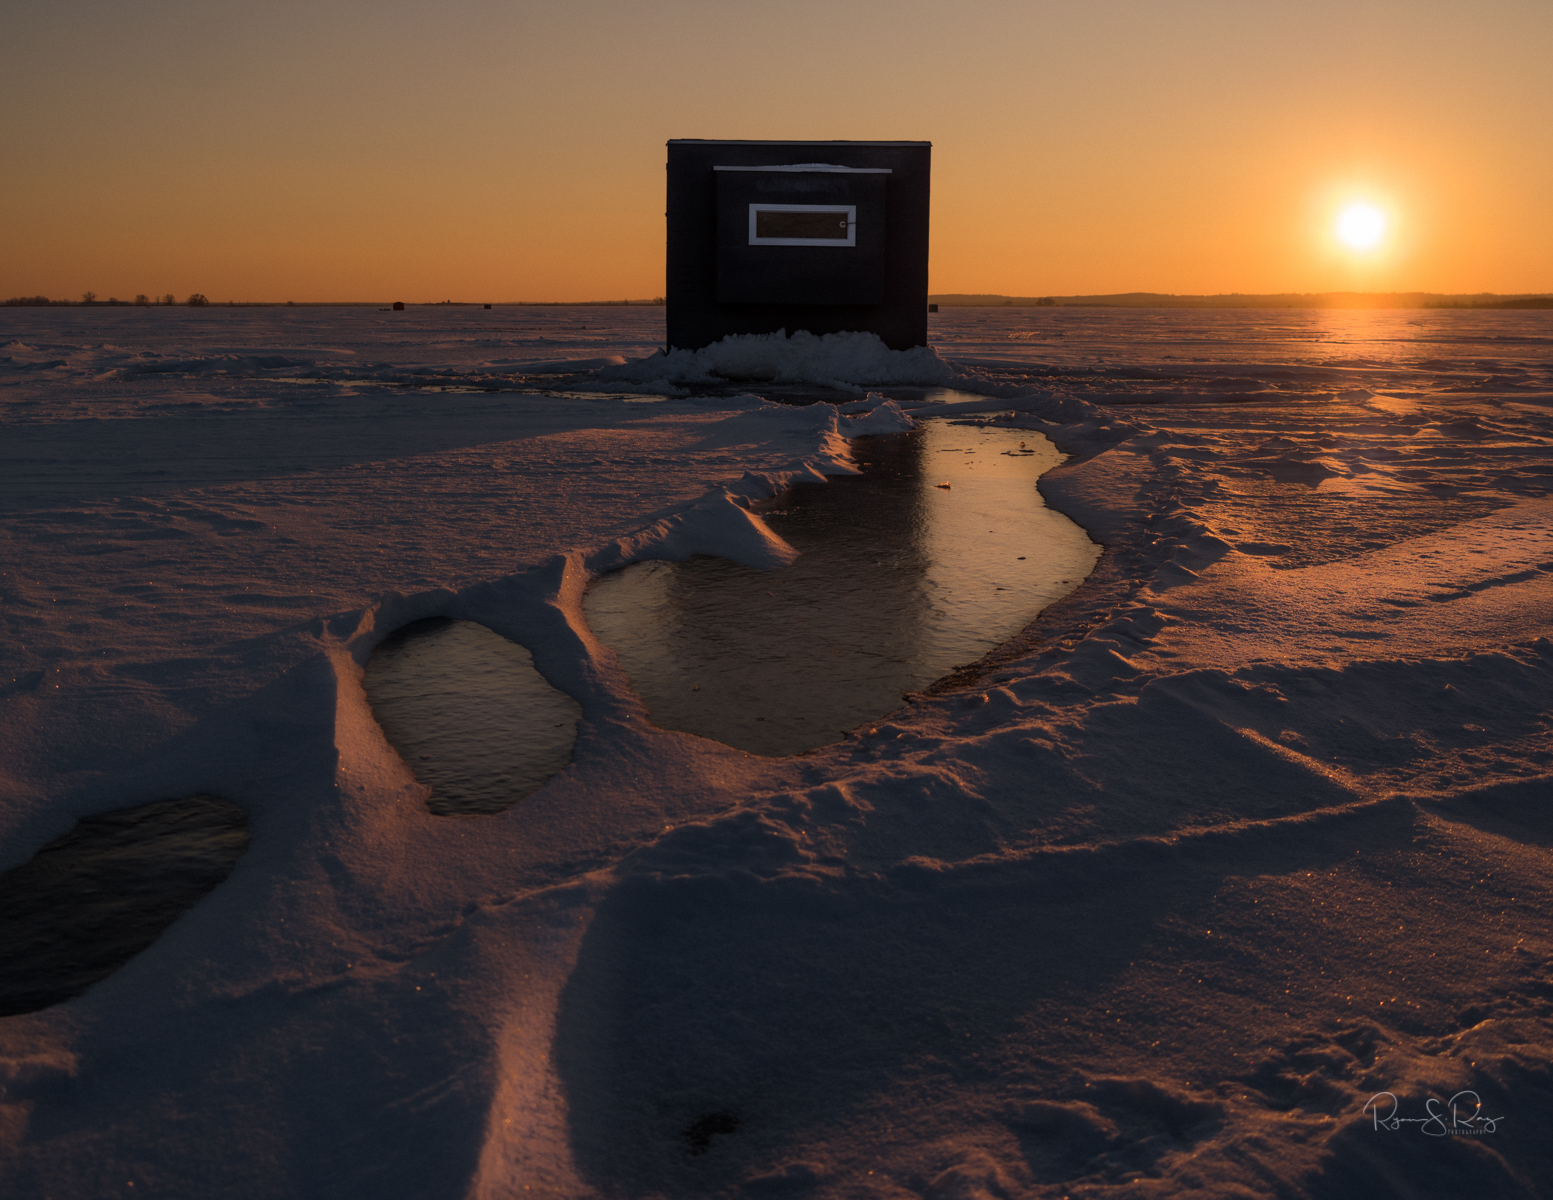
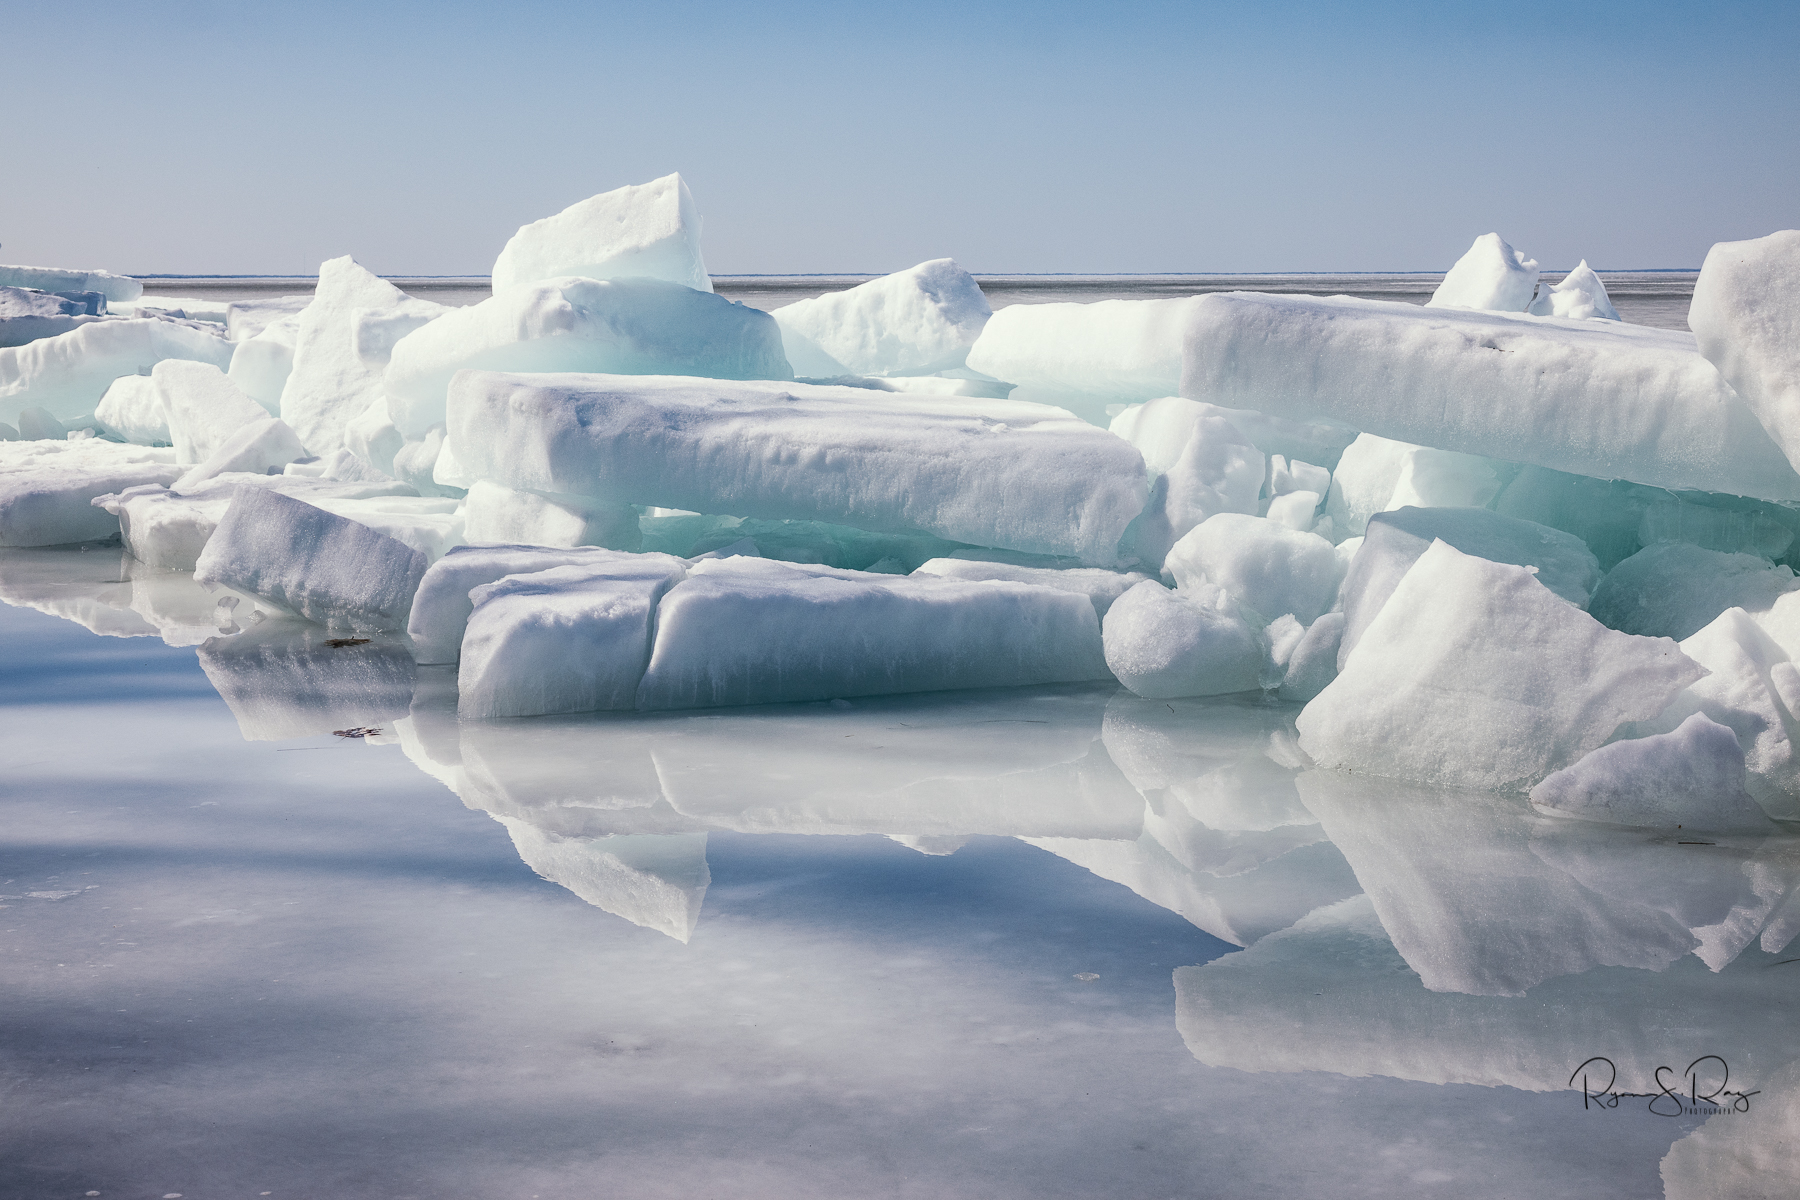
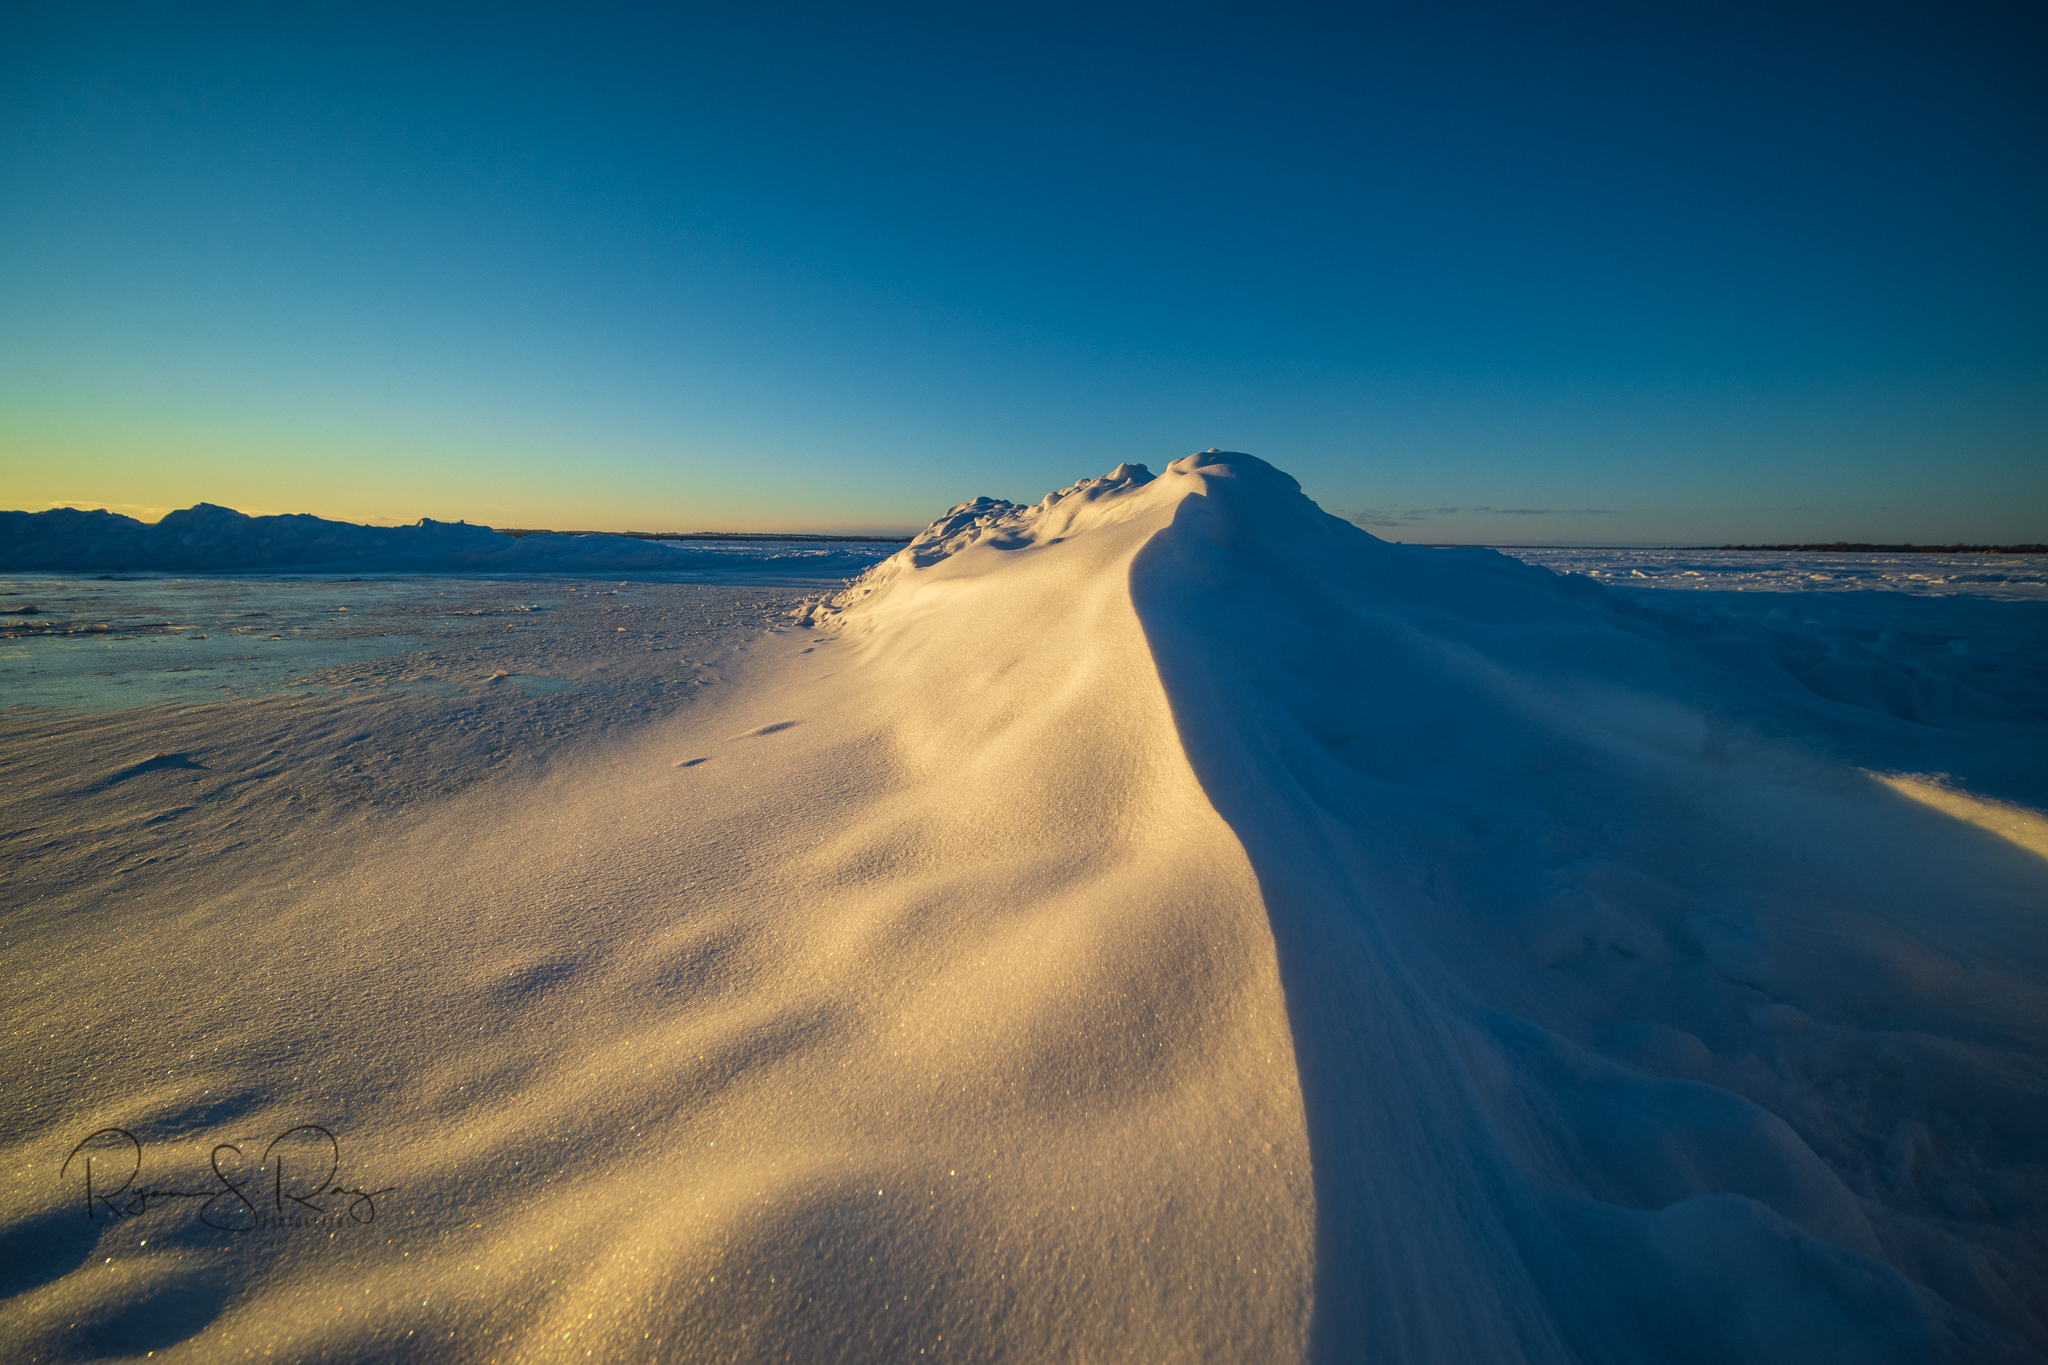
Must have been prescience as just before covid I move from Toronto up to Lake Simcoe. Most difficult was the lack of places for doing street photography. Lots of pretty sunsets, birds and mushrooms, and a town that has an uptown but no down town.
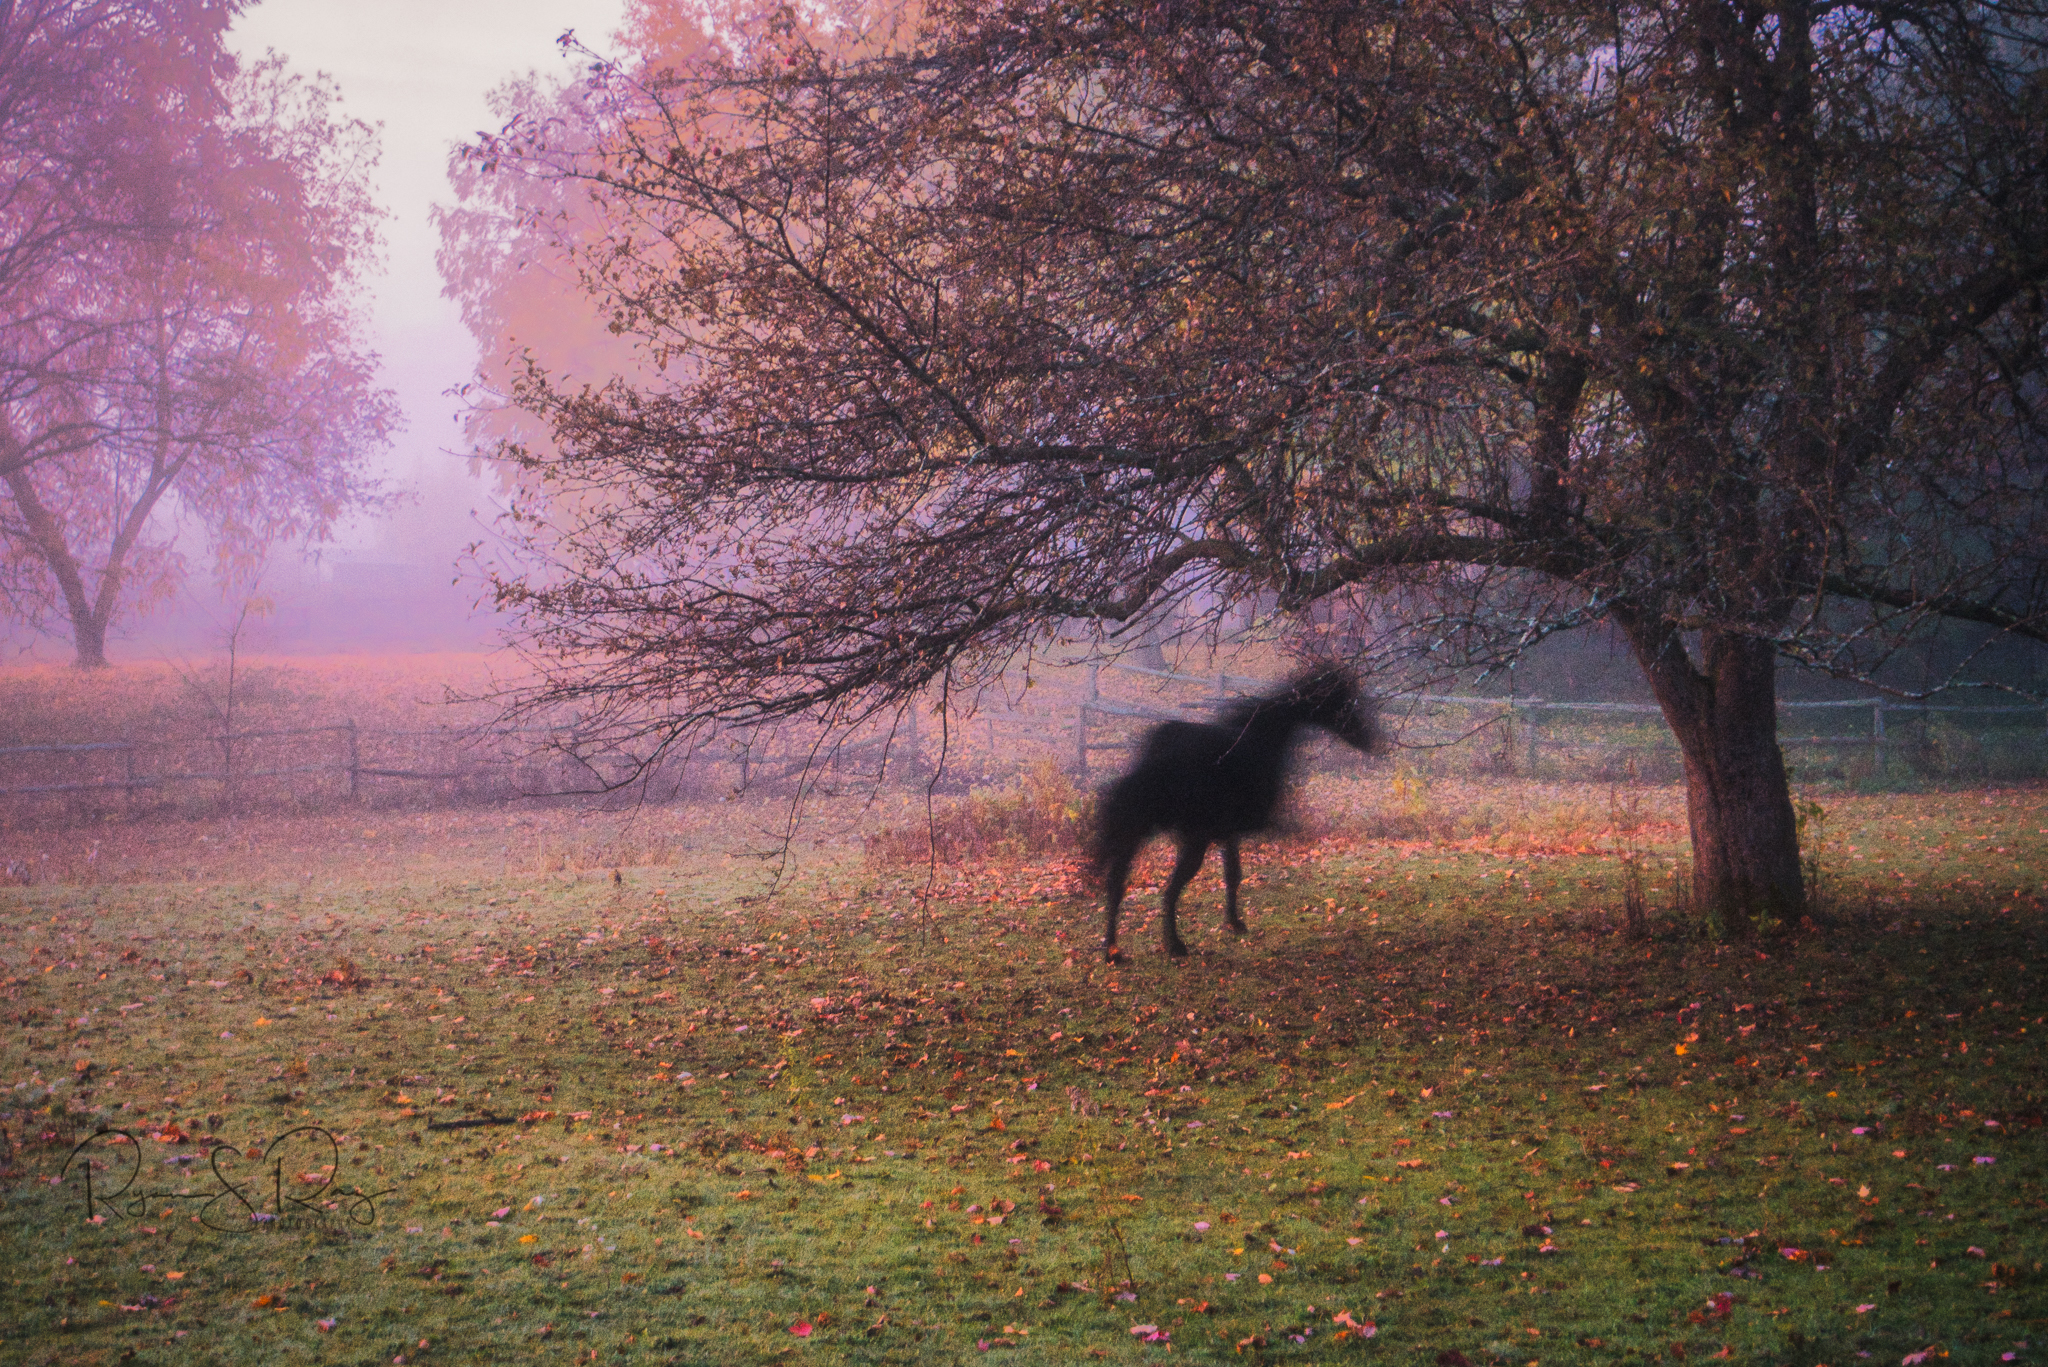

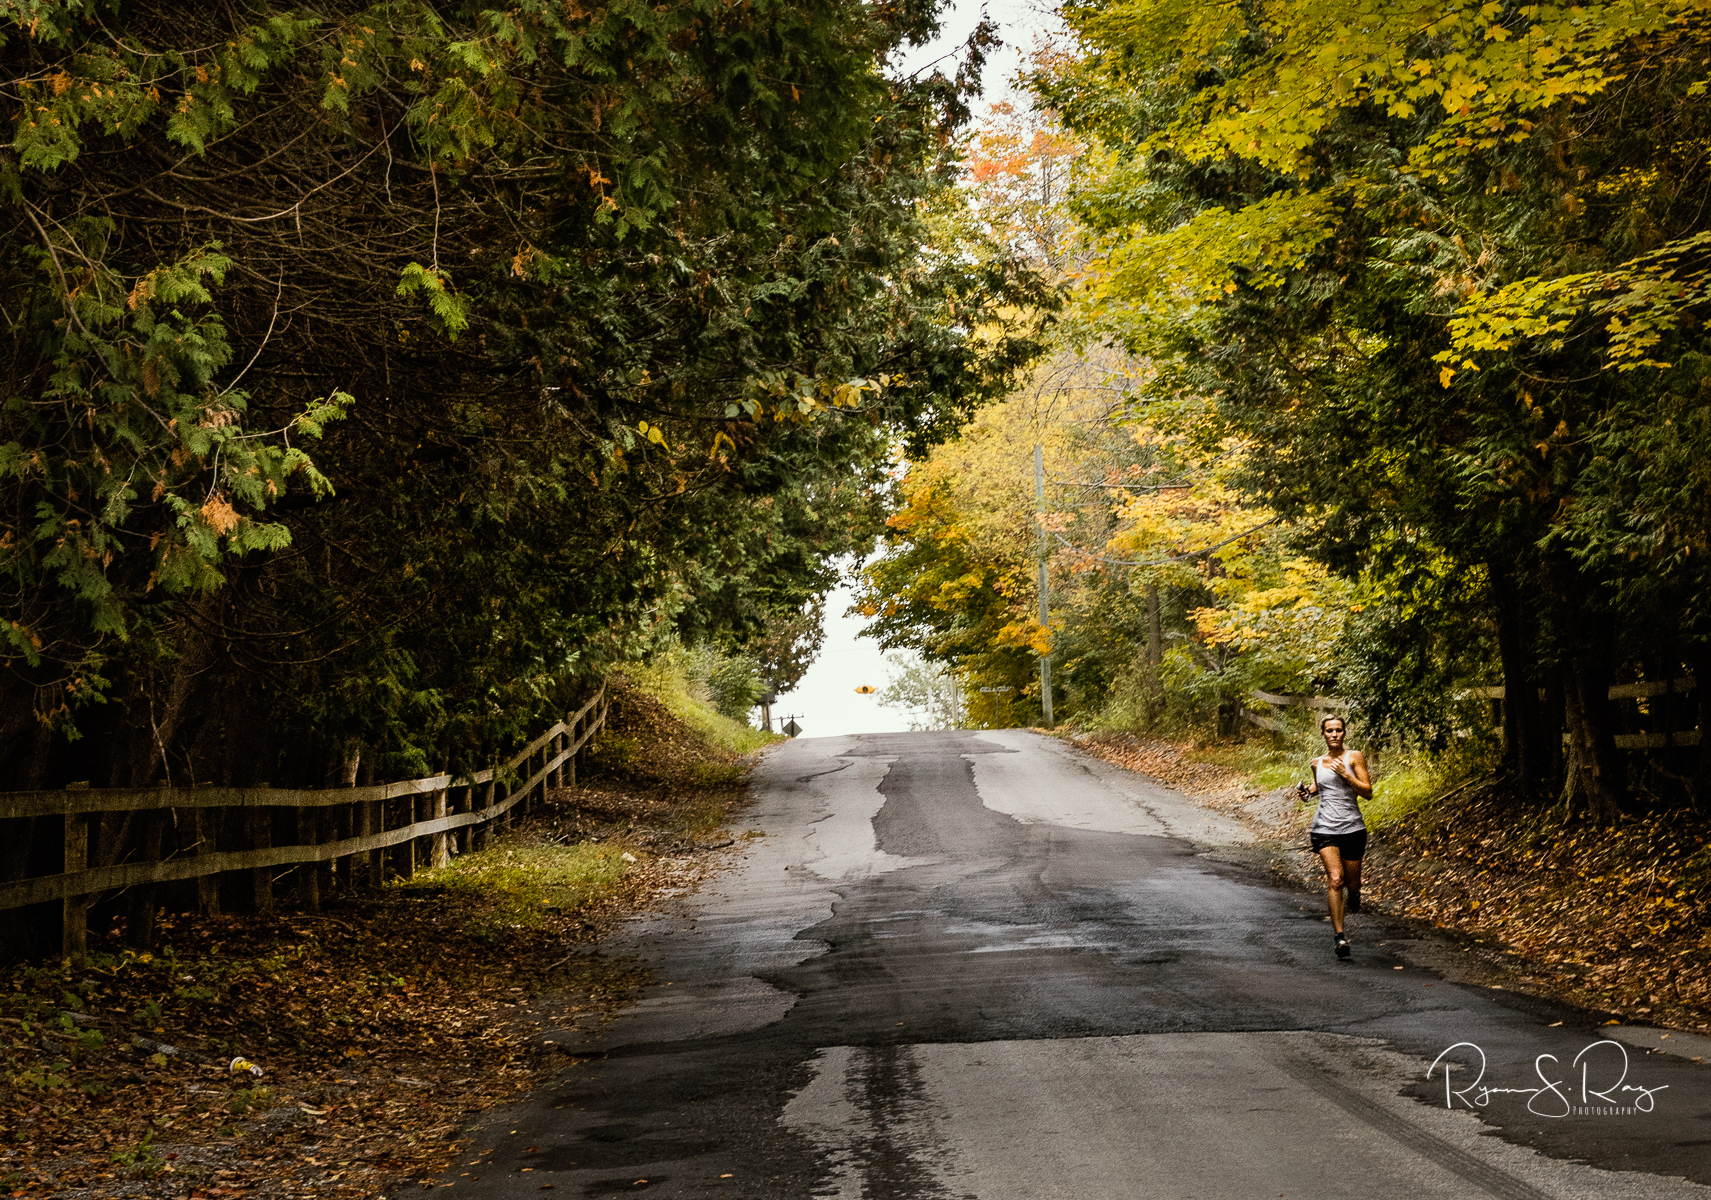

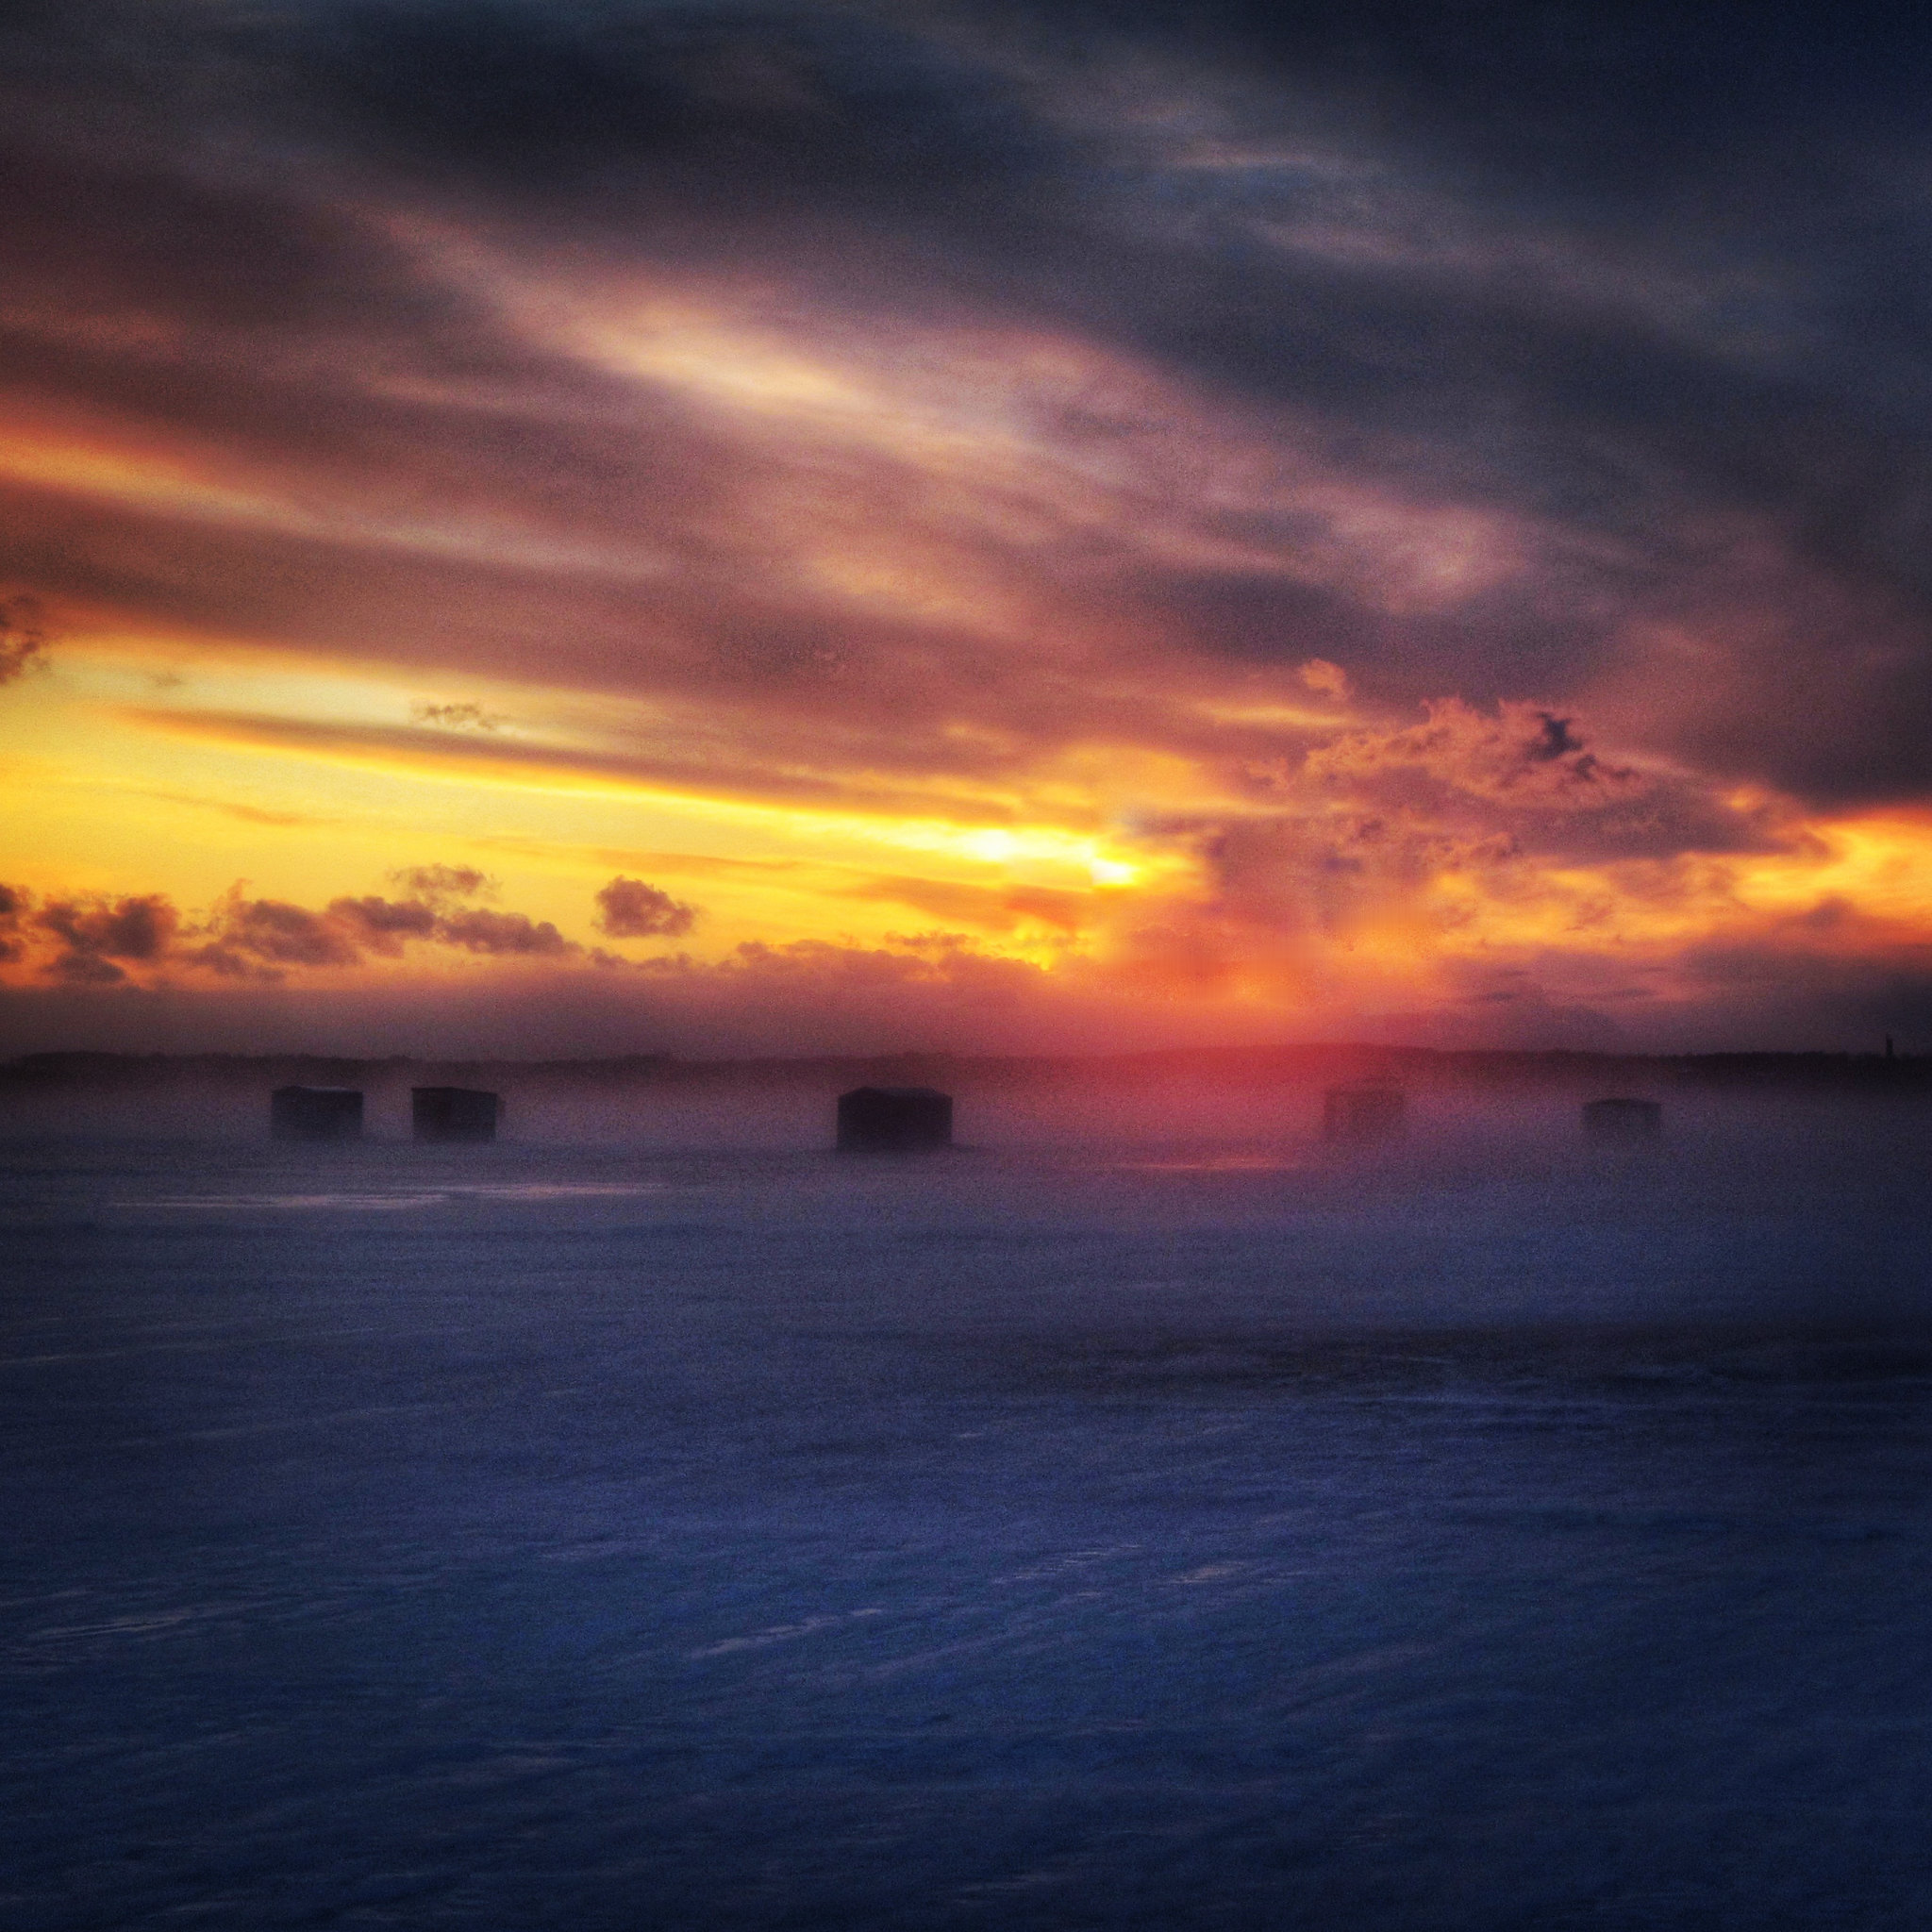
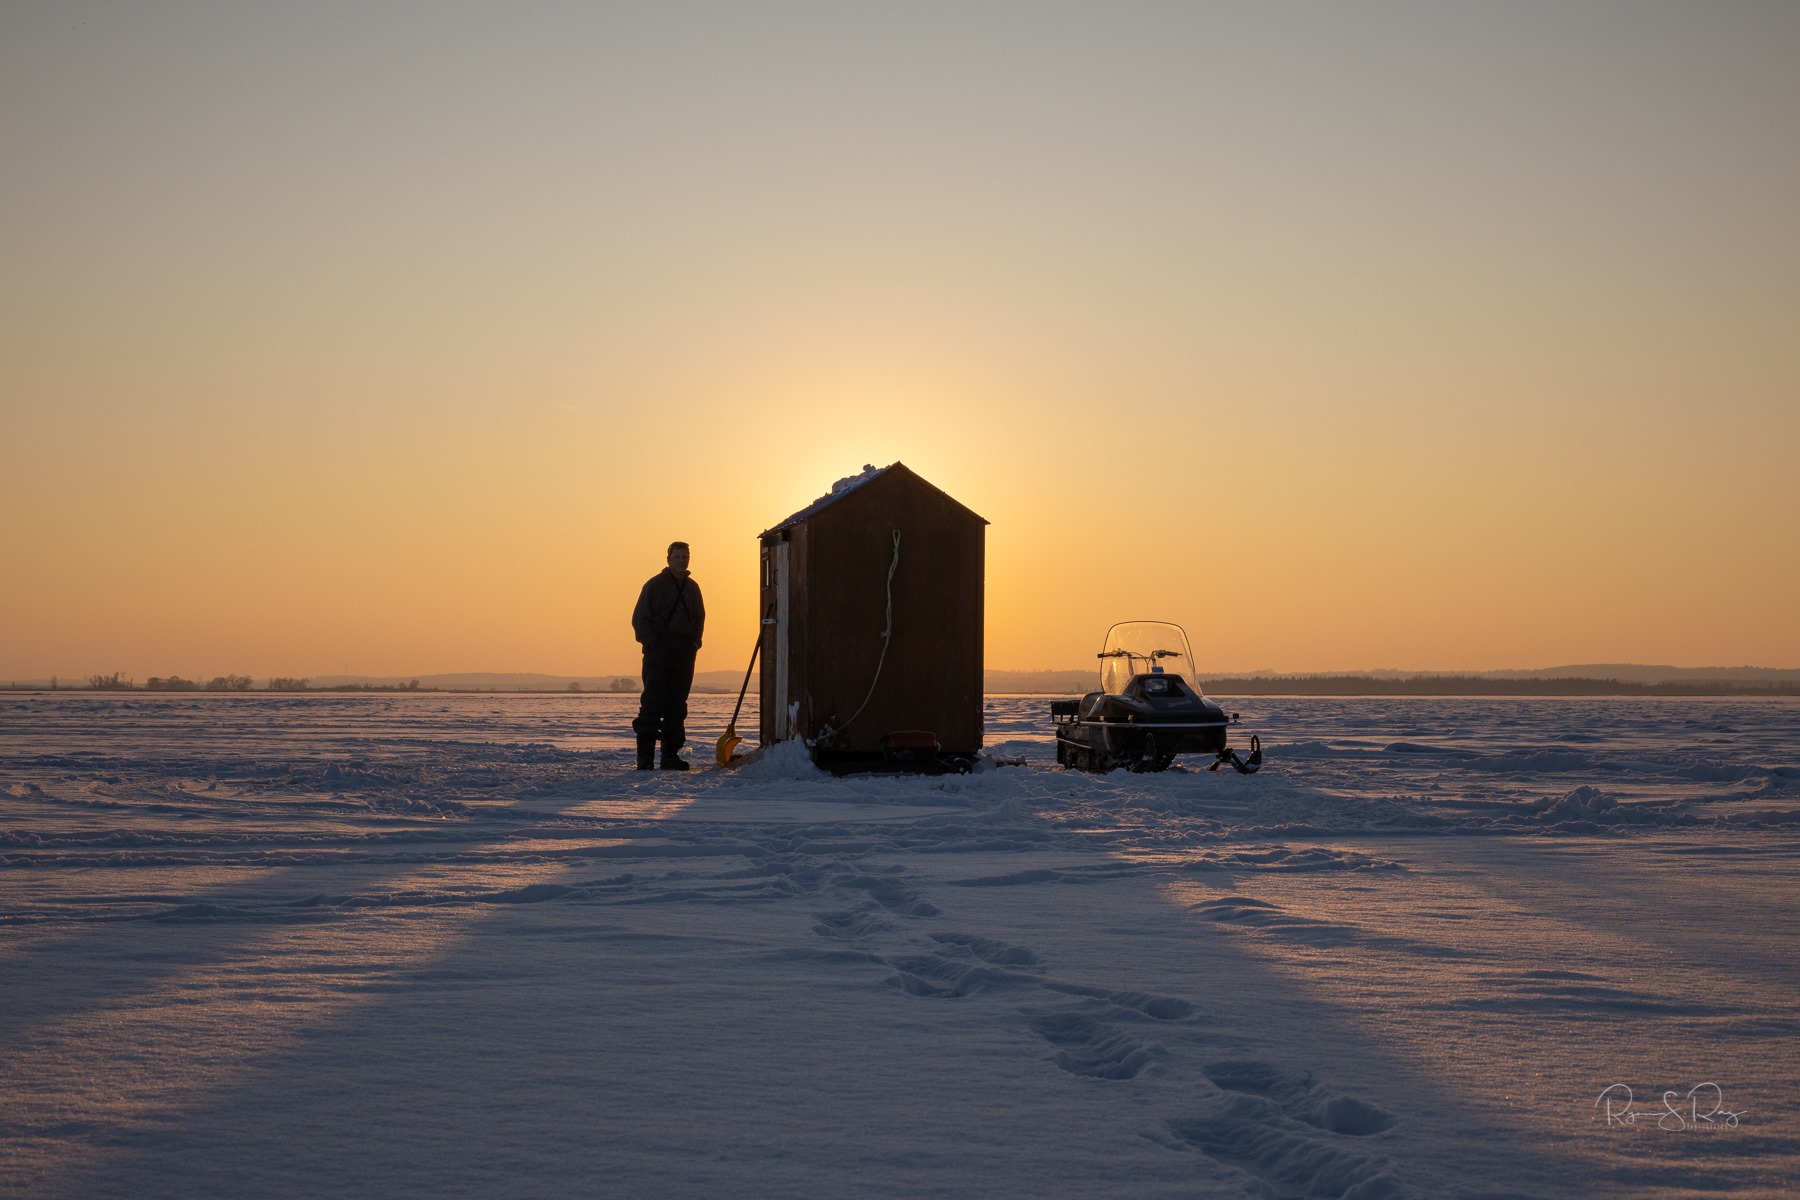

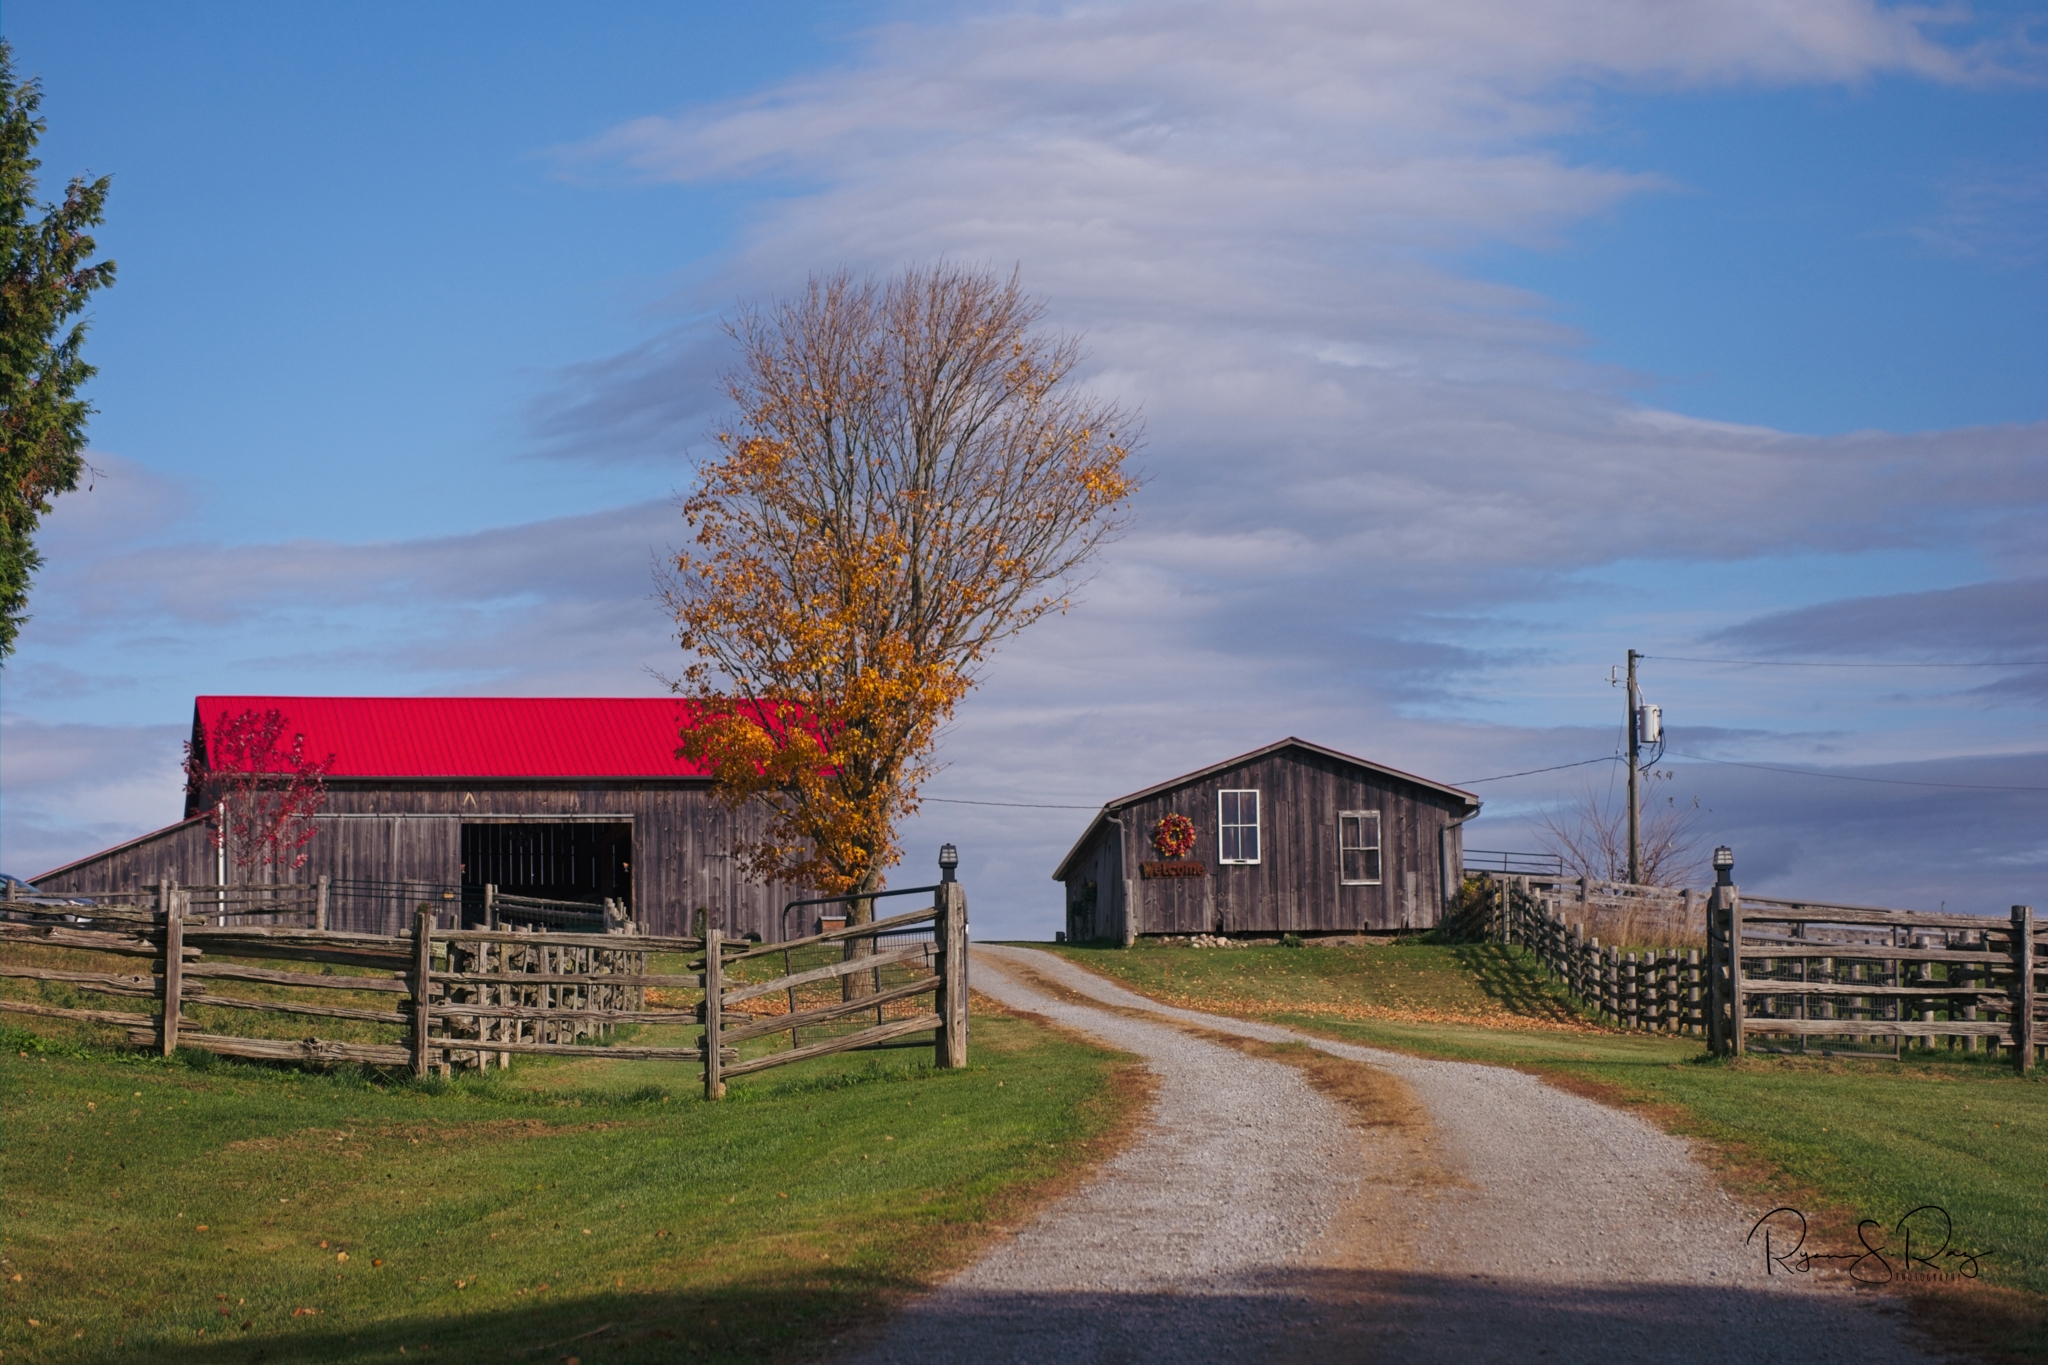
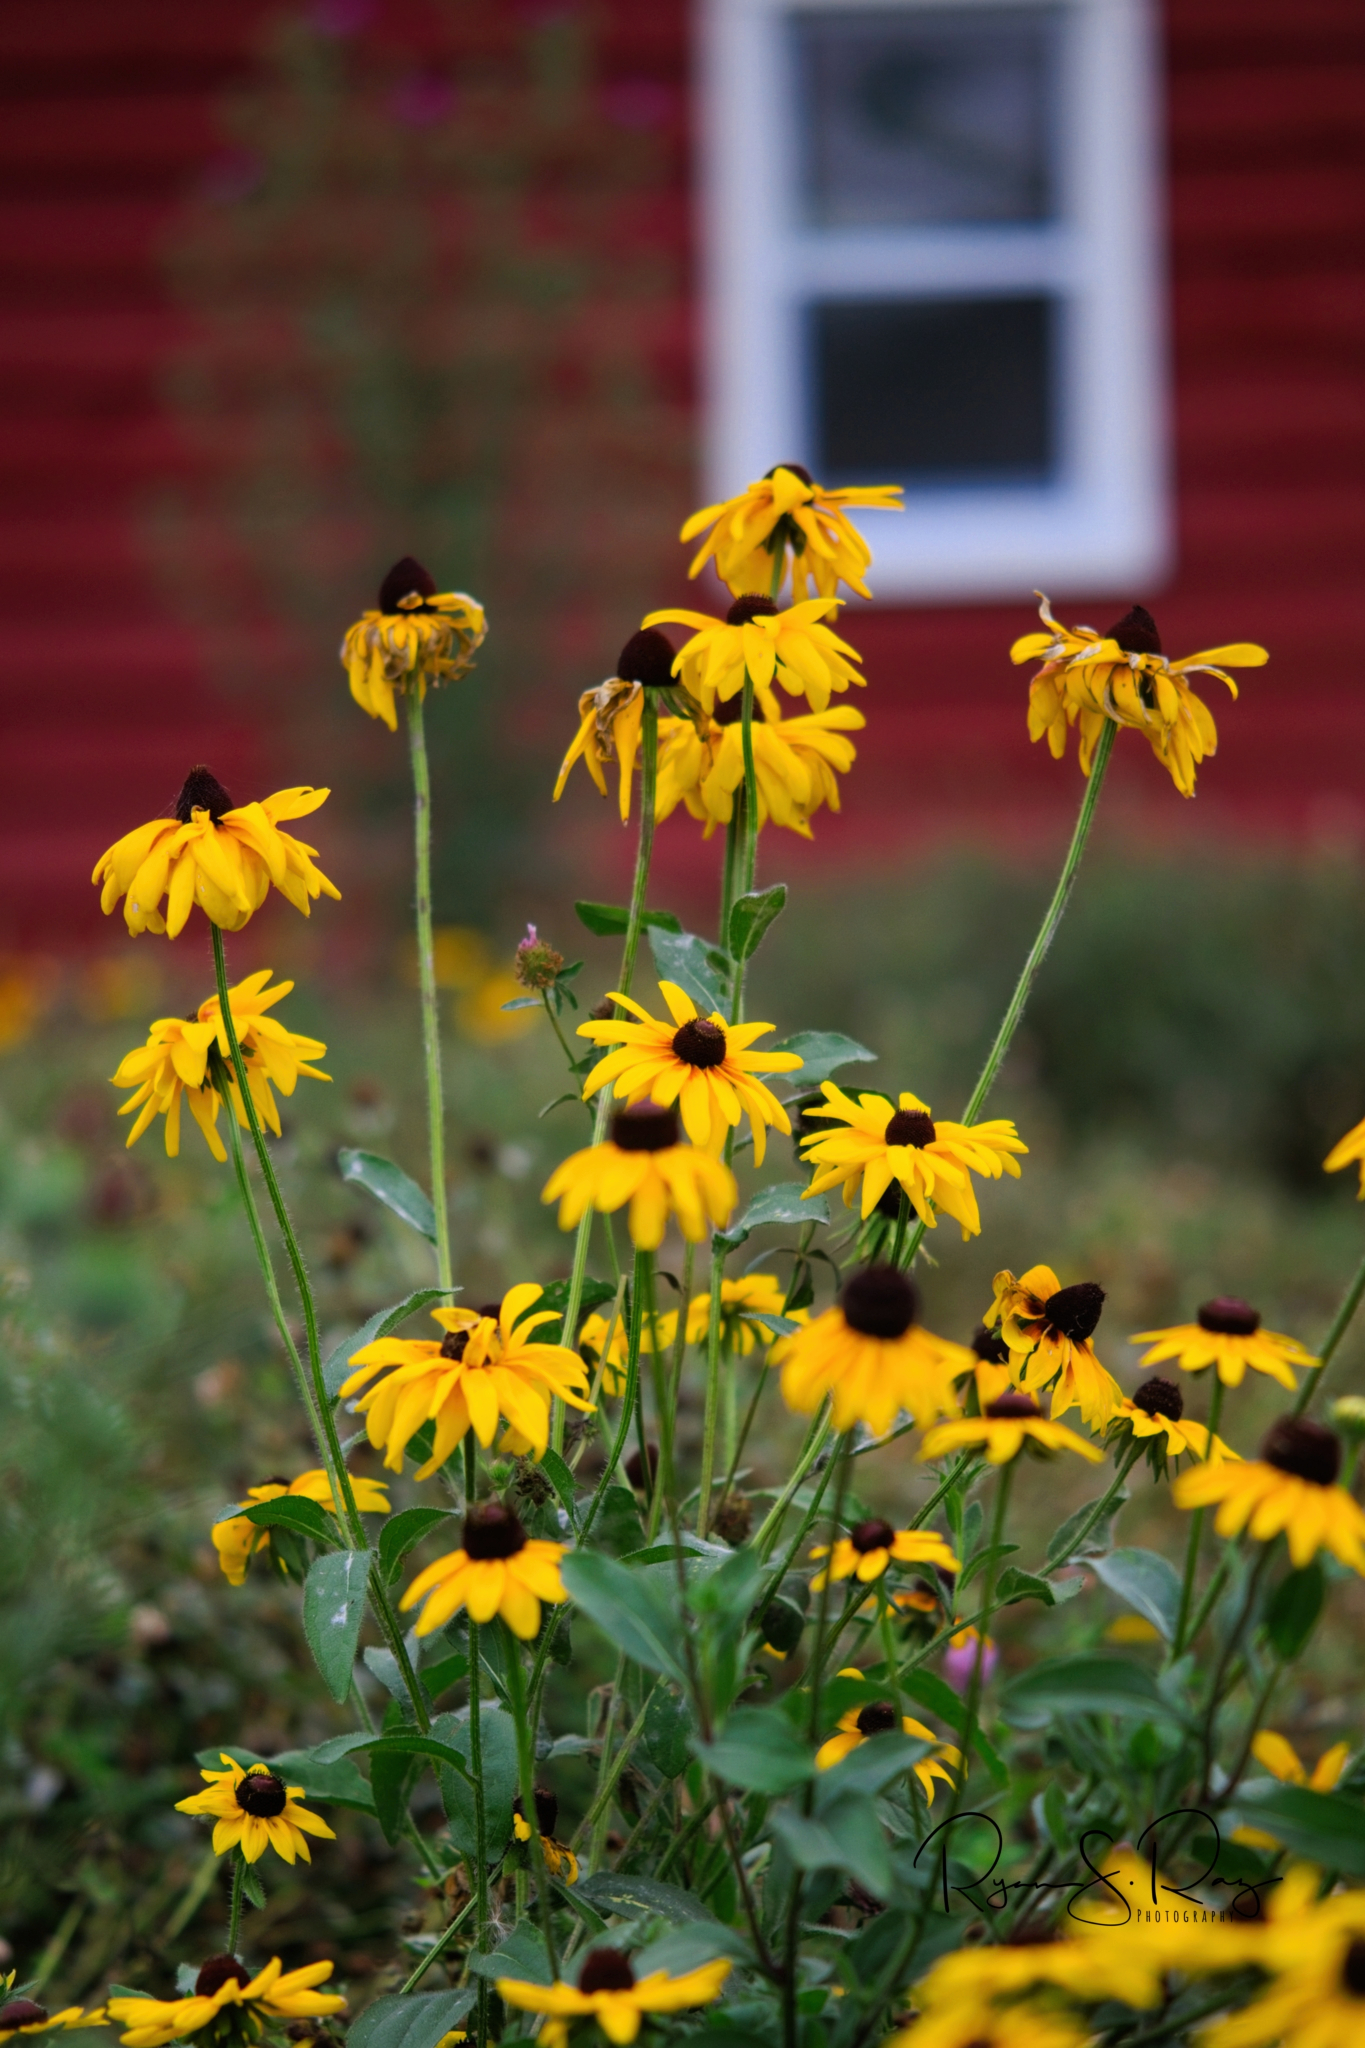
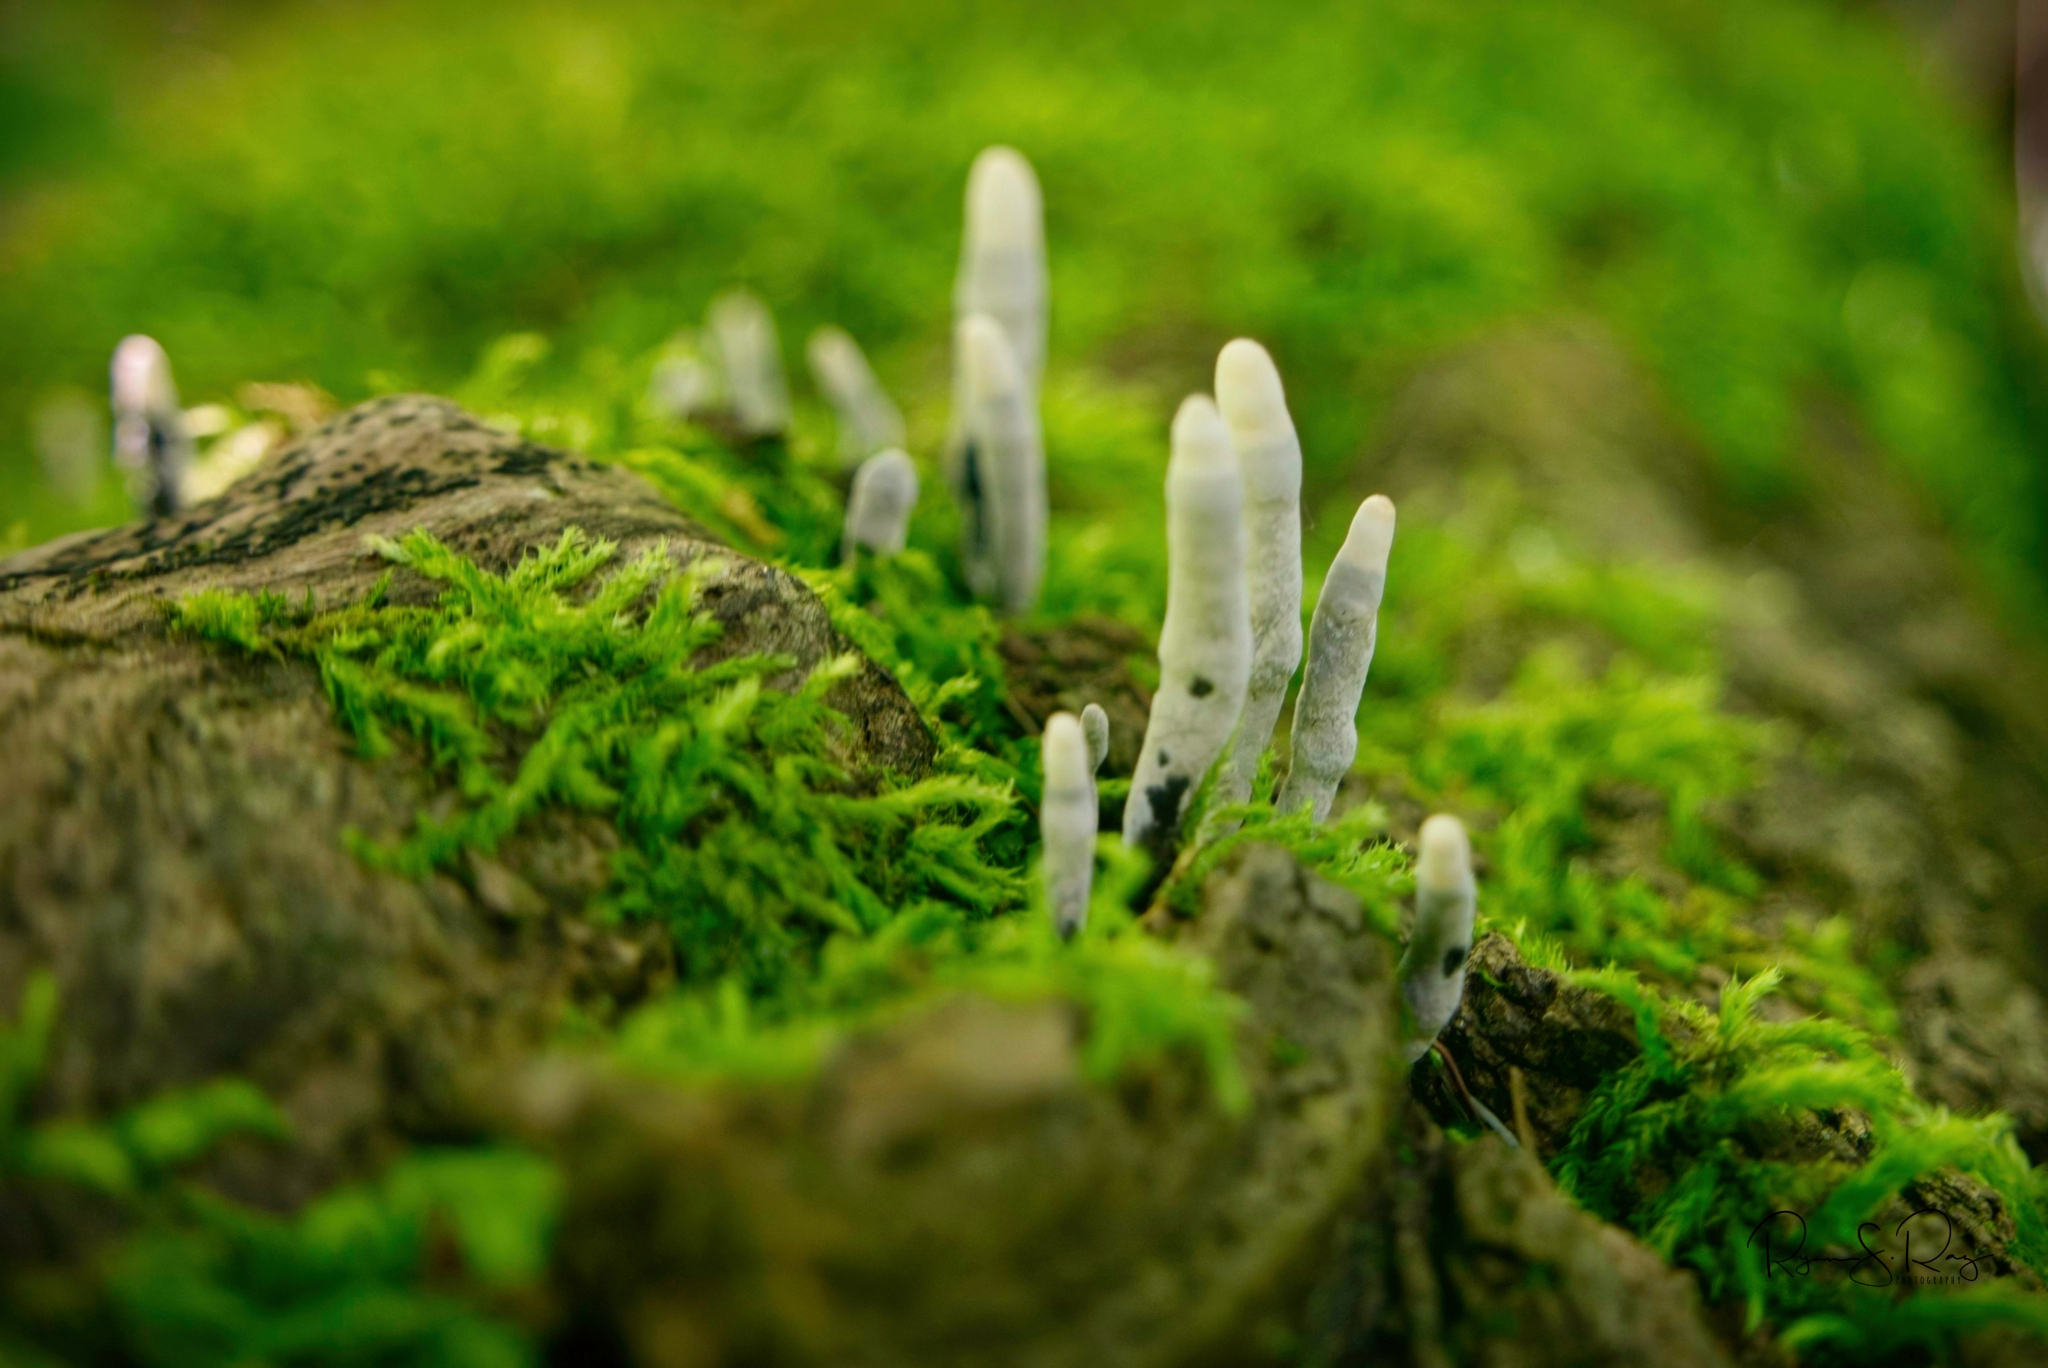
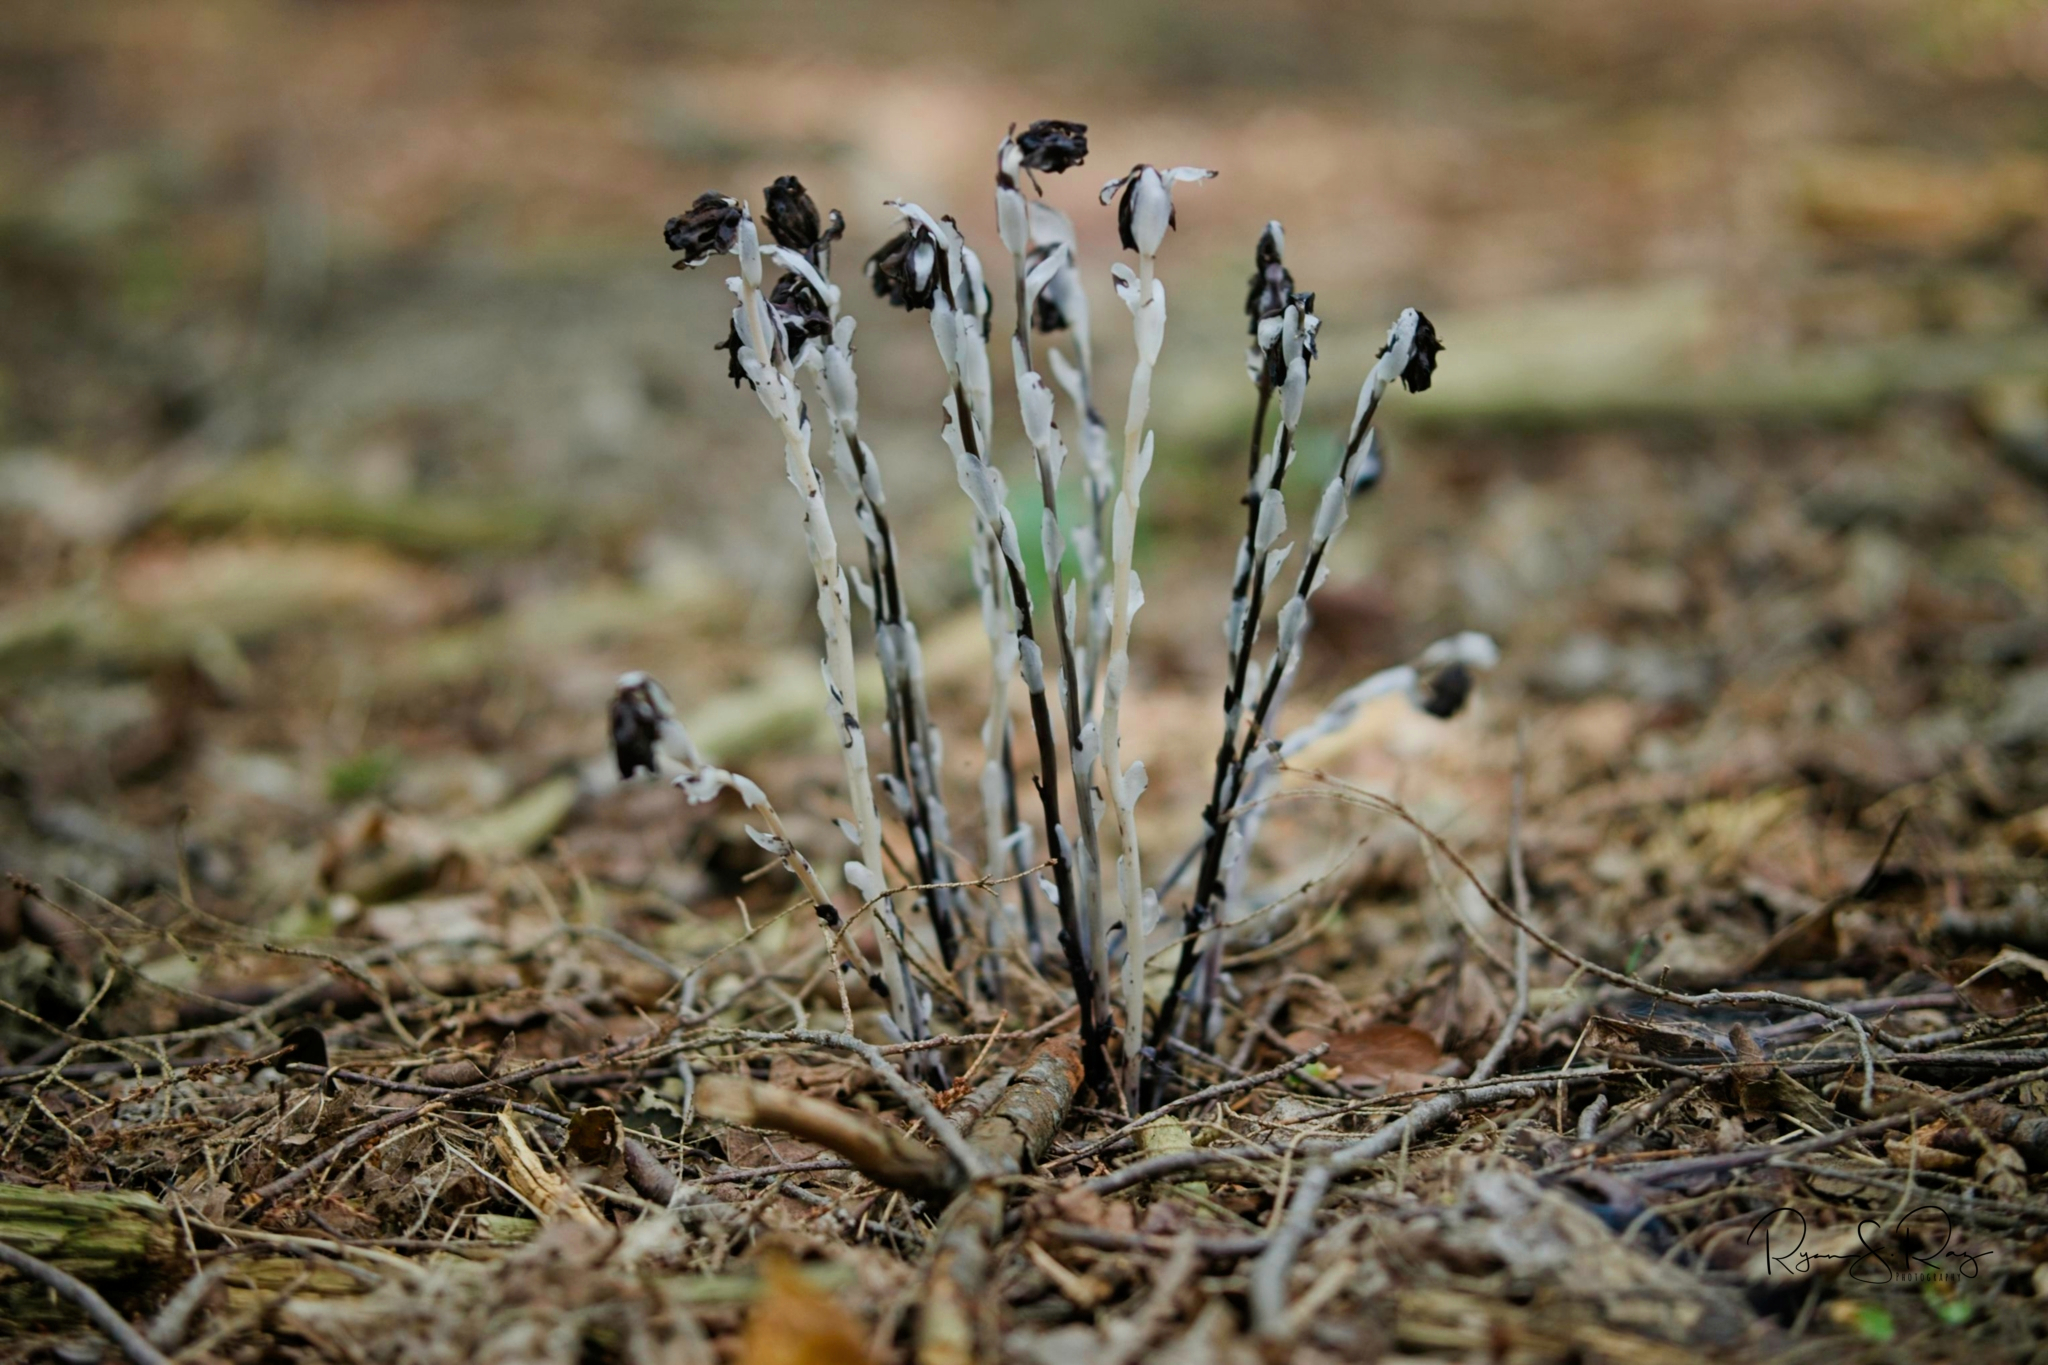

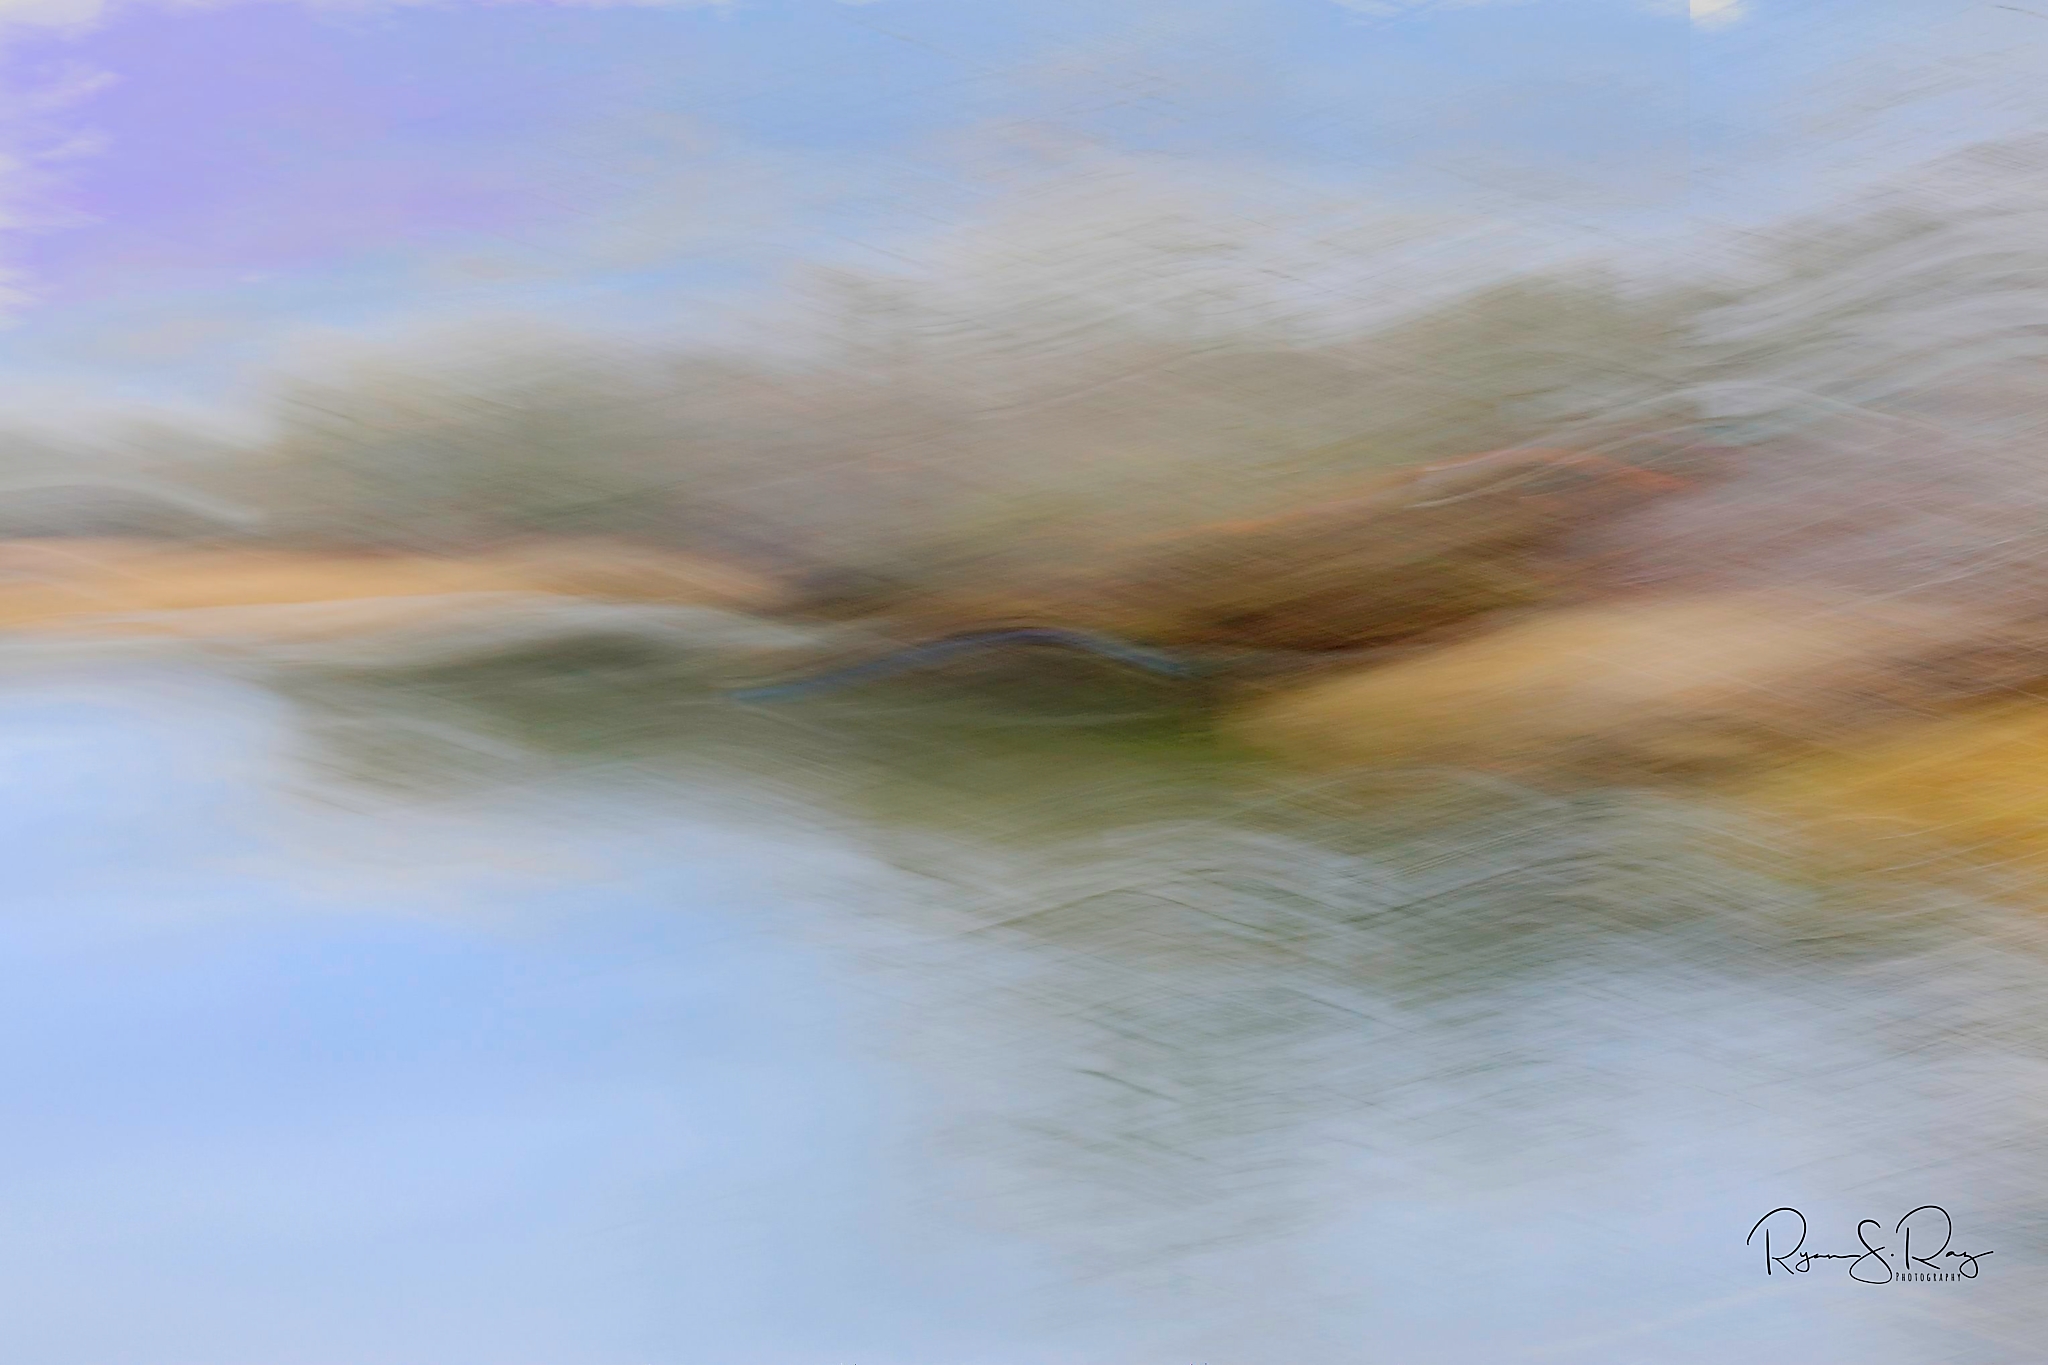
New look, Same Old, Same Old
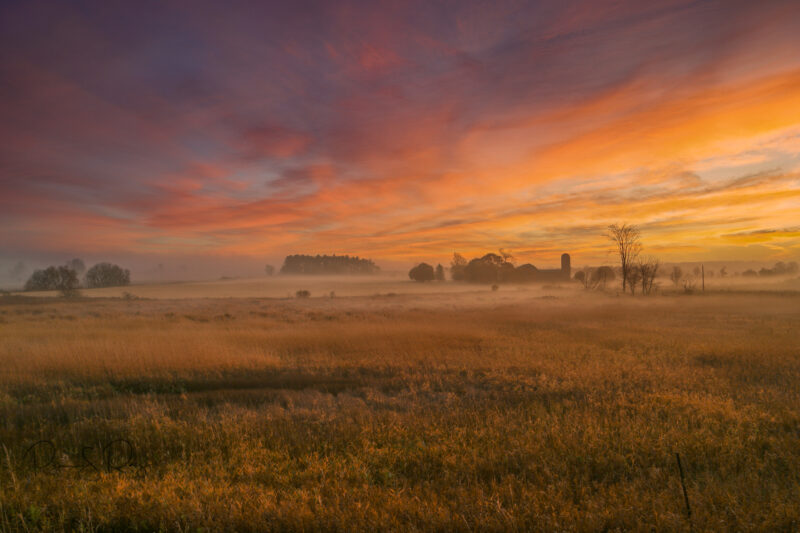
Misty Morning
In 2005 I started my website as an experiment. Twenty-one years later, a generation older, its more than a bit dated! Still an experiment but with some new candy coating. New rraz.ca front page in a static business card style, new WordPress driven blog, I kept all the old posts as many are relevant to film development, so may still be relevant. New fancy slideshow app accessible from photography.rraz.ca or my vibe code navigation tool. Lastly this vibe coded navigation app. When it comes to nonstandard coding AI has a long way to go. Far from perfect but really frustrating try it on your phone or tablet and let me know?
Note On Scanning Black and White Negatives With Epson V500 Using The Individul Gain Setting In Vuescan
 |
| With R, G, B gains set as below with the scan imported into Lightroom and using a custom colour profile |
A recent release of Vuescan has new functionality of be able to use individual gain setting:
This allows me make a DNG output scan with each of the RGB channels having different gains.This has been an extension of the single image (hdr) techniques mentioned at the bottom of this introduction to the Epson V500.


Note that depending on the scanner under inspection with the gains being equal one of the RGB channels might be cleaner or have better resolution. One might best use this as the channel with the middle gain.
 |
||||
|
Same as above plus color has been flattened back to Black and White
Mamiya C220 80mm f2.8 TMAX 400 Film D76 1:1 10 minutes 22c |
Redscale and Double Exposures as Normal / Redscale Pairs
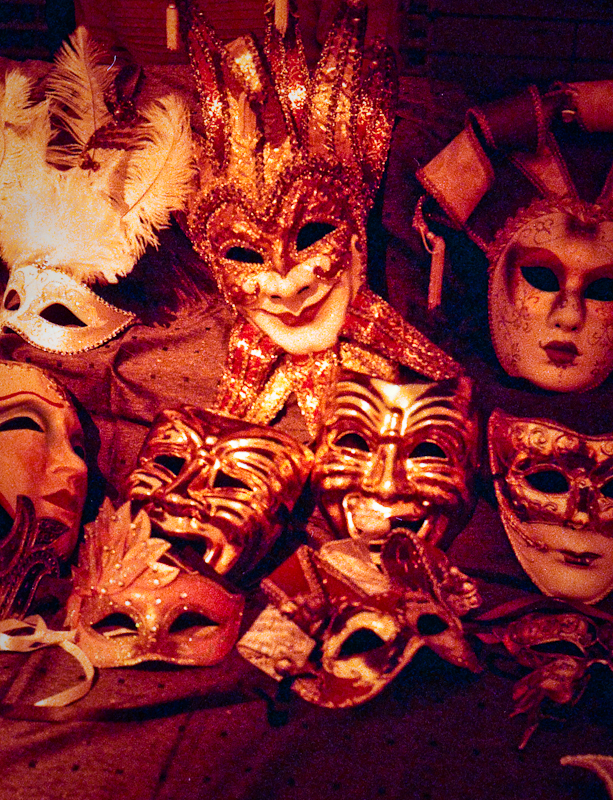 |
| Cross Processed Expired Kodak Ektachrome 360T Redscale Shot at Iso 100 |


So You Have Just Brought A New Camera – Health Care For The Undead

So you have just brought a new camera, consider it as a wake up call that we are mostly mindless consumers of things that we are made to think we need or should desire to own. With the commercialization of social media the brainwashing is almost complete. This is neither a good or bad thing it’s just the reality as it is now.
So you have your: {first; new; cheap; free; expensive; fantastic;shiny; retro… cell; film; consumer; dslr; rangefinder; pro; (2/3rds, c, full frame) and/or …} camera so what now? Each one of those cameras as sure as you breath is capable of taking a picture that in the right hands could be a masterpiece.
Now that this new camera is in your hands it’s time to stop for at least a short while being a mindless consumer of photography goods and services and instead learn to take better photographs! To that aim if you haven’t already you may want to evaluate or re-evaluate what your own development goals are and alter your current path to a direction that might result in you achieving those goals.
If it turns out that you just want a shiny new toy then that’s OK. But if you don’t use your brain to effect changes in the way you take photographs then you shouldn’t expect any changes in the results.
Mom: “You haven’t eaten your meat yet.”
Son: “But mom!”
Mom: “Son, you know that: ‘If you don’t eat yer meat, you can’t have any pudding. How can you have any pudding if you don’t eat yer meat?”
Son: “Don’t be quoting Pink Floyd on me again…

Hansa 135mm f3.2 Lens


I have this Hansa 135mm f3.2 lens. Made in Japan it came with an adapter to fit on my Nikon. I bought it for a few dollars attached to a Nikor closeup bellows. Not a bad little performer. Notice the 2 rings at the top. Those are for “stop down metering”. I suspect one should lock so you can preset aperture and then open up for focusing but doesn’t lock. The lightly coated optics are very clean and clear. With a 16 or 17 rounded aperture blades should mean nice out of focus highlights.
The origin of the lens is veiled in the mists of time. Some say they were made for Hansa Japan rebranded from another still to be determined Japanese lens manufacture maybe Cosina. Others say it might be a house brand for Hansa Foto in Cologne. Another even remoter idea is that it was a Nikkor lens made for Hanson Canon imported into the USA under the Hansa name.
Once you get use to the stop down aperture control it is a nice little performer.


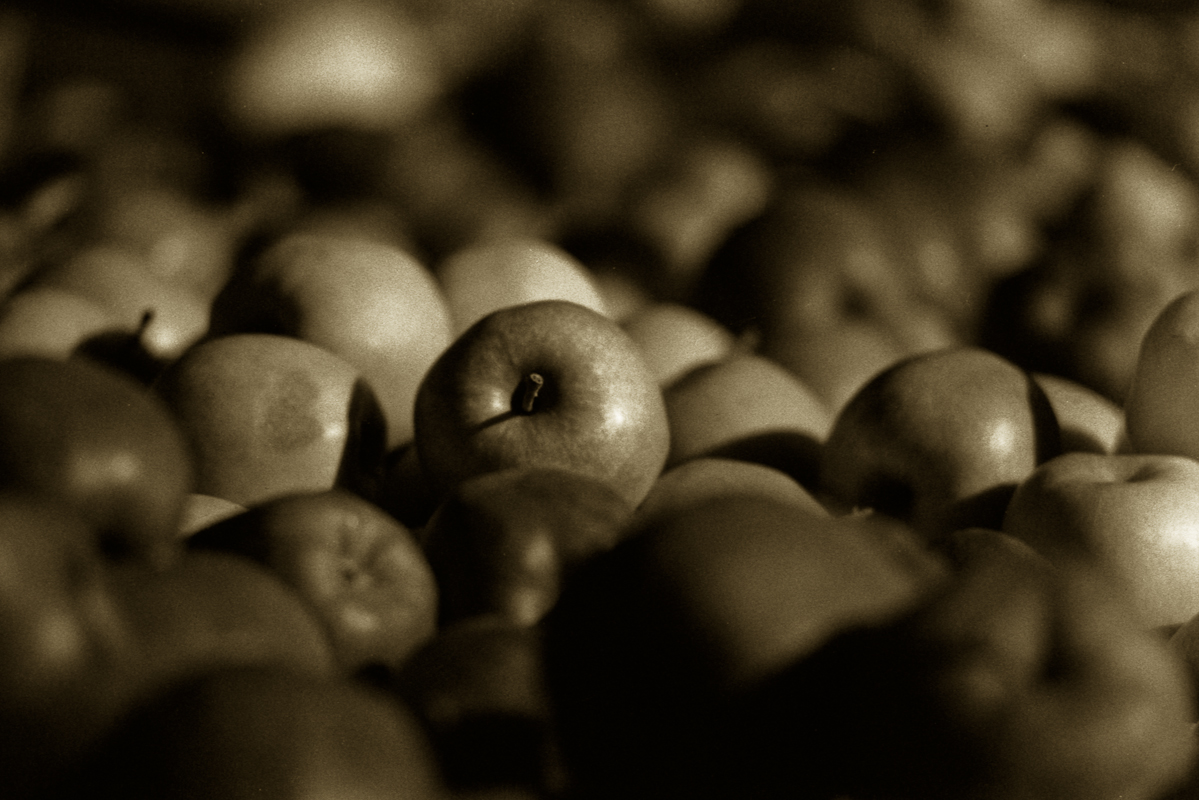


Cellphonography Love/Hate Relationship
 |
| Digitally Monitoring The World |
The things I hate about my cell phone camera:
- Poor Optics
- Glare
- Poor image quality
- Many too many Pixels for the resolution
- Shutter,Timing and Focus Uncertainty: STFU and take the shot now!
- Results only look good if printed small
- Fixed wide angle view of the world
- No bokeh
- Strange motion artifacts
- Weird HDTV aspect ratio
- The awkward ergonomics for photography
- The tacky fake special effects and instant post processing
- Instant posting of images many which I will regret in the morning
The things I love about my cell phone camera
All of the above!
