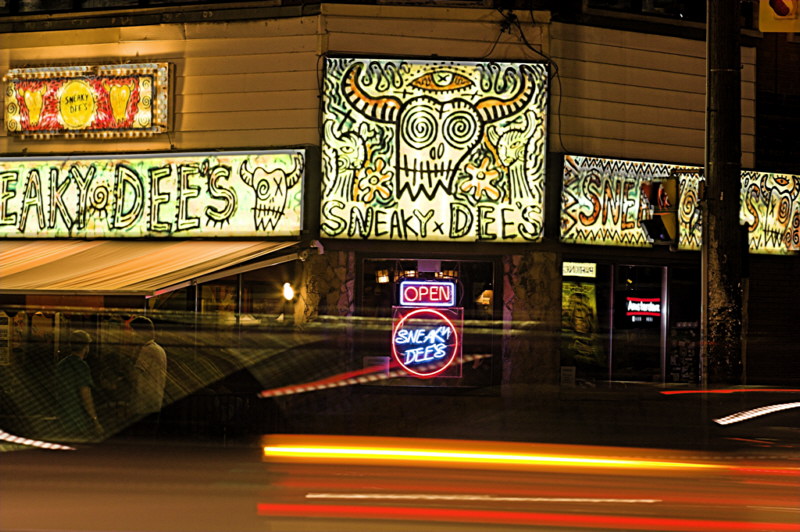
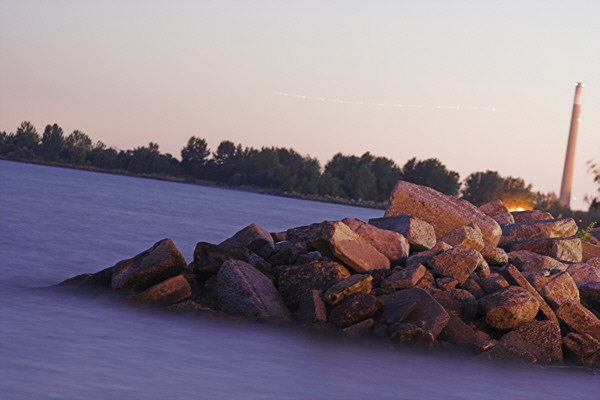
 With all the city lights this 100mm @ f2.2 ISO 200 with a 15 Second exposure appears to be shot at midday not as it was 1 hour after sunset. A plane flying by looks like a film scratch.
So the question of the day is why shoot raw? Some reasons not to shot raw: The file is at least 3 times the size. Your computer has to have more memory and power and disk space. Up to recently MS XP needed a special viewer. Extra steps are needed to process the photos. You need to learn more software. It usually at the end is changed to JPEG format anyway.
Up to last Sunday my laptop was just too old and too short of resources to use Raw. How old? NT OS and no USB port that's how old. Saturday evening it was working. But on Sunday morning the hard drive was going ping ping ping ... The usual fix of rebooting and rebooting just resulted in an system error. More drastic methods such as turning it over and shaking (gently) resulted in the screen blinking off and on. Oh well its only money and a new this time a desktop is almost ready to go. After spending 8 hours loading all my legal software and extra drivers, updating XP security flaws and dumping all those special promotional 6o day free software, then the system crashed while removing the after market firewall and using the XP firewall. I hate bloatware plus I hate MS even though I use it. Anyway the system self repaired by reloading itself over all the updated drivers and such. Shades of the 3 week ordeal of loading MS NT on a "NT compliant IBM laptop". Know only one thing not working and a call to Tech support who if I had followed their instructions would have resulted in the foot being healed and the leg being amputated( I have the log to prove it). Fortunately by not following all their instructions to the letter I removed another usless piece of the manufacturer's software and XP has been working reliably for 4 days now.
So now I have 500 meg of memory, 200 geg hard drive, two dvd/cd read/write drives, plus a cd read only, multiple usb and flash card readers ... and a NEC LCD 17" monitors that is so clear that I am looking at a color slide projector makes my old monitor seem like I was looking through coke bottles, not to mention stereo speakers that make noises for no apparent reason.
MS is actually fully supporting RAW in the future. Presently you can download Microsoft's Raw Image and Thumbnailer Viewer. So now I am ready for Raw. Oh yes had to go down to the Toronto Beaches to supplement my current collection of 4 Raw shots.
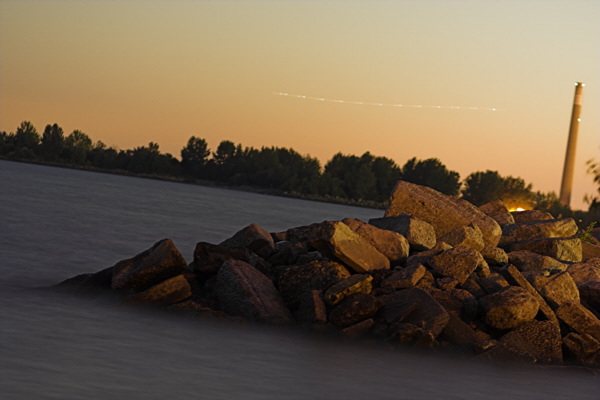 A bit of correction makes it look closer to sunset but we lose the fine details of the waves lapping on the rocks.
There is really only one reason to use Raw; its because its the
purest form of image that your current camera electronics and software will allow you to record! From when the light hits the lens (maybe before if you are using flash) to when the image shows up on your desktop there are a series of compromises in the signal chain. After the lens the sensor is the first big compromise.
The sensor is the point where the light falling on a pixel is transformed into electrons and accumulated usually as a charge and then read out as a voltage or current. We all know that a image is broken down into pixels but at the sensor each pixel is actually 3 pixels one each with a red, green and blue filter (rgb). Just imagine if we could buy a 24 meg B&W rebel xt, well it would be easy if there were a demand! Because each pixel is broken up into 3 sub pixels the sensor loses 2/3 of the light following on it. Each pixel in the sensor does not have exactly the same sensitivity of it neigbour. Both reducing the noise and the variation of sensitivity between pixels are areas that sensor manufacturers are hard at work trying to improve. On long exposures you might notice a few bright pixels, these are caused by pixels that leak current.
The output from each sub pixel is accessed (read out) is amplified by variable gain amplifier and then converted to a digital number. This number has a precision of x = 10 to 14 bits with a noise level of plus or minus y bits. This noise level is roughly speaking the sum of sensor noise, readout noise, amplifier noise multiplied by the gain of the variable gain amplifier. The gain of the amplifier will increase with ISO setting thus increasing ISO will increases noise.
Patience I have almost got to the RAW part. In the mean time you read this much more complete discussion on RAW from
The Luminous Landscape. The camera software takes those x bits per sub pixel and applies some corrections which only the camera software has control over. Next it takes the user selections which includes color conversions, sharpening and lastly output format.
If you select
Raw you can bypass all these changes to you image it is important to turn off any spatial filtering (in Canon rebel XT select parameters menu item parameter 2 to turn off filtering)
The complete image will now be saved without any additional lose of detail and color information.If you select
JPEG all sorts of spatial and color detail will be lost plus some unwanted artifacts will be added. With JPEG the 3 x bit sub pixal values will be remapped into 3 8-bit bytes using the selected RGB color space. The jpeg compression algorithm will futher mix up the image in subtle spatial ways.
Once these spatial details are changed and colors remapped information is lost that can't be recovered!
If you are shooting for the web JPEG is fine but if the work is more important then use RAW that way you can process the images over and over again. As you get newer, better tool you will always have the highest quality original to work from. For anything other then web you should also always work in 48 bit color or 16 bit B&W. Noise filtering and sharpening should be the last step before saving the image in the color format that you are going to be using for printing. In that way you will never lose precision through arithmetic truncation on 24 bit color 8 bit B&W images.
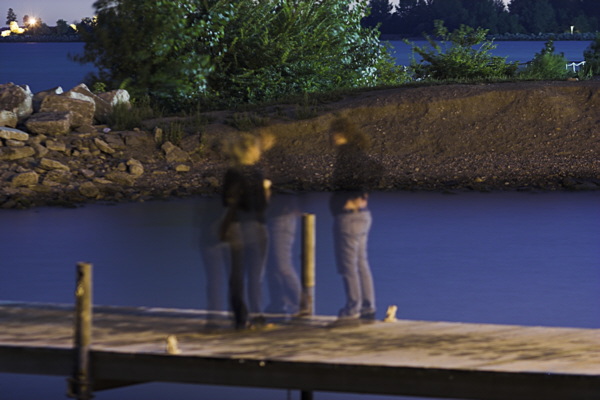 Too bad I focused on the backdrop instead of the pier.
This motion blur unlike the images in previous posting does not give a feeling of motion but gives a ghosting effect. Too bad they are not in white.
As you can see in the image above I am still getting use to the work flow and tool set. I use
Raw Shooters Essentials 2005 as my Raw processing package. I find its much easier to use and has a better work flow then Canon's Raw software that came with the camera. People in the know say its one of the best if not the best. Excellent package and so far its free! For the rest I use
Picture Window Pro less expensive, not as sophisticated and not as complicated to learn as Photoshop, their website is a very good resource for all things digital photography and color profiles.
One last thing about Raw there has been a call to standardize Raw format, IMHO this will be slow coming, standardized Raw format is almost an oxymoron the whole Idead of Raw is to give the camera owner ability to access the image before it is polluted by layers of conversion software. They may end up standardizing part of raw format but not the manufacturer specific part.
Notes:
- MS raw viewer has a problem with large tiff and some avi files, it locks them and will not unlock them so you can't move or edit them best to dis the tiff viewing function until the next version comes out O well its from MS next generation will be better I hope.
- Google has a free program called Picasa which does a nice job of finding, html slide shows, backing up and organizing you photos
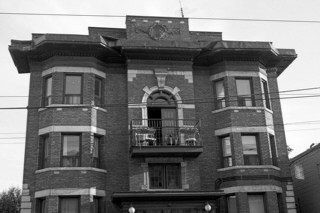
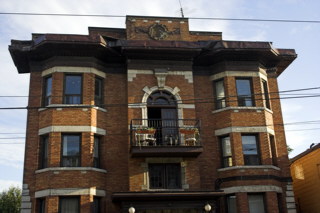 I have gathered a small amount of web statistic data that seem to prove out my rather simplistic theory.
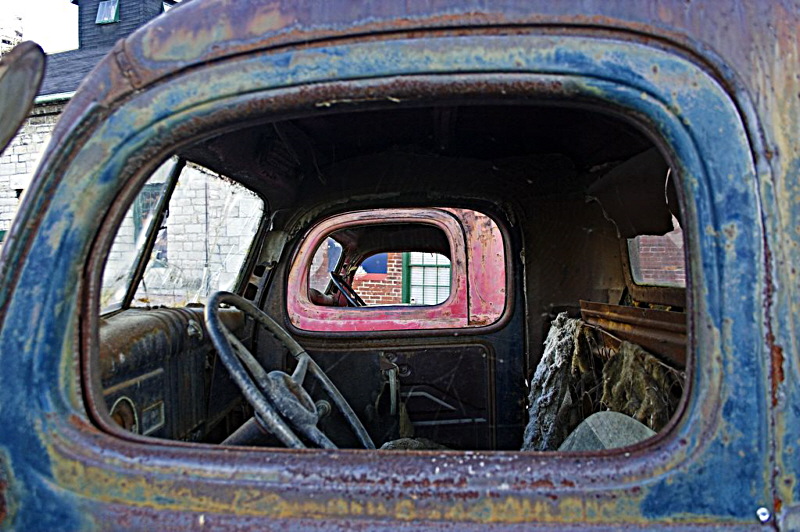 The above photograph is all frames, five frames to be precise. This shot only works because I remembered the