Posts in Category: My Photography
Lomography 120 Film ISO 100 Is Shanghai GP3
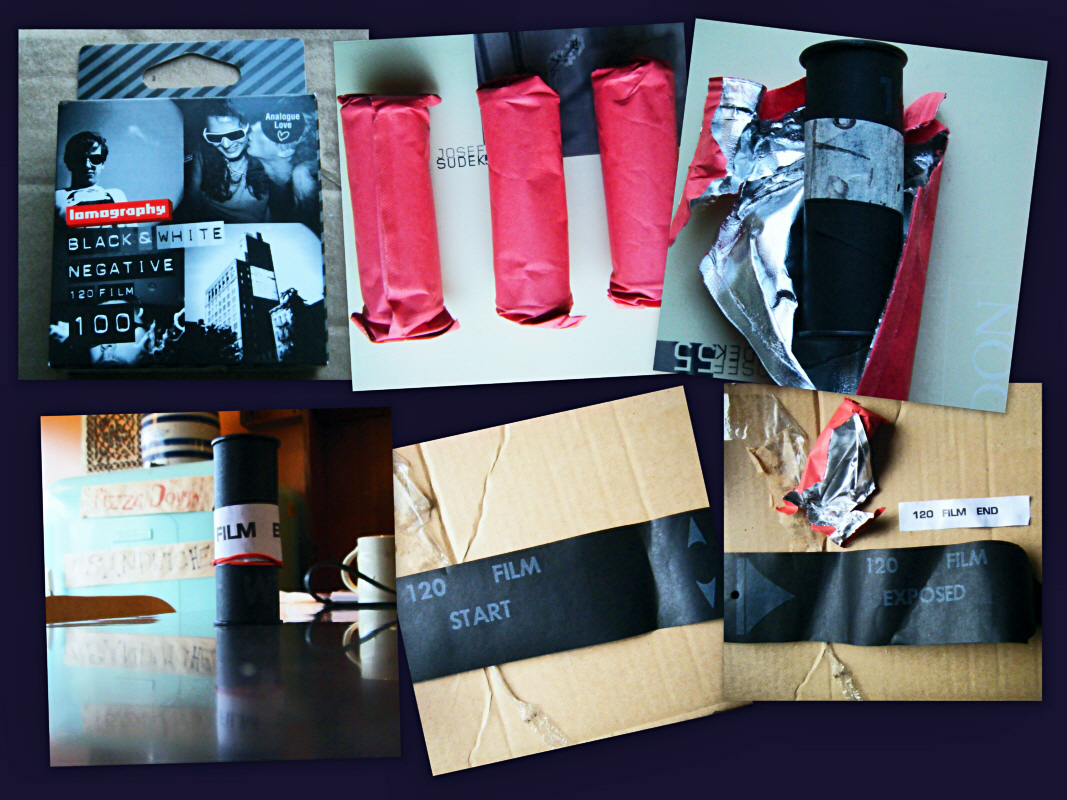
Last Saturday on a photo walk I found out that Toronto had an official Lomography store. Of course I had to check it out here’s a place that you can buy a $40 Russian camera from Ebay or $300 in the store. Interesting stuff but way over priced except for this 3 pack of 120 black and white film that was going for$10 taxes in. The store manager said it was repackaged Chinese Shanghai GP3. Surprisingly I had wanted to try some because I had heard some good things about the film.
Specifications:
Made in Shanghai, CHINA, for professional photography, practising photographing and developing.
- The film is made by coating a panchromatic photographic emulsion on a polyester or triacetate film base.
- It could be used both for professional and amateur photographers for all-purpose providing fine-grain at full tonal range.
- Unit item weight:30 g
Suggested Developing time:
20C degree:
D76 stock – 8 minutes
D76 1:1 – 14 minutes
D23 12 minutes
Rodinal 1:50 15 minutes
D72 1:4 4 minutes
Made by the SMPIC Photosensitive Materials Factory of Shanghai, an industry leader with more than 40 years of experience in making photographic materials.
Definitely Shanghai GP3 because of the edge code of “SGPFF” It had a slight strange plastic smell when I was loading on to the developing reel. I haven’t seen the punched hole near the end before. Also the sticky end of reel tape did not have any useful glue (make sure you carry an elastic band in your pocket), cheap backing paper with grey on black printing and a curl with enough springiness to act as leaf springs for a truck.
My first roll of Lomography/ Shanghai GP3 film.
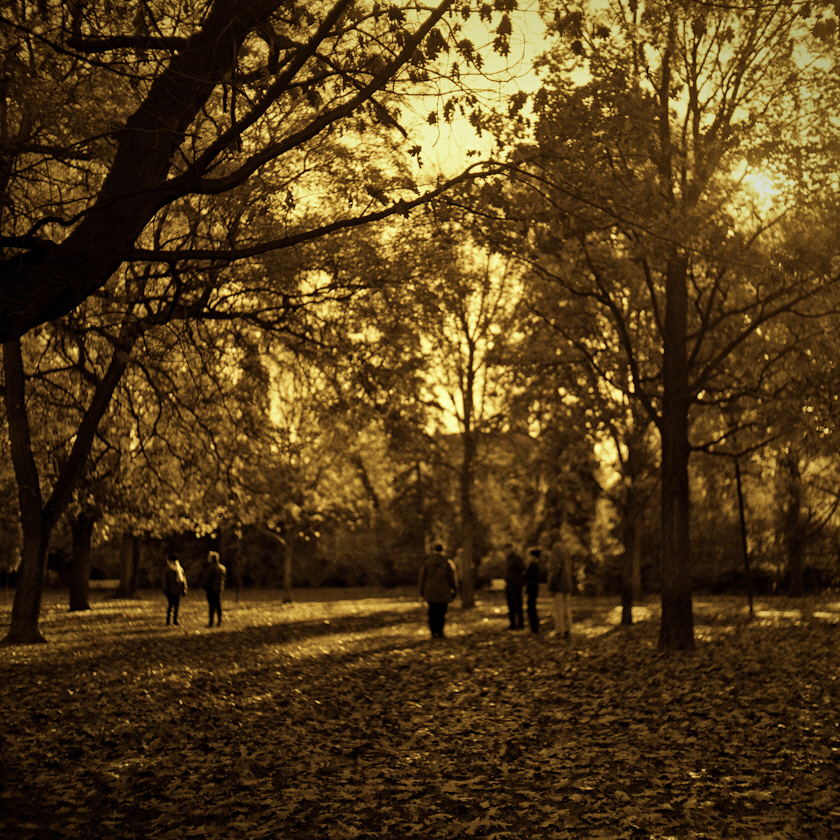
This film is rated at Iso 100 and I shot the roll at 100 Developed 11 minutes in Agfa Refinal 19c this is a 2 stop push with no agitation after the first 20 seconds because the telephone rang and I forgot about the film. Except for one shot with blown highlights they turned out OK. I suspect the film should be rated at ISO 60, Nice tonality not that sharp. Light to medium blue dye in the pre-soak water. The film curls badly but doesn’t bow so it is still easy to scan. See previous photo for more details about the film.
My second roll I developed 8 minutes at 19c agitated every minute or so. The result was much better tonality also better sharpness for some reason.

Rare find in Toronto a Volvo C202, C303, Laplander or Valp
My favourite out of the second roll the tint comes from my scanning method to pull out more from the negative.
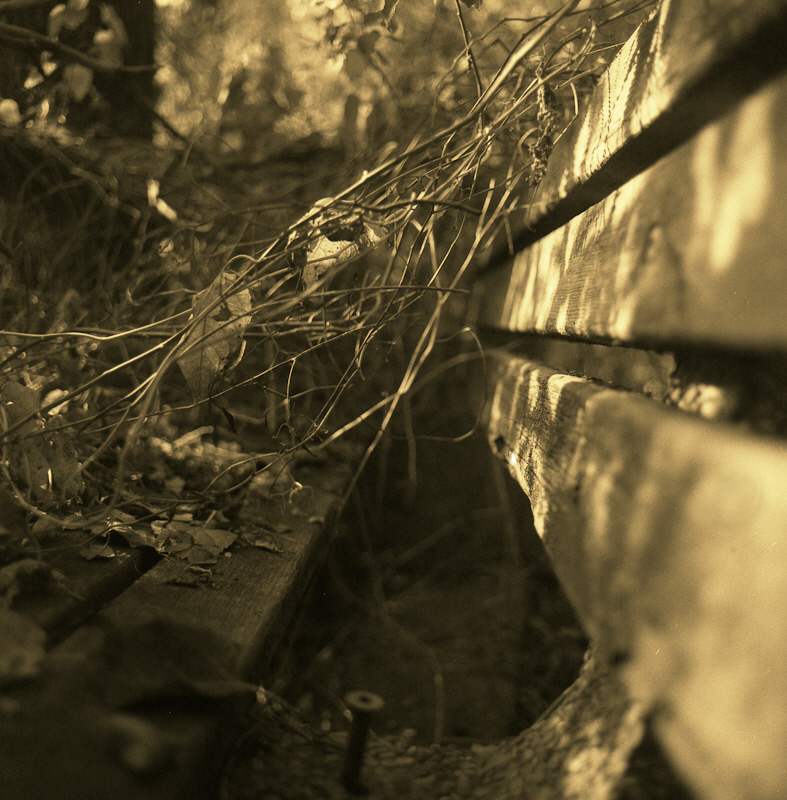
The third roll was developed with Xtol 1:2 plus Rodinal 1:112 for 14 minutes at 19c scanned using the same method as above.
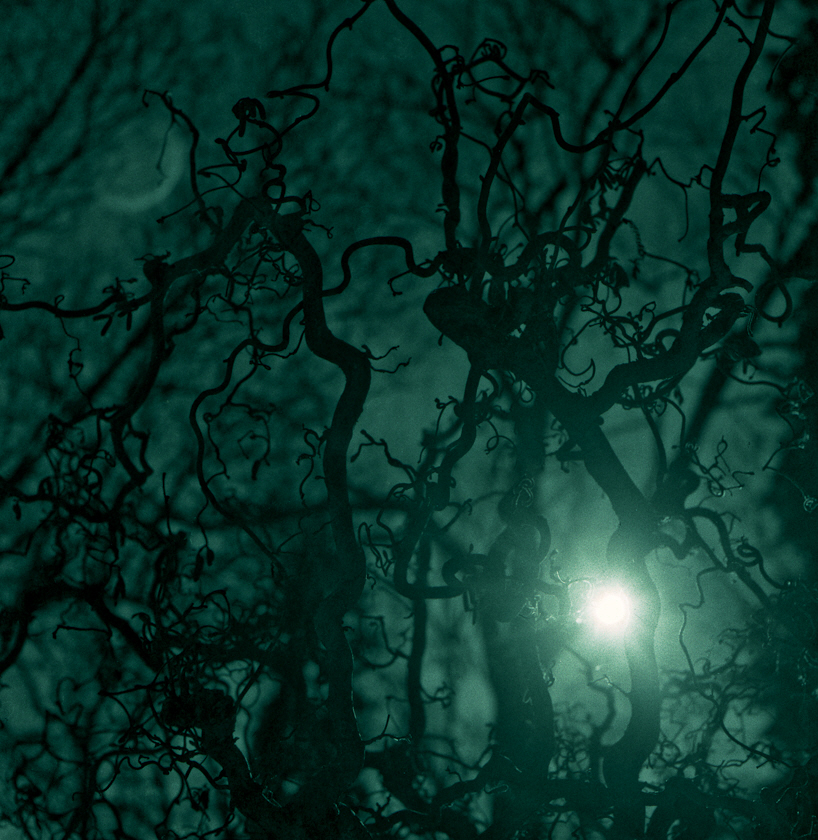
Unlike Kentmere films it is a useful budget film to have in the bag for a slightly retro look.Flickr slideshow of my shots using Shanghai GP3
Really Bad Video Productions

RBVP is my tongue in cheek name for my low tech attempt to fool around with moving pictures. As long as I don’t take myself too serious the making of small video clips has helped me widen my horizons.
The following Youtube video I made with about 100 shots out of my DSLR. The idea is to make a sculpture out of real life.
My first attempt at this type of stop motion was done a coupe of weeks ago using much fewer photos from my P&S:
My P&S actually has real video, too bad the compression algorithm is so lossy or else I think it might actually be a good video camera. But it is still good enough to record RBVP documentaries or music video style videos.
I doubt it but if you would like to see more but RBVP on YouTube or on Flickr
Colour Balance Epson Scanners – A Short Note:
Often when scanning it’s not only the white balance that needs attention. In this case the white balance is fine but the mid greys and darker have a blue cold colour ting. The leaves are also meant to have more browns.
Epson software is pretty bad when it comes to colour balance. It does more of a white balance then an actual colour balance. Using an image in this thread as an example I added a mid black correction of the image. This type of colour balance is important for films like the new Kodak Ektar.
Here I have used the pavement to re-balance the colour balance.
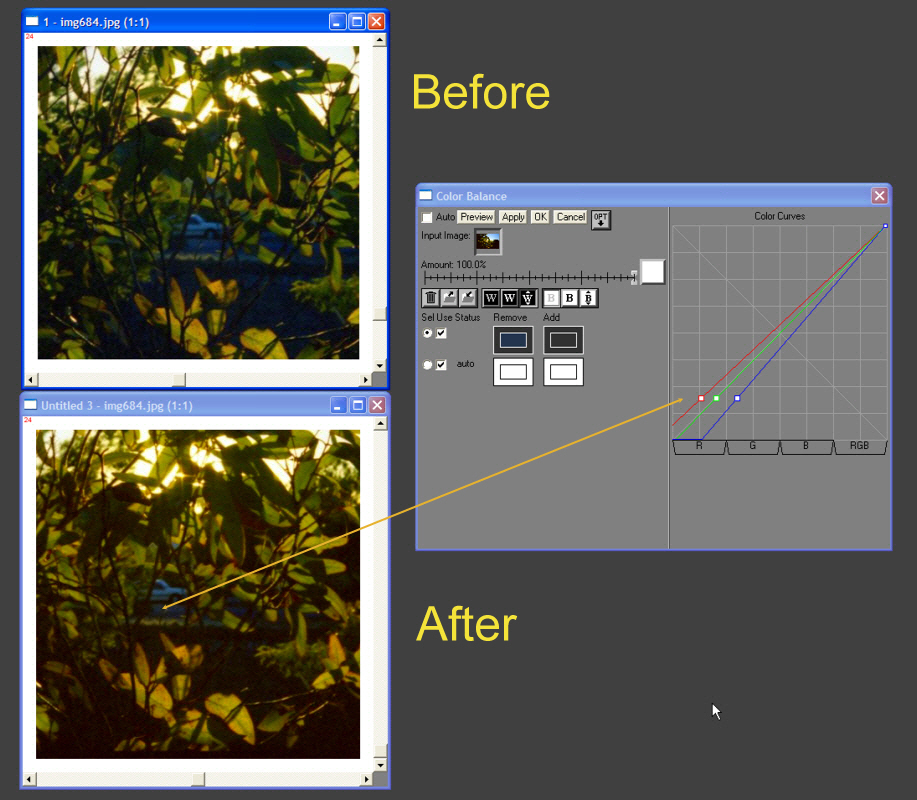
Credit for original image scanned on Epson 4490, using the epson software taken from this thread
Heisenberg Uncertainty Principle or One Way To Use A TLR For Street Photography
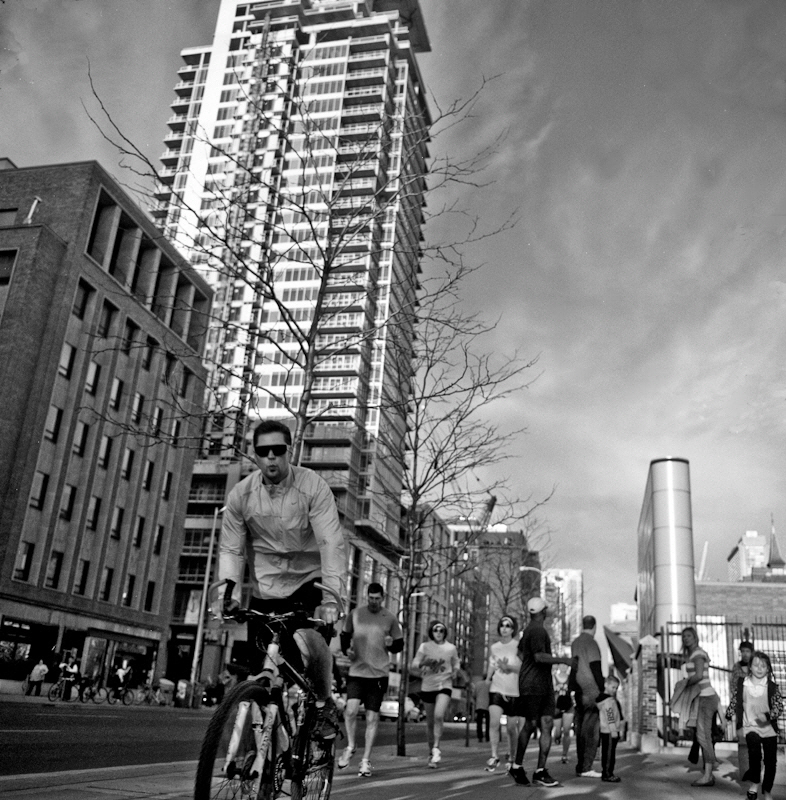
There are many schools of street photography starting from the most famous Cartier Bresson.
Notice how he holds his camera when not being used. This would still work today.
www.youtube.com/watch?v=CqsOYsZlPX4
www.youtube.com/watch?v=mjjGiBUaf4s
Or the currently in vogue copying of Bruce Gilden flash in the face style: www.youtube.com/watch?v=IRBARi09je8
The Heisenberg uncertainty principle gives us that the Photographer being the observer always alters the scene he’s trying to capture. No matter how much you try to camouflage the camera your actions still affect the scene. Hip shots, standing on the corner waiting, trying to blend in, using a camera phone or small point and shot are some of the many other methods which are used in street photography, all of them affect the scene to some degree.
You might not know but one way to camouflage a large building in sunlight is to shine a bright light on it as the human eye can not distinguish it from the skyline. A Mamiya TLR is pretty difficult to disguise even with a bright light.
The photo above is first of a series using a new to me idea for using my TLR for Street photography. That is to place myself in the middle of the path and be obviously taking photos, because people know that they either move around me or I become almost invisible under the camouflaged so to say right out in the open. Now under the Heisenberg Uncertainty Principle the observer (photographer) is part of the scene so taking photos or not taking photos does not affect the “quantum” state.
Black & White Development In One Shot D76
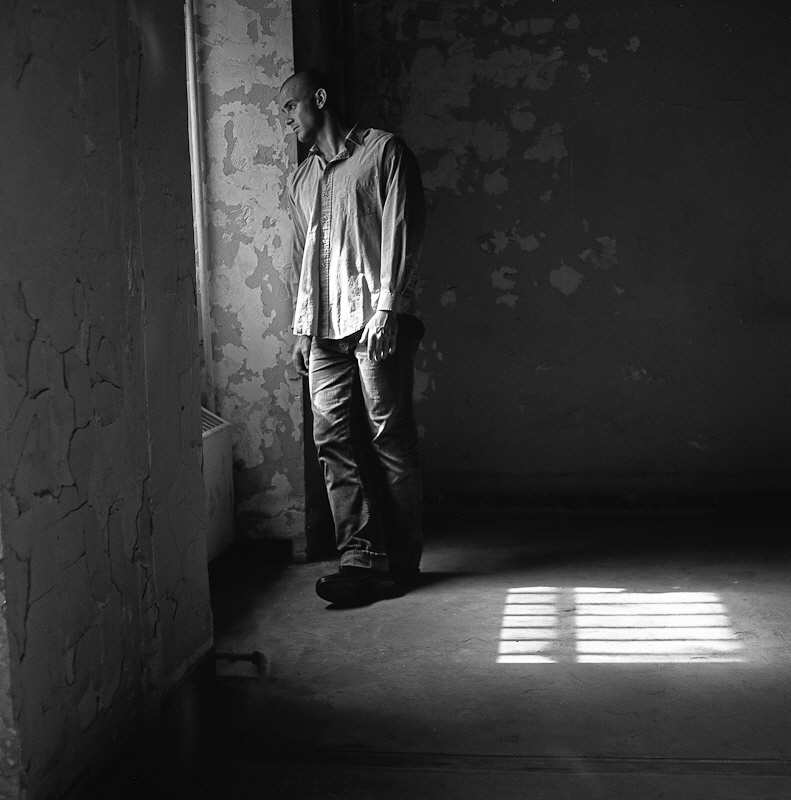
Mamiya C220; Film Tmax 400; shot at ISO 400; 12 minutes in the developer
I have been doing all my B&W developing with Kodak D76.
I keep my d76 in a mason jar in powder form and mix each batch fresh one shot use. Conventional wisdom is that the powder might settle into it’s components but it doesn’t (don’t use the last table spoon). Unconventional wisdom from people that have been doing it for years. I also develop in 1:3 dilution so development time isn’t so critical and I get good shadow detail without blowing highlights. Just beware of chemical dust when measuring out the powder.
First time you empty the package into the mason jar stir and shake and roll the powder in the jar then put it on the shelf, no need to shake each time you use .
Disclaimer: I am not an expert and I scan my film rather then print in the darkroom.
Recipe
See massive development table for times don’t forget to adjust for temperature.
I use 1.5 level teaspoons (7.5ml) d76 fill to 420ml with water (distilled if you want to be fussy) Stir well let sit for a few minutes and stir again until all powder is completely dissolved. This makes up an 1:3 dilution stock solution. Be careful not to breath the dust from the powder. Only use it for one roll of film.
- 2 minute water presoak
- xx minute development {shake well for the first 30 seconds (instead of shaking invert if possible) tap once on a hard surface to remove bubbles, thereafter every 3 minutes gently shake for a few seconds}
- rinse with water stop 4 times
- yy minute fix
rinse with water 4 times and soak in clear water for 3 minutesdip in water a bit of rubbing alcohol and a few drops of hypo clear- Go here for final rinse instructions : http://metrix-x.rraz.ca/2010/03/odds-and-ends-in-b-film-development.html
- hang to dry for at least 2 hours (the leader should feel dry and not
tacky) I find weighting the bottom of the film keeps from coming out
curled
My 2 favourite general purpose films are Kodak TMAX 100/400 and Fuji Neopan. So far this method has given consistent results with all films I have used.
Kodak TMAX needs loads of fixing time. You can drop a small piece of film that hasn’t been in the developer and watch the fixer clear the film, Multiply the time to clear by 2 and that should be safe.
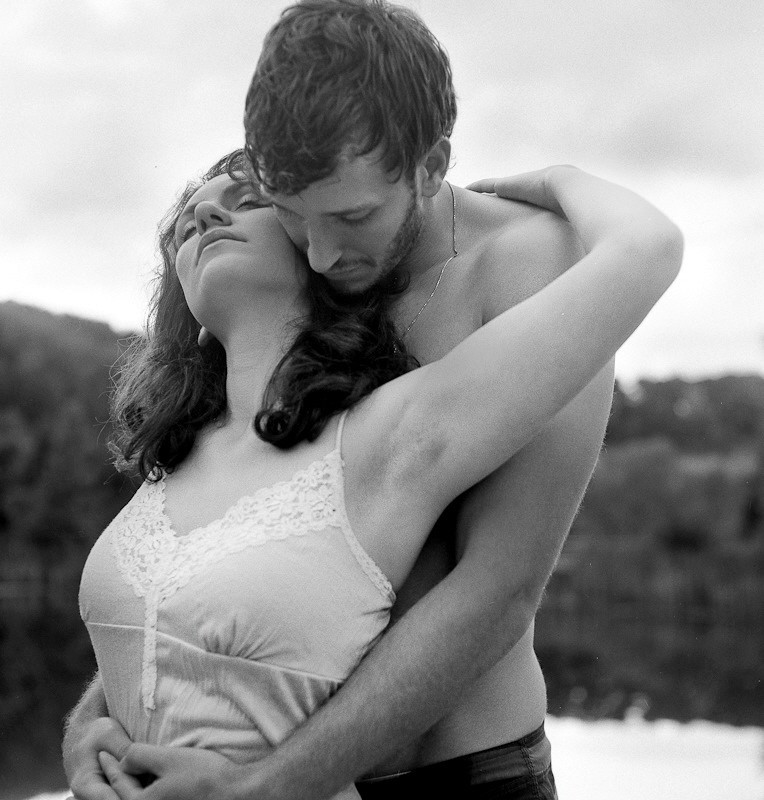
Mamiya C220; Film Fuji Neopan 400; shot at ISO 800; 20 minutes in the developer
Please go here for more details and my notes on developing B and W
Using The V500 Scanner and HDR Techniques To Get The Most Out Of The Negative
Example of a technique for scanning high dynamic range films. Plus a digital darkroom dodge and burn
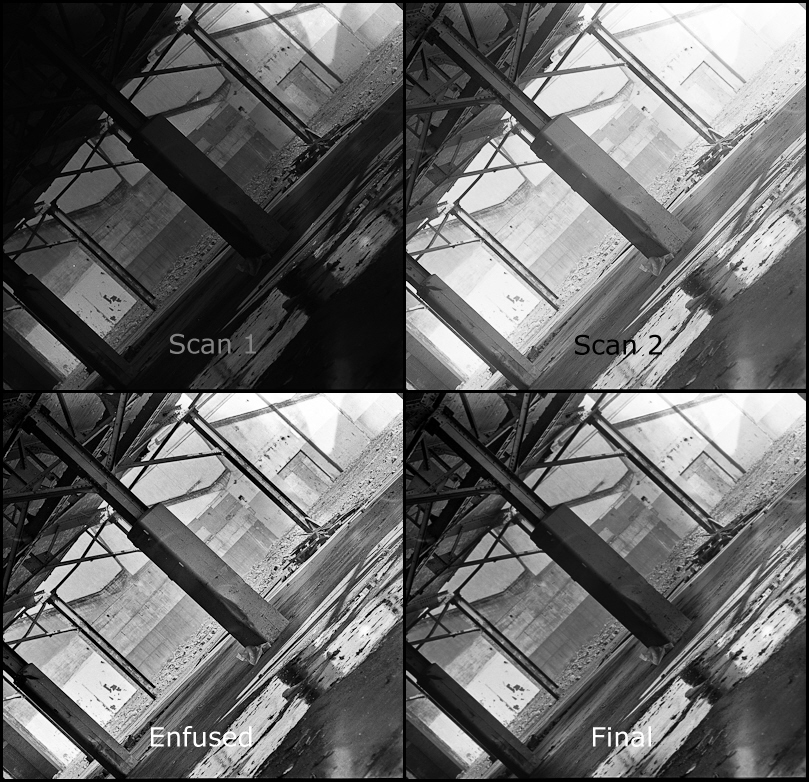
I took this shot using my mamiya c220 with a 180mm lens. Film was TMAX 400 shot at 1/2 stop faster. As usual I screwed up the loading of the film into the developing spools so there are a few handling flaws.
– Developed for 12 minutes in 1:3 diluted D76.
– Scan 1 scanned to make sure highlight detail was retained
– Scan 2 was for shadow details both scans were 16 bit tiffs
– Used a program called enfuse and enfuse GUI to automatically blend both scans together. Enfuse by passes the HDR step going directly to the tone mapping but with more subtlety, less noise and artifacts.
It’s hard to tell in small sized but the enfused image has rather harsh contrast in the area of the gravel.
Final step I blended Scan 1 and the enfused image together using a hand painted selective mask. With a bit more care I could tailor multiple selection masks to get the result exactly how I like it.
Another Example using HDR Tools
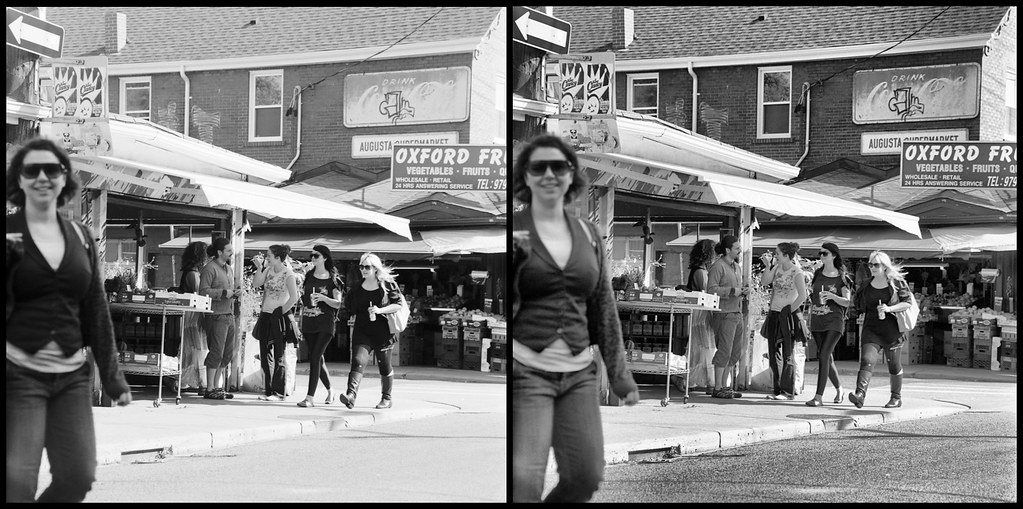
Image on the left is 14 bit scanned with some brightness curve adjustments in Lightroom. Normally I would do some dodge and burn.
The image on the right is the same scan plus an additional 2 scans at different scanner exposure levels. The 3 scans were combined and then tone mapped using HDR (high dynamic range) software.
I used Fuji Neopan ISO 400 film if I had used ISO 100 film the dynamic range could have been increased significantly. I think this does demonstrate how much information is contained within a film negative. Scanners have both a programmable offset and gain so there is actually more information extracted from the negative when you scan 3 times rather then manipulate a single scan.
As tone mapping increases local contrast at the expense of flattening out the overall image blending together portions of both images might result in the best of both worlds and focus the composition a bit more. Actually took the HDR into Lightroom to adjust curves and the results are better then above.
There is a trick (an extra 2 steps) to do the same thing in colour without destroying the colours I’m not sure it’s worth the trouble but ask me if you are interested.
Testing Epson V500 Scan of a 35mm Zeiss Contax IIIa Colour Negative

Unlike my Canon 4400f the Epson V500 scanner is in focus, also the slide holder are much better and easier to use. It also works on medium format. The new scanner will allow me to do more B&W in the future. This shot is nothing special but the I choose it as it needed a lot of dodging and burning
Notice the camera information in the additional information.
Yes the v500 is excellent price performance wise. Unfortunately the scanner software does not provide exif information. Unfortunately the program I use to add EXIF information is no longer available.
I did a test of my v500 on a resolution target and found the focus was good for about 800 lines per inch from 0 to .5mm plus the film thickness from the surface of the glass, going from 2400 to 4800 dpi only made a minor improvement differences, kind of explains why you have to go to medium format to get a worth while size print. Also explains why a special film holder is not going to buy you much except with curly negatives considering the v500 optics and it’s LED illumination. Other have measured the V500 resolution as less than 1600 dpi but there is still merit to over sampling.
This confirmed the results of wet scanning with the film right against the glass
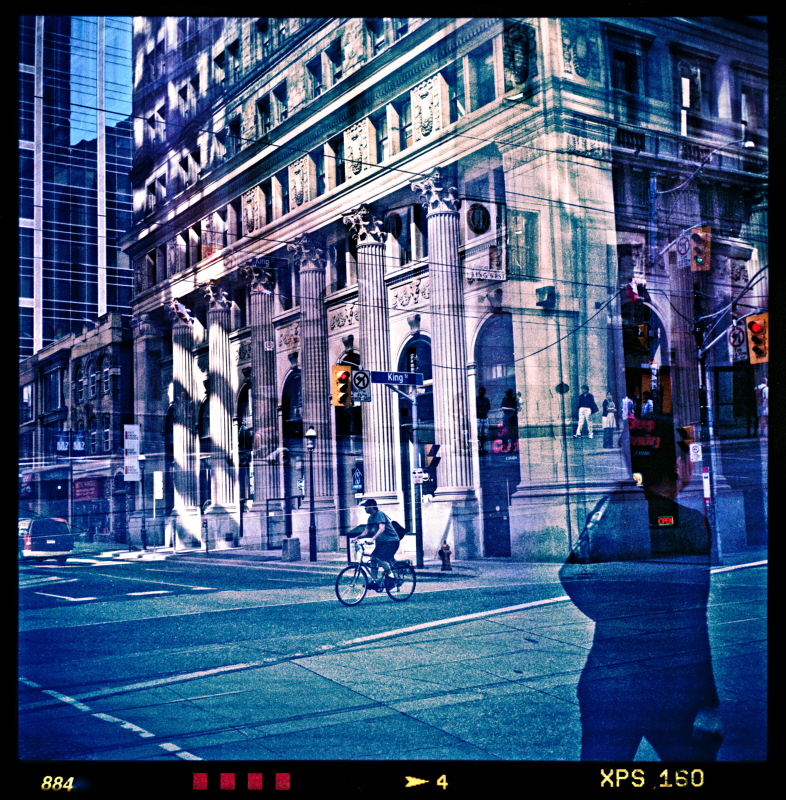
My Current Work Flow
- Clean everything with antistatic cloth
- Set scanner to pro mode, 3600 DPI for 35mm and 2400 DPI for MF in 48 bit tiff output.
- Insert negatives If they are too curly use anti-glare glass instead of plastic holders.
- Blow any dust off with a rocket blower (If you are rich use canned air).
- Preview
- Select all negatives and turn off sharpening and hit auto curve button to see what the epson software things it should look like
- For each negative adjust curve so there is no clipping using the droppers to set white and black and gamma and colour balance. The epson software is so primitive here, that my main concern that there is no highlight clipping or shadow blocking. Do this for each colour as the over all may look good but one channel might not. The point here is not to get a perfect scan but to get all the information out of the negative.
- Scan
- Optional If you need more shadow or highlight details then do an additional scan to expand the contrast in the highlight or dark areas blend the images back together in post. I don’t have to do this very often. In post I use Lightroom to correct the image and remove any dust.
Some help with settings for the epson scan software:
epson 1.png
epson 2.png
Important because you have turned sharpening off you need 2 levels of sharpening one for the scan and one just before final output. Fortunately lightroom has pretty good control here. The first level of sharpening is important and should be matched to the grain size and the scanning DPI it is not there to sharpen edges.
For difficult colour balance cases check out this note of mine.
For scanning cross processed films
For scanning high dynamic range (mostly B&W) go New, here, here and maybe here.
For curly negatives the Lomography Digtaliza works well see the bottom of my blog entry
A Two-Pass Approach to Sharpening
Homemade foamcore 8×10″ Large Format Pinhole Camera

First of 2 shots with my foam core 8×10″ homemade camera. Shot with 20 year old Kodak litho ISO 8 film, 3.5 minute exposure. This was my entry into world pinhole day
www.pinholeday.org/
After some sage advice from experts on developing the litho film to get more midtone greys. I am experimenting with extreme dilution the D76 developer to try to get more tones out of the high contrast lithographic film. I think it is working even though this shot may not be the best example as I was shooting towards the bright part of the sky.
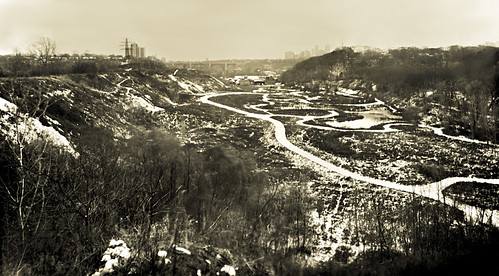
The tones worked out very well in this following photo.
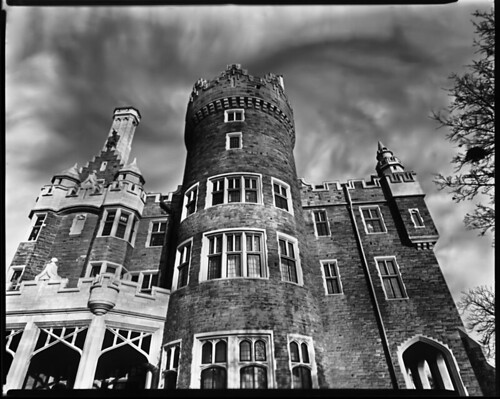
The pinhole is approximately f310 with a 80 degree field of view making for a 2.5 to 4.5 minute daylight exposure.
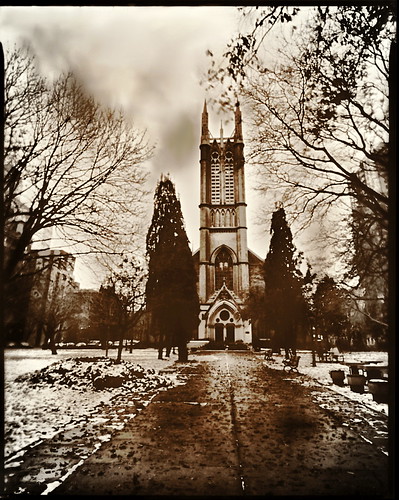
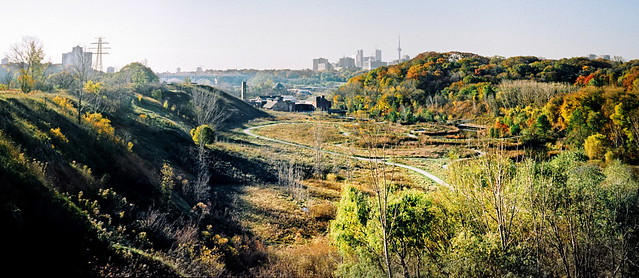
The following is a longer over 10 minute exposure made late in the day under grey sky. The thing I like about a 10 minute exposure in a city is that people go about their business invisible to the eye of the camera. Except for the almost invisible people sitting still on the picnic table, middle right if you need directions. I should have pushed the development a bit longer to bring out more details in the dark areas.
The good thing about this ISO 8 litho film is that it can be developed under a safe light where you can view the film developing. Also it can be pushed or pulled many stops just by changing the developing time.
A bit About The Camera
I used this pinhole I built for my digital camera.
http://www.rraz.ca/pin/pinhole.html
Surprising enough the lens hood is needed.
Foam
core is strictly home craft although using a special tool/knife
designed to make butt joints in foam core really makes life easy plus strengthening the design. The body is
held together with paper glue and book binding tape, really quite solid.
The
important elements other then the pinhole is finding some old working
8×10″ film holders. I use a film holder that has a double dark slide so I
can take 2 shots.
The only moderately difficult part is the
combined film holder (holder)/tripod mount. I made mine out of picture
framing wood stock as it already has the ledges cut into it.
Build
one frame and attach the foam core body to the one side and the tripod
socket to the bottom. The other side with the lip has a strip of foam
rubber al the way around the lip. The slide holder when placed against
the rubber seal should fit nicely with a light tight seal between the
camera and the film holder. The last piece is another frame without
seals that with the help of two ratchet clamps brought from a hardware
store that is placed over the back of the film holder and clamps it to
the camera body.
I’m sure with a wood working shop you can do
better. Because exposures are so long no shutter is needed. Expose by
holding a dark cloth over the pinhole, then remove the dark slide, then
remove the black cloth to begin exposure. Reverse to end exposure.
Be creative I have an idea for a 360 degree pano.
A couple of references
CK Pinhole Photography Resources and Links
PINHOLE PHOTOGRAPHY AND CAMERA DESIGN CALCULATORS
Infrared Converted Olympus C-4000 4M pixel P&S
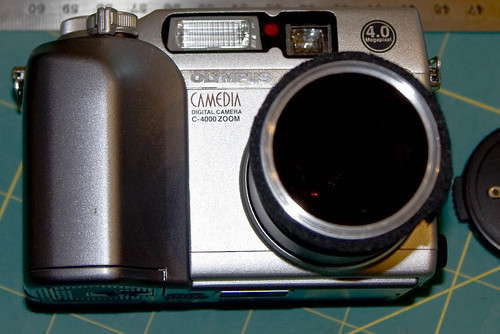
I am fascinated with all forms of imaging so for a while an infrared conversion of a point and shoot camera has been on my to do list. Early in October I was browsing Henry’s Camera Surplus Store when I noticed that they had a 3meg pixel reconditioned Olympus point and shoot (P&S) on sale for $30. So I had my project. While not quite yet as the menu was only in Japanese and I don’t understand the language. So back to Henry’s to up grade to a 4 Mpixel C-4000 zoom had to lay out an additional $20.
Now the conversion. I wanted a camera that was sensitive enough to be handheld so I knew I had to replace the hot mirror (the little piece of glass in front of the sensor which reflects (filters out) most of the infrared and stops it reaching the sensor.
I researched some background on the disassembling of a c2000z here and here. As each camera is slightly different I had to play it by ear in a few places but it was mostly as advertised.
My original idea was to scrape the hot mirror coating off the filter. Unfortunately I used a abrasive that was too hard and I scratched the glass surface. I think next time it will work if I use steel wool (should be slightly softer then glass). So I had to order a custom cut watch crystal from a local watch repair place. Because the index of refraction of the mineral glass is higher then that of the original cover the thickness ordered was 2.5mm instead of the original 2.8mm.
In the mean while realizing the camera would be very myopic and could not focus to any where near infinity I put the camera back together without the glass sensor cover. What I did not realize was that how good the camera would be as a super macro camera. I am thinking of buying another one to use just in this mode.
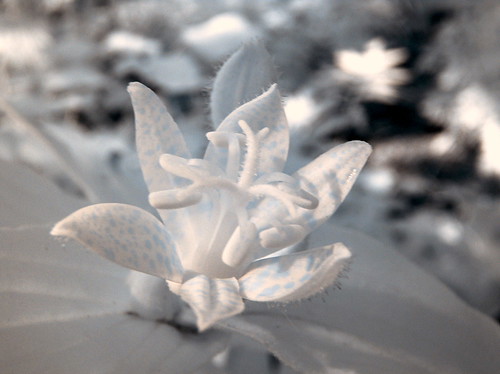 Infrared Super Macro Myopic (no sensor cover glass)
I adapted my deep red infrared filter by lining the ring with foam weather stripping. I purchased the filter for a few dollars at the local camera show. I brought it to use on my 1953 Zeiss Contax IIIa.
 Film Infrared
Finally one week later $25 poorer the watch crystal came in. Much easier taking the camera apart the second time. Now it has no trouble focusing and still works in macro mode. Total cost for the project including the filter was less then $90.
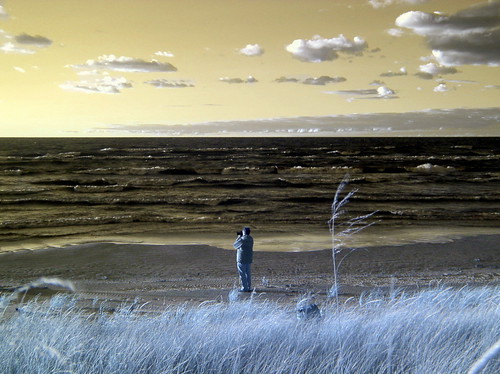 Infrared Photograph of a Photographer Taking a Photograph of The Grand Bend Sunset
All the above shot were hand held without using the flash. The camera for maximum image quality is usually set at ISO 100. For best results it is best to do an in camera custom white balance using a white sheet of paper. This might not be necessary for all filter types. My filter still lets in a good deal of dark red so the true infrared is in the blue and green channels, a custom white balance is necessary to remove the dominant sensitivity to visible light in the red channel.
You can go here to see a Flickr slide show of my infrared work.