Cross Processing Myths RIP
The 2 myths I will be talking about is that cross processing E6 slide film in standard C41 colour negative gives unpredictable hence random results. Hence the popularity with lomography crowd. Before you stop me I know plenty of people that take wonderful dreamy shots with lomo and other toy camera but none of them rely on random luck it’s skill and artistic ability. Second lesser myth is that it is better to over expose expired slide film when you cross process.
First off in a past life I have a background in imaging and high speed microscope scanners including some patents that I’m proud of but most of what I am going to be talking about is based on observation and intuition. So bear with me while I go through some technical details:
Colour Slide Versus Colour Negative film
Slide film in general has a much smaller latitude when compared to negative film this means that your exposure settings for slide film has to be more accurate then with negative film or your highlights will be blown out (sort of sound like digital doesn’t it) on the other hand if you under expose the darks will be one shade of black. With todays colour film a couple of stops under or over exposure doesn’t make much difference it will look pretty much the same. Film records light in a nonlinear way so instead of clipping like in digital the highlights and shadows are compressed in a natural eye response type of way.
So why use slide film because if you get it right the resulting image has a much greater dynamic range (the difference in film density between the lightest to darkest part of the image), blues go from the palest lightest shade to inky almost black blues, the same for the greens and reds. A 8×10″ colour slide on a light table is a glorious thing. Maybe paradoxically it is more difficult to scan when compared to the more compressed lower contrast ratio colour negative. This is true even when E6 type slide film is processed in c41 (standard developing for colour negative films)
If you want better technical reading go
Here
and here:
Film Contrast by Perry Sprawls, Ph.D.
Film is not like fine wine it’s designed to be used when it is still young. As film ages it gets bombarded with cosmic rays and maybe more important the layers oxidize and chemicals diffuse and mix with each other sort of like the ripples in hundred year old glass windows. Refrigeration or freezer will extend the life but only by so much. As the film ages the unexposed film slowly fogs meaning black is no longer black but shades of grey. The colours in the dark areas become muddy and the grains of silver become more obvious and dyes start to bleed. (This paragraph is conjecture and observation on my part.) Astronomer super charge film sensitivity to low light by annealing it with special gas mixtures).
The lower the ISO the slower the film ages (this shouldn’t surprise anyone). What sort of surprised me was that expired film seemed to be fairly constant in exposure (ISO), with only the latitude and dynamic range decreased by the level of fogging.
Now what does this all mean when it comes to exposure. Conventional wisdom seems to be to over expose to compensate for the fogging. I have tried this by a half a stop for 15 year old slide film and all I did was sacrifice the highlights for a bit better shadows, I also tried over exposing by 1 stop and pulling the development by one stop, this was even worse, colour film in c41 seems to push better then it pulls. My best results is to shoot at box speed and meter the exposure for the subject of importance. It also saves me the time money at the lab as most lab charge extra for pushing, pulling and cross processing if they can even really do the pulling correctly.
So shoot at box speed and meter for the subject, it’s old film what do you expect new film? I’m only talking about colour slide film it’s different for B&W and negative film.
Lab Scanned Early Work
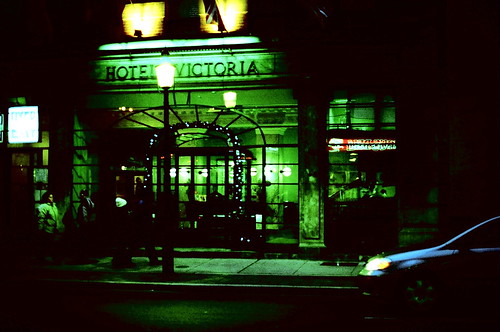
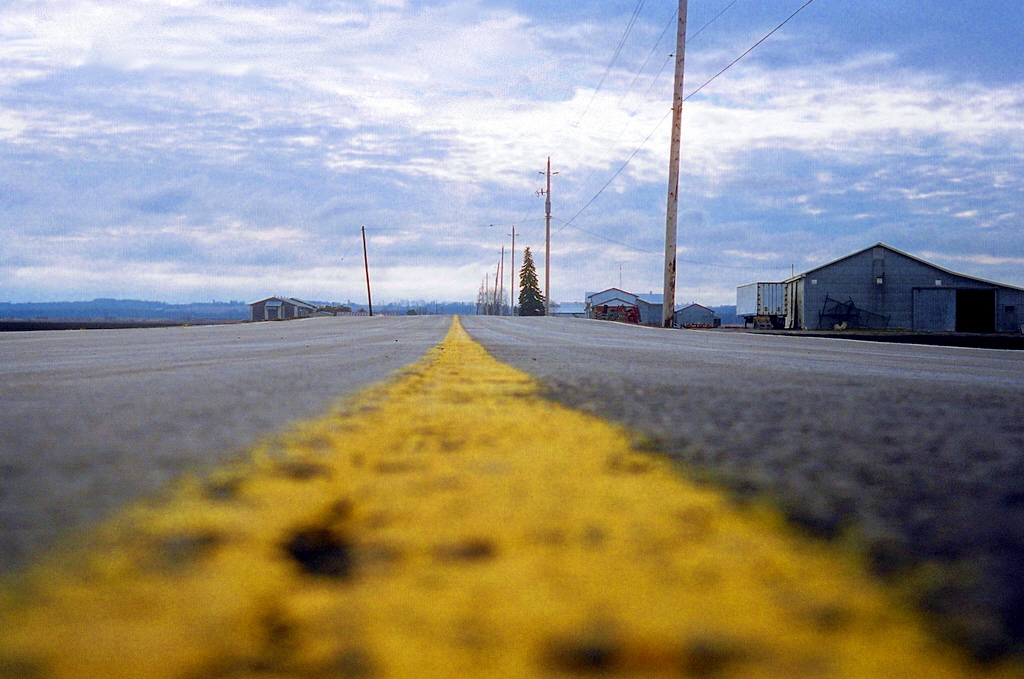
The big myth that cross processing gives random inconsistent results. Except for the occasional very rare damaged roll. I find the result from each type of film is repeatable and consistent.
When I first tried cross processing I didn’t really know why the results appeared to be inconsistent. I believed all the myths. First I thought it was how it was developed, then how it was exposed. A couple of years ago I started to examine the colour curves. I couldn’t make any sense out of them so I thought it was cross talk between the RGB channels red getting into the green channel, blue into red, … sort of like the current lomo fad (ducks) using redshft film to shift the colours into the yellow orange red spectrum. So I tied to build a colour profile that would correct this cross talk, no such luck. it wasn’t until a lab scanned the cross processed as colour positives effectively supplying me with colour negatives (excuse the brain twisting double negatives).
Examining the colour negatives curves it was plain to see that the rgb curves had a much different shape then normal and the centre of symmetry was offset and different shaped for each of the rgb channels when compared to a normal colour negative curve.
What does this mean:
That colour is dependent on and intertwined with intensity.
If you remove this dependency you get consistent slide to slide, roll to roll results.
If you let a lab scan your film you will get highly inconsistent results that depend how their automated scanner treats a cross processed image when expecting a normal colour negative..
If you want a consistent results you have to adjust every image at either at the scanning stage and/or in post. Usually it’s enough to correct white balance at 1/3, 2/3 and %100 white.
The goal is not to get perfect white balance, if that was the target then why bother cross processing.
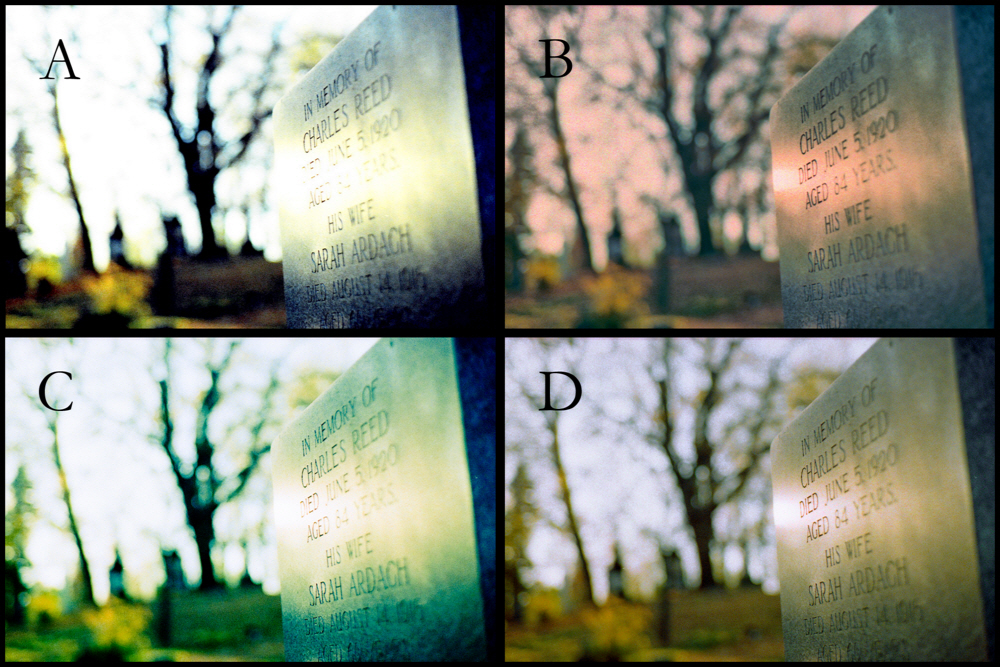
Whats with the ABCD in the above polytch using the same negative Kodak 64T expired 1997.
A is lab scan not too bad except for the blown highlights and lack of shadow detail.
B is scanning as a colour negative, good details an colours but hard to get the highlights as tungsten balance film has a tendency to have a lot of red noise in the highlights, this can be used to good effect to give a gold look.
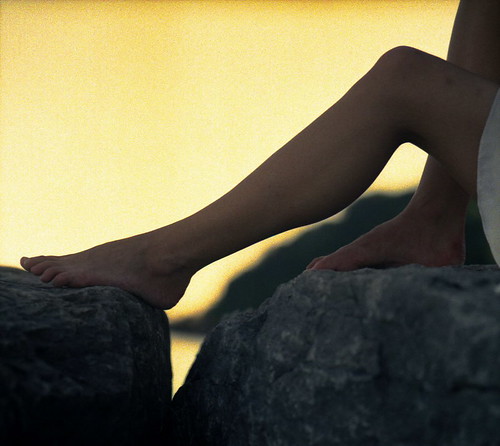
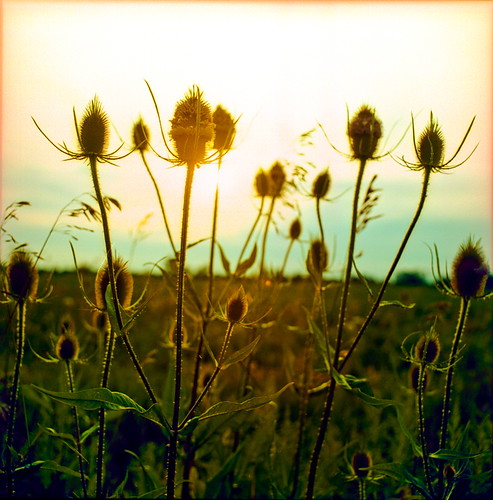
Kodak Ektachrome tungsten balanced film is my favourite film to crossprocess
C Scanned to give the expected digital cross processed look.
D is scanned as a colour positive and then colour reversed in post. This gives you the most control at the expense of extra time.
Note: Scans B,C and D were done on my Epson V500 scanner.
I cross process because I have cheap expired slide film and I like the surreal colour shifts even if it is at the expense of some colour bleed and lose of details. I really like Kodak Kodak Ektachrome tungsten balanced film is my favourite film to crossprocess because I can bring out golden highlights.
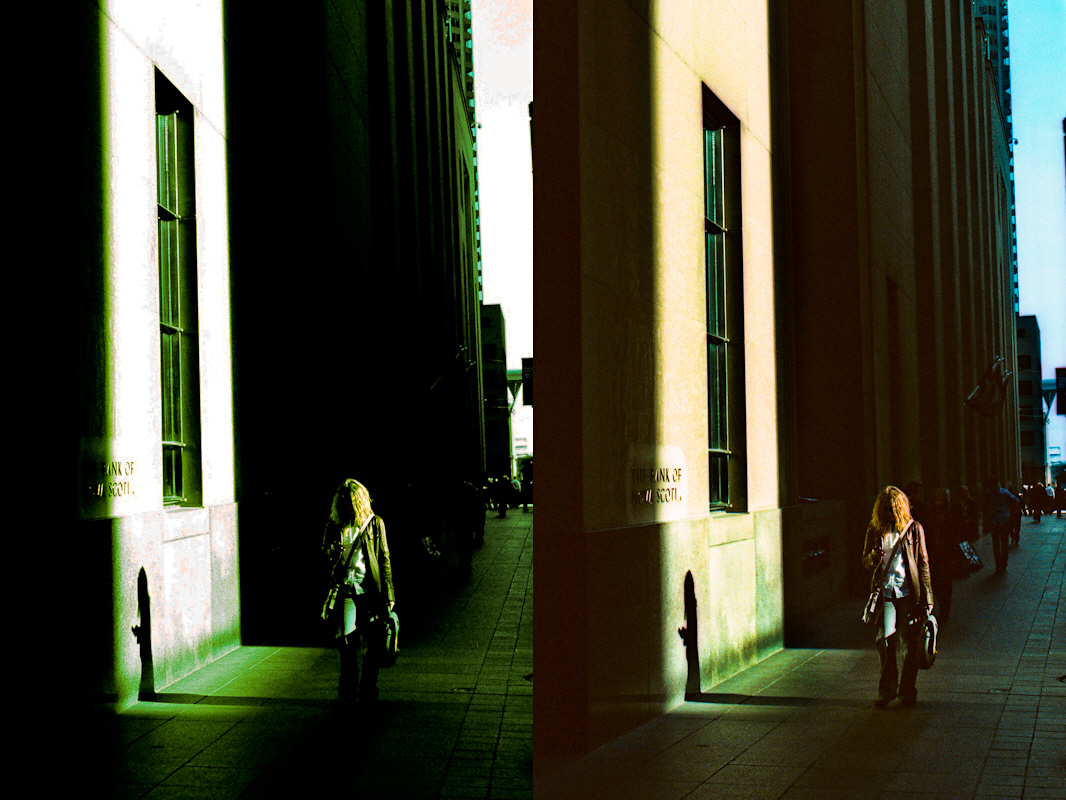
This expired Fuji Provia 100f is not too bad it still has a good DMAX – DMIN. But of course with all expired film it has lost some shadow detail. By now you should be able to guess which scan is the v500.
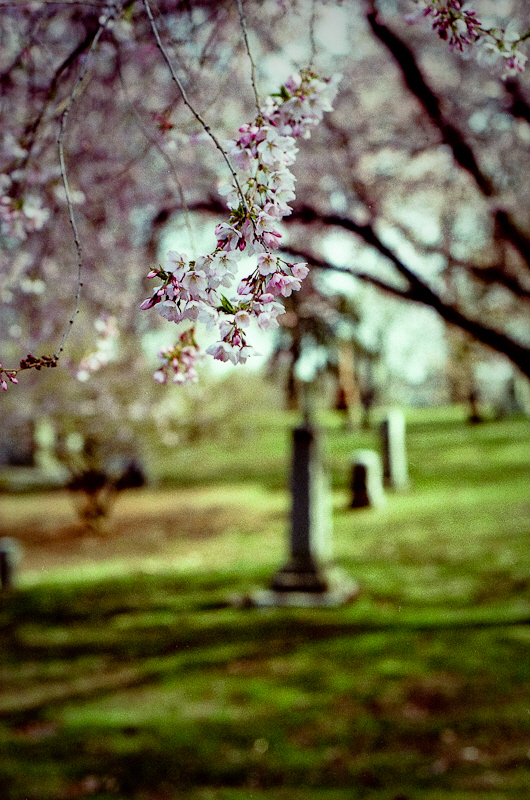
Cross processed Fuji Velvia 50 scanned as positive and then reversed by colour negation in post. Velvia 50 is very difficult to scan directly as a negative because the DMAX-DMIN (dynamic range) of the film is so high.
If you disagree with anything I have said then there is nothing to stop you from doing it your own way:)
If you are bored you can have a look at a slide show of my cross processed work on flickr
Faux Redscale
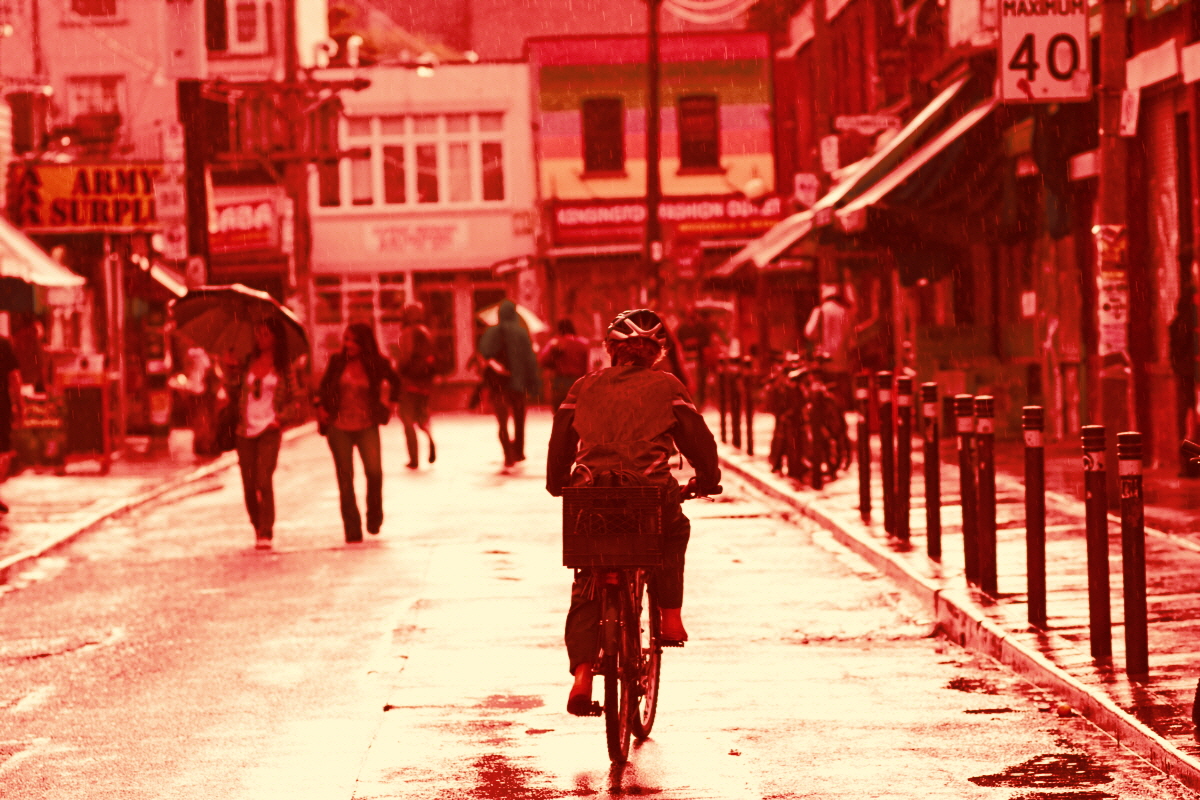
Redscale is done by putting the roll of colour film into the canister with topside and backside reversed. Originally a DYI project Lomo is now selling the reverse film at a premium and Rolli is now manufacturing films with the filter layers reversed also at a premium.
The gel filters are reversed ordered hence the CMY channels are mixed to an approximation
C’ = C + Y
M’= M + Y
Y’= .2Y
This example was done by
1) Change RGB positive to colour negative (don’t use the grey scale negative).
2) Remix the RGB channels (I don’t know it might be better mixing CMY channels
R’ = .2R (Y on negative, Blue on positive)
G’ = (G + R)/2 (M on negative, Green on positive)
B’ = (B + R)/2 (C on negative, Red on positive)
3)Reverse the colour negative back to a positive (at this step you have a chance to change the colour gamma to bring out the yellows and greens)
3)Adjust contrast and brightness curves
If you are using film you could start with a colour negative and skip step 1.
This is my first attempt at faux redscale so it needs some tuning but overall I find real redscale has a creative yawn factor of 8 out of 10 so faux isn’t going to be any better. Give me IR film with the filter built in now that would be creative!
Original Photo
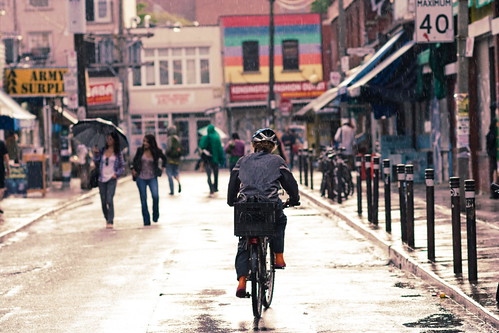
Black & White Development In One Shot D76
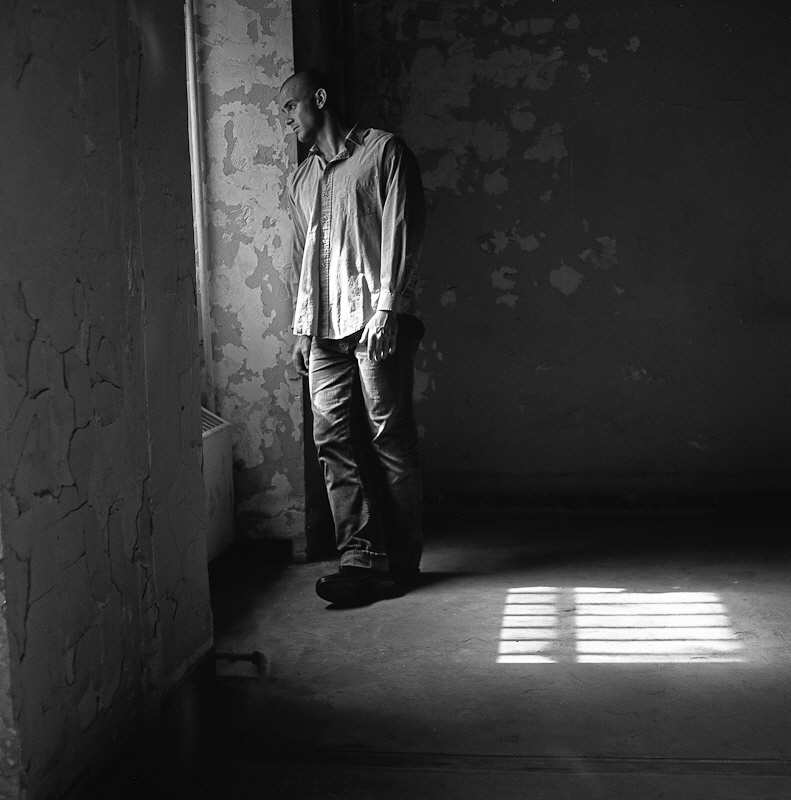
Mamiya C220; Film Tmax 400; shot at ISO 400; 12 minutes in the developer
I have been doing all my B&W developing with Kodak D76.
I keep my d76 in a mason jar in powder form and mix each batch fresh one shot use. Conventional wisdom is that the powder might settle into it’s components but it doesn’t (don’t use the last table spoon). Unconventional wisdom from people that have been doing it for years. I also develop in 1:3 dilution so development time isn’t so critical and I get good shadow detail without blowing highlights. Just beware of chemical dust when measuring out the powder.
First time you empty the package into the mason jar stir and shake and roll the powder in the jar then put it on the shelf, no need to shake each time you use .
Disclaimer: I am not an expert and I scan my film rather then print in the darkroom.
Recipe
See massive development table for times don’t forget to adjust for temperature.
I use 1.5 level teaspoons (7.5ml) d76 fill to 420ml with water (distilled if you want to be fussy) Stir well let sit for a few minutes and stir again until all powder is completely dissolved. This makes up an 1:3 dilution stock solution. Be careful not to breath the dust from the powder. Only use it for one roll of film.
- 2 minute water presoak
- xx minute development {shake well for the first 30 seconds (instead of shaking invert if possible) tap once on a hard surface to remove bubbles, thereafter every 3 minutes gently shake for a few seconds}
- rinse with water stop 4 times
- yy minute fix
rinse with water 4 times and soak in clear water for 3 minutesdip in water a bit of rubbing alcohol and a few drops of hypo clear- Go here for final rinse instructions : http://metrix-x.rraz.ca/2010/03/odds-and-ends-in-b-film-development.html
- hang to dry for at least 2 hours (the leader should feel dry and not
tacky) I find weighting the bottom of the film keeps from coming out
curled
My 2 favourite general purpose films are Kodak TMAX 100/400 and Fuji Neopan. So far this method has given consistent results with all films I have used.
Kodak TMAX needs loads of fixing time. You can drop a small piece of film that hasn’t been in the developer and watch the fixer clear the film, Multiply the time to clear by 2 and that should be safe.
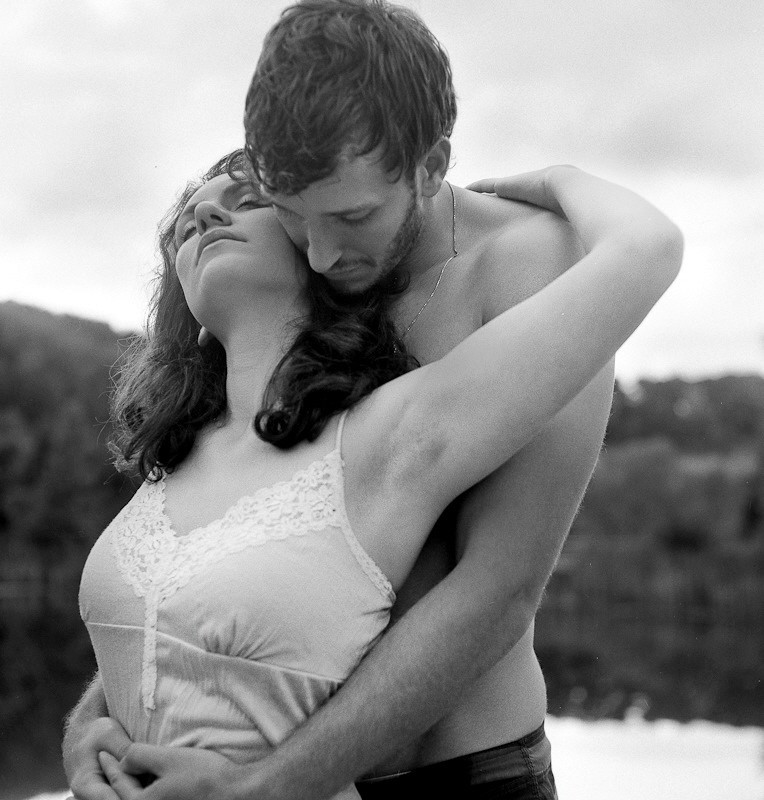
Mamiya C220; Film Fuji Neopan 400; shot at ISO 800; 20 minutes in the developer
Please go here for more details and my notes on developing B and W
Using The V500 Scanner and HDR Techniques To Get The Most Out Of The Negative
Example of a technique for scanning high dynamic range films. Plus a digital darkroom dodge and burn
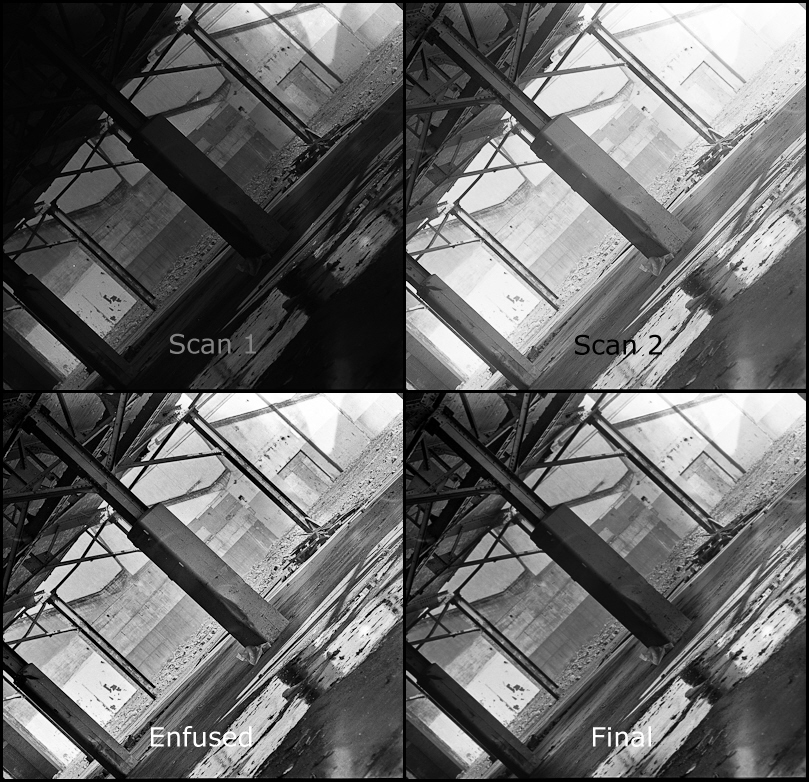
I took this shot using my mamiya c220 with a 180mm lens. Film was TMAX 400 shot at 1/2 stop faster. As usual I screwed up the loading of the film into the developing spools so there are a few handling flaws.
– Developed for 12 minutes in 1:3 diluted D76.
– Scan 1 scanned to make sure highlight detail was retained
– Scan 2 was for shadow details both scans were 16 bit tiffs
– Used a program called enfuse and enfuse GUI to automatically blend both scans together. Enfuse by passes the HDR step going directly to the tone mapping but with more subtlety, less noise and artifacts.
It’s hard to tell in small sized but the enfused image has rather harsh contrast in the area of the gravel.
Final step I blended Scan 1 and the enfused image together using a hand painted selective mask. With a bit more care I could tailor multiple selection masks to get the result exactly how I like it.
Another Example using HDR Tools
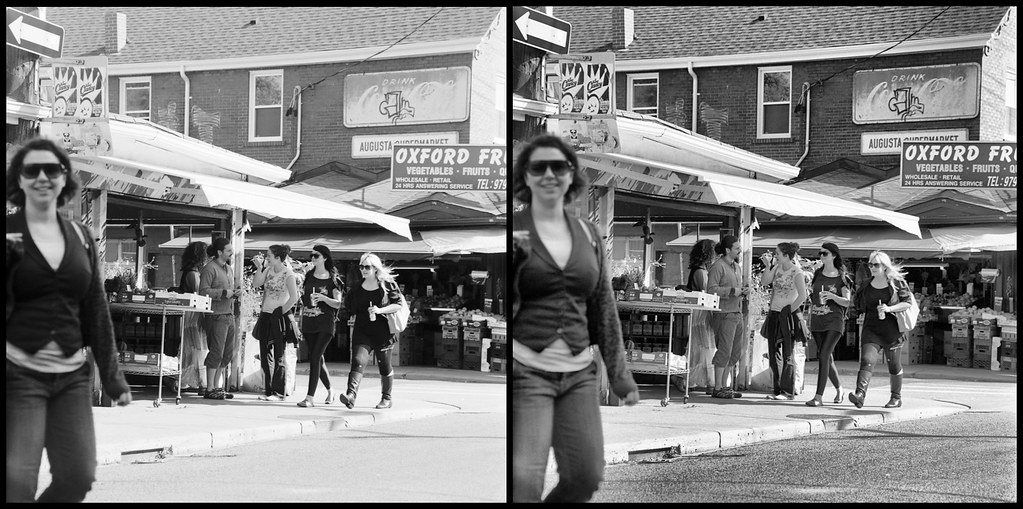
Image on the left is 14 bit scanned with some brightness curve adjustments in Lightroom. Normally I would do some dodge and burn.
The image on the right is the same scan plus an additional 2 scans at different scanner exposure levels. The 3 scans were combined and then tone mapped using HDR (high dynamic range) software.
I used Fuji Neopan ISO 400 film if I had used ISO 100 film the dynamic range could have been increased significantly. I think this does demonstrate how much information is contained within a film negative. Scanners have both a programmable offset and gain so there is actually more information extracted from the negative when you scan 3 times rather then manipulate a single scan.
As tone mapping increases local contrast at the expense of flattening out the overall image blending together portions of both images might result in the best of both worlds and focus the composition a bit more. Actually took the HDR into Lightroom to adjust curves and the results are better then above.
There is a trick (an extra 2 steps) to do the same thing in colour without destroying the colours I’m not sure it’s worth the trouble but ask me if you are interested.
Testing Epson V500 Scan of a 35mm Zeiss Contax IIIa Colour Negative

Unlike my Canon 4400f the Epson V500 scanner is in focus, also the slide holder are much better and easier to use. It also works on medium format. The new scanner will allow me to do more B&W in the future. This shot is nothing special but the I choose it as it needed a lot of dodging and burning
Notice the camera information in the additional information.
Yes the v500 is excellent price performance wise. Unfortunately the scanner software does not provide exif information. Unfortunately the program I use to add EXIF information is no longer available.
I did a test of my v500 on a resolution target and found the focus was good for about 800 lines per inch from 0 to .5mm plus the film thickness from the surface of the glass, going from 2400 to 4800 dpi only made a minor improvement differences, kind of explains why you have to go to medium format to get a worth while size print. Also explains why a special film holder is not going to buy you much except with curly negatives considering the v500 optics and it’s LED illumination. Other have measured the V500 resolution as less than 1600 dpi but there is still merit to over sampling.
This confirmed the results of wet scanning with the film right against the glass
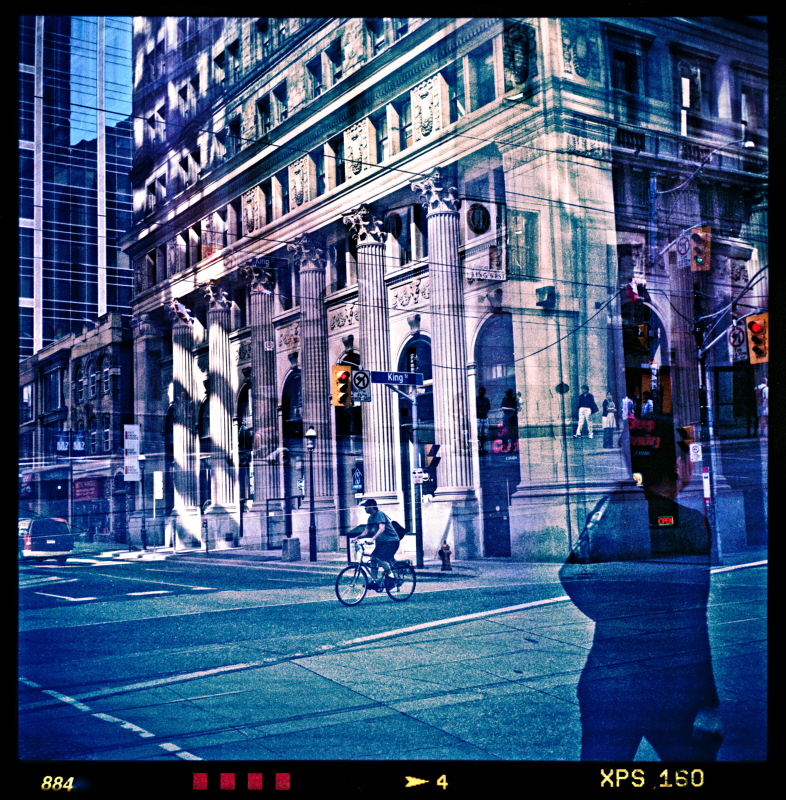
My Current Work Flow
- Clean everything with antistatic cloth
- Set scanner to pro mode, 3600 DPI for 35mm and 2400 DPI for MF in 48 bit tiff output.
- Insert negatives If they are too curly use anti-glare glass instead of plastic holders.
- Blow any dust off with a rocket blower (If you are rich use canned air).
- Preview
- Select all negatives and turn off sharpening and hit auto curve button to see what the epson software things it should look like
- For each negative adjust curve so there is no clipping using the droppers to set white and black and gamma and colour balance. The epson software is so primitive here, that my main concern that there is no highlight clipping or shadow blocking. Do this for each colour as the over all may look good but one channel might not. The point here is not to get a perfect scan but to get all the information out of the negative.
- Scan
- Optional If you need more shadow or highlight details then do an additional scan to expand the contrast in the highlight or dark areas blend the images back together in post. I don’t have to do this very often. In post I use Lightroom to correct the image and remove any dust.
Some help with settings for the epson scan software:
epson 1.png
epson 2.png
Important because you have turned sharpening off you need 2 levels of sharpening one for the scan and one just before final output. Fortunately lightroom has pretty good control here. The first level of sharpening is important and should be matched to the grain size and the scanning DPI it is not there to sharpen edges.
For difficult colour balance cases check out this note of mine.
For scanning cross processed films
For scanning high dynamic range (mostly B&W) go New, here, here and maybe here.
For curly negatives the Lomography Digtaliza works well see the bottom of my blog entry
A Two-Pass Approach to Sharpening
Homemade foamcore 8×10″ Large Format Pinhole Camera

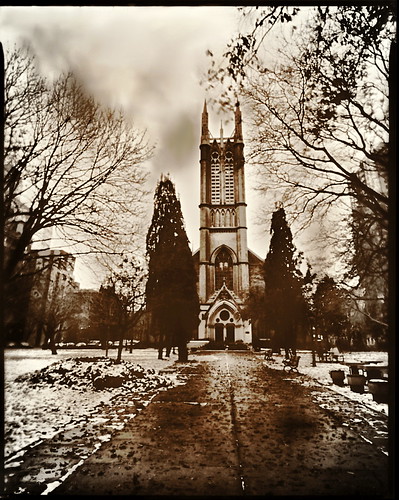
First of 2 shots with my foam core 8×10″ homemade camera. Shot with 20 year old Kodak litho ISO 8 film, 3.5 minute exposure. This was my entry into world pinhole day
www.pinholeday.org/
After some sage advice from experts on developing the litho film to get more midtone greys. I am experimenting with extreme dilution the D76 developer to try to get more tones out of the high contrast lithographic film. I think it is working even though this shot may not be the best example as I was shooting towards the bright part of the sky.
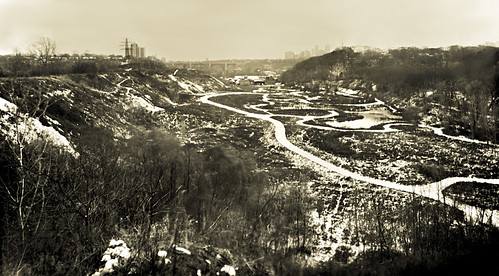
The tones worked out very well in this following photo.
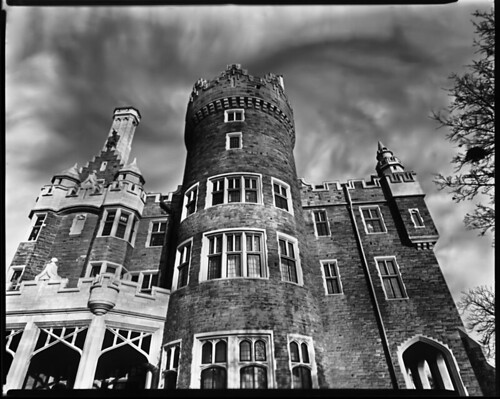
The pinhole is approximately f310 with a 80 degree field of view making for a 2.5 to 4.5 minute daylight exposure.
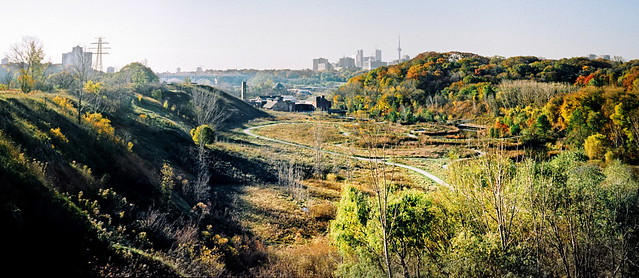
The following is a longer over 10 minute exposure made late in the day under grey sky. The thing I like about a 10 minute exposure in a city is that people go about their business invisible to the eye of the camera. Except for the almost invisible people sitting still on the picnic table, middle right if you need directions. I should have pushed the development a bit longer to bring out more details in the dark areas.
The good thing about this ISO 8 litho film is that it can be developed under a safe light where you can view the film developing. Also it can be pushed or pulled many stops just by changing the developing time.
A bit About The Camera
I used this pinhole I built for my digital camera.
http://www.rraz.ca/pin/pinhole.html
Surprising enough the lens hood is needed.
Foam
core is strictly home craft although using a special tool/knife
designed to make butt joints in foam core really makes life easy plus strengthening the design. The body is
held together with paper glue and book binding tape, really quite solid.
The
important elements other then the pinhole is finding some old working
8×10″ film holders. I use a film holder that has a double dark slide so I
can take 2 shots.
The only moderately difficult part is the
combined film holder (holder)/tripod mount. I made mine out of picture
framing wood stock as it already has the ledges cut into it.
Build
one frame and attach the foam core body to the one side and the tripod
socket to the bottom. The other side with the lip has a strip of foam
rubber al the way around the lip. The slide holder when placed against
the rubber seal should fit nicely with a light tight seal between the
camera and the film holder. The last piece is another frame without
seals that with the help of two ratchet clamps brought from a hardware
store that is placed over the back of the film holder and clamps it to
the camera body.
I’m sure with a wood working shop you can do
better. Because exposures are so long no shutter is needed. Expose by
holding a dark cloth over the pinhole, then remove the dark slide, then
remove the black cloth to begin exposure. Reverse to end exposure.
Be creative I have an idea for a 360 degree pano.
A couple of references
CK Pinhole Photography Resources and Links
PINHOLE PHOTOGRAPHY AND CAMERA DESIGN CALCULATORS
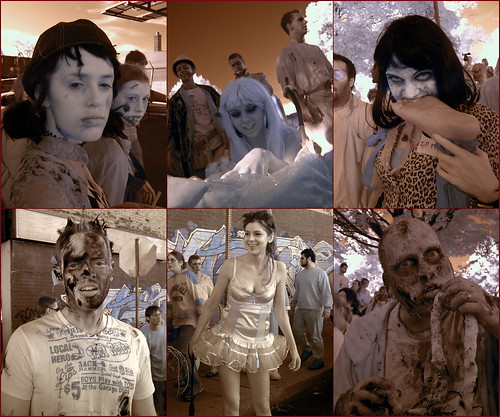
Infrared Converted Olympus C-4000 4M pixel P&S
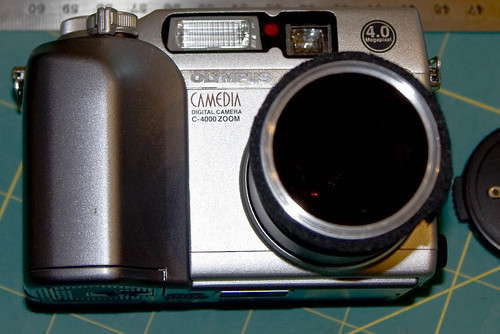
I am fascinated with all forms of imaging so for a while an infrared conversion of a point and shoot camera has been on my to do list. Early in October I was browsing Henry’s Camera Surplus Store when I noticed that they had a 3meg pixel reconditioned Olympus point and shoot (P&S) on sale for $30. So I had my project. While not quite yet as the menu was only in Japanese and I don’t understand the language. So back to Henry’s to up grade to a 4 Mpixel C-4000 zoom had to lay out an additional $20.
Now the conversion. I wanted a camera that was sensitive enough to be handheld so I knew I had to replace the hot mirror (the little piece of glass in front of the sensor which reflects (filters out) most of the infrared and stops it reaching the sensor.
I researched some background on the disassembling of a c2000z here and here. As each camera is slightly different I had to play it by ear in a few places but it was mostly as advertised.
My original idea was to scrape the hot mirror coating off the filter. Unfortunately I used a abrasive that was too hard and I scratched the glass surface. I think next time it will work if I use steel wool (should be slightly softer then glass). So I had to order a custom cut watch crystal from a local watch repair place. Because the index of refraction of the mineral glass is higher then that of the original cover the thickness ordered was 2.5mm instead of the original 2.8mm.
In the mean while realizing the camera would be very myopic and could not focus to any where near infinity I put the camera back together without the glass sensor cover. What I did not realize was that how good the camera would be as a super macro camera. I am thinking of buying another one to use just in this mode.
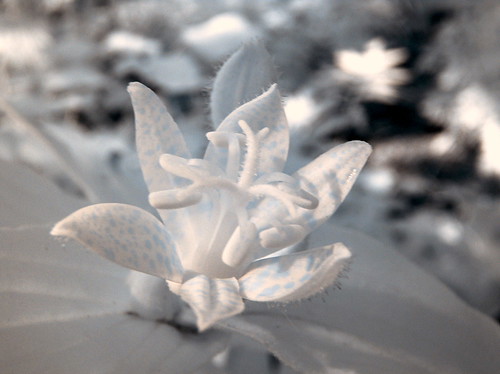 Infrared Super Macro Myopic (no sensor cover glass)
I adapted my deep red infrared filter by lining the ring with foam weather stripping. I purchased the filter for a few dollars at the local camera show. I brought it to use on my 1953 Zeiss Contax IIIa.
 Film Infrared
Finally one week later $25 poorer the watch crystal came in. Much easier taking the camera apart the second time. Now it has no trouble focusing and still works in macro mode. Total cost for the project including the filter was less then $90.
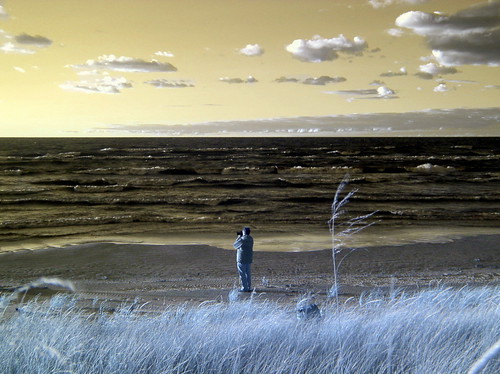 Infrared Photograph of a Photographer Taking a Photograph of The Grand Bend Sunset
All the above shot were hand held without using the flash. The camera for maximum image quality is usually set at ISO 100. For best results it is best to do an in camera custom white balance using a white sheet of paper. This might not be necessary for all filter types. My filter still lets in a good deal of dark red so the true infrared is in the blue and green channels, a custom white balance is necessary to remove the dominant sensitivity to visible light in the red channel.
You can go here to see a Flickr slide show of my infrared work.
Brash American 1956 Argus C44 versus Precise German 1952 Zeiss Ikon Contax IIIa
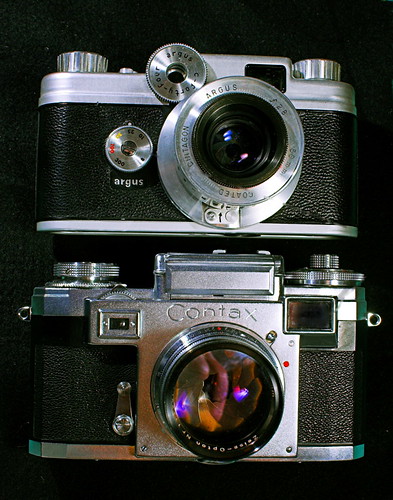
Brash American 1956 Argus C44 versus Precise German 1952 Zeiss Ikon Contax IIIa
Lens German f2.8 versus German Zeiss f1.5
flash x-sync versus strange cable
Maximum shutter speed 1/300 versus 1/1250 of a second
Minimum shutter speed 1/10 versus 1/1
Meter No versus Yes
Self timer No versus Yes
Rangefinder slight edge to the Zeiss
Smoothness of focus, film advance and speed clunky versus as smooth as silk
Distance scale for hyper focal length easy to read by looking down at camera versus badly placed hard to read scale.
Setting f stops easy because end of lens does not rotate versus difficult because end of lens with f stop rotates making the controls rotate around the camera also because of the smoothness of the focus unless you lock the focus (easy to do) changing f stop could affect focus position.
Sound of shutter starter pistol versus silencer
Ease of changing lens very difficult versus less difficult
Ease of loading film better design and built in takeup reel versus removable take up reel and clumsy loading partially outside the camera
Cost $55 versus $280
Fun factor Argus as the Zeiss is just too precision crafted to use as a fun camera
Reliability Zeiss still going strong but the Argus is dead may it RIP
Image Quality You be the judge but I suspect the legendary Zeiss f1.5 will win out
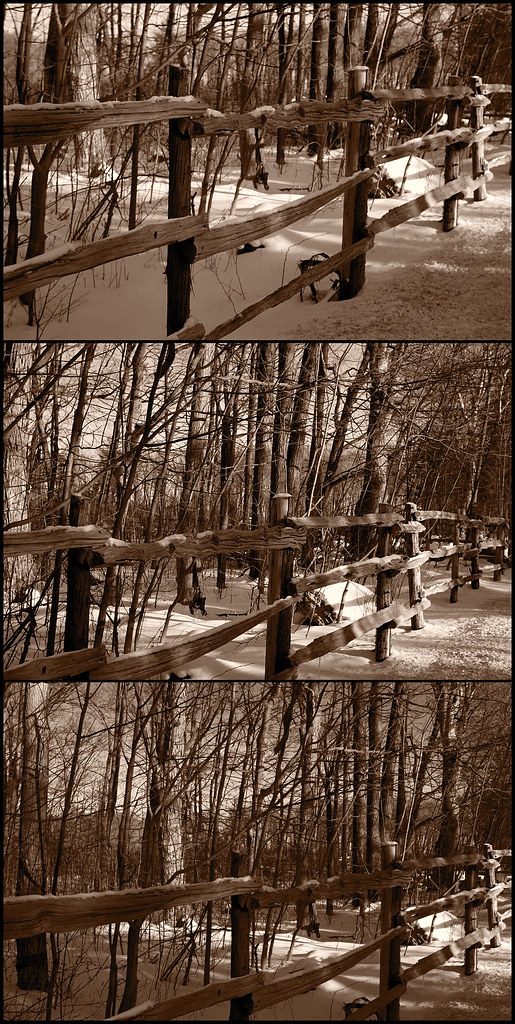 |
| Which is Which: Canon 350D, 1956 Argus C44 or 1952 Zeiss Ikon Contax IIIa? |
Argus
Argus
Argus
Zeiss
Zeiss
Zeiss
Zeiss
Answer to which is which lens question:
Top: 1956 Argus C4 50mm lens at f11 at 1/100sec
Middle: 1952 Contax IIIa at the same setting
Bottom: Canon 350D 24 – 105L set at 40mm equivalent f9 1/40sec with polarizer
New Years Resolution
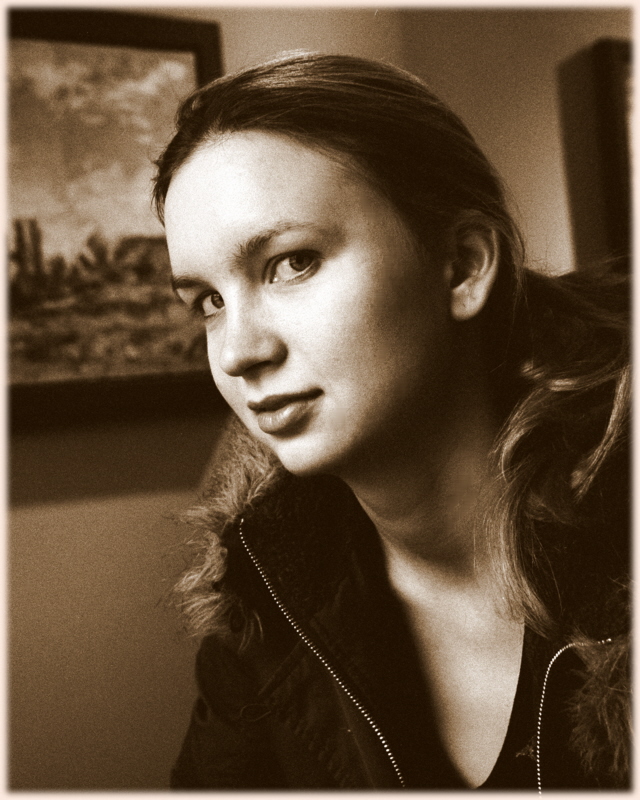
Last year’s new year’s resolution for photography was that “I would take a much larger number of photographs of people in all types of settings”. I thing I have been very successful.
 This year I gave my self possibly a harder to keep resolution. My resolution for 2007 is: “put more mood into my photographs.”
First step in my half baked plan is to figure out what mood really is I don’t mean the text book definition provided by our learned experts.
Foolish me my first thoughts are maybe the media makes a difference so when someone offered me a canon film body compatible with my lens for next to nothing I jumped at the chance. Back in the old days I shot holiday and travel photos without any skill or desire so I do know a bit about shooting film but not much.
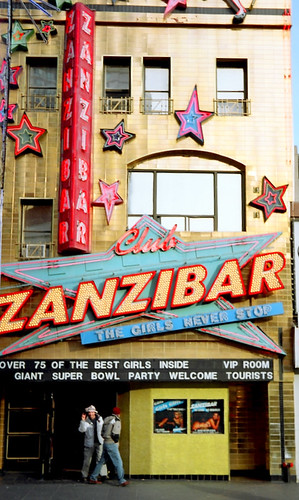 Anyway I digress more about modern film cameras in a later blog.
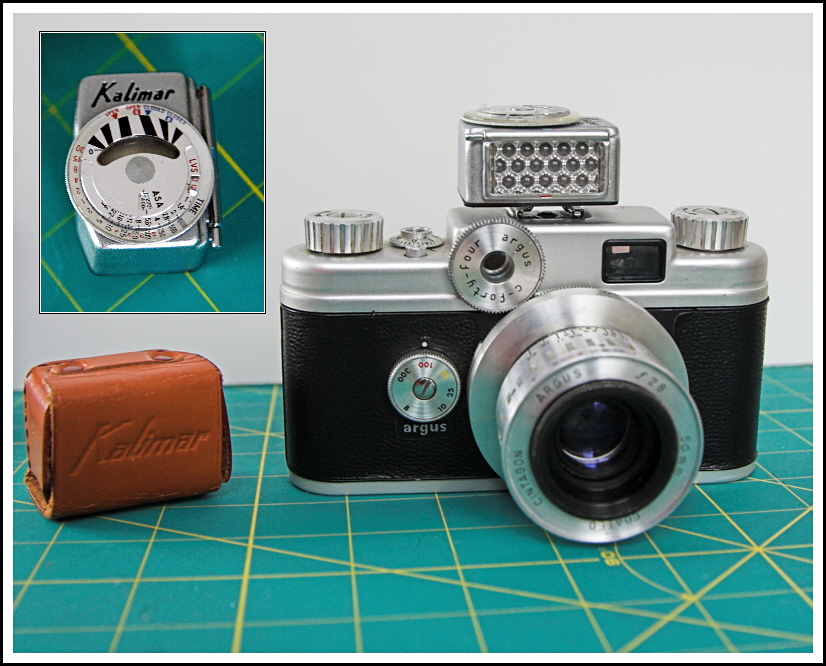
My next thoughts was that maybe a vintage camera will give a vintage feel and mood to my shots. So I purchased this 1956 made in the USA Argus C44 range finder camera. The C3 the forefather of the C44 named the brick (shown in the Harry Potter Movies) sold 3 million copiess and established 35mm as the major film format, but the c3 has a cheap lens system and is quirky.
Besides the fact that people don’t believe its 50 years old the 50mm f2.8 lens is not bad and the pictures it takes do seem to have a vintage feel maybe because of the lack of ease of use, you can be the judge. You can even with great difficulty swap lens in the field.
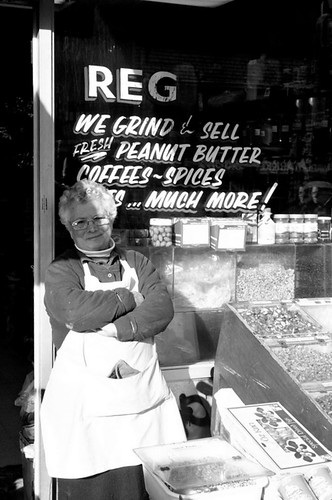 Three rolls later and its up for sale as I brought a new /old vintage camera a German Zeiss rangefinder this time and I am thinking two vintage cameras makes me a collector. But I am having second thoughts its too shinny maybe I will keep it.
So, so far I feel a vintage camera does alter the mood of the photographs. Only slightly because of the camera but more so because I am associating the experience using the old camera with the vintage periods of the 40s and 50s.